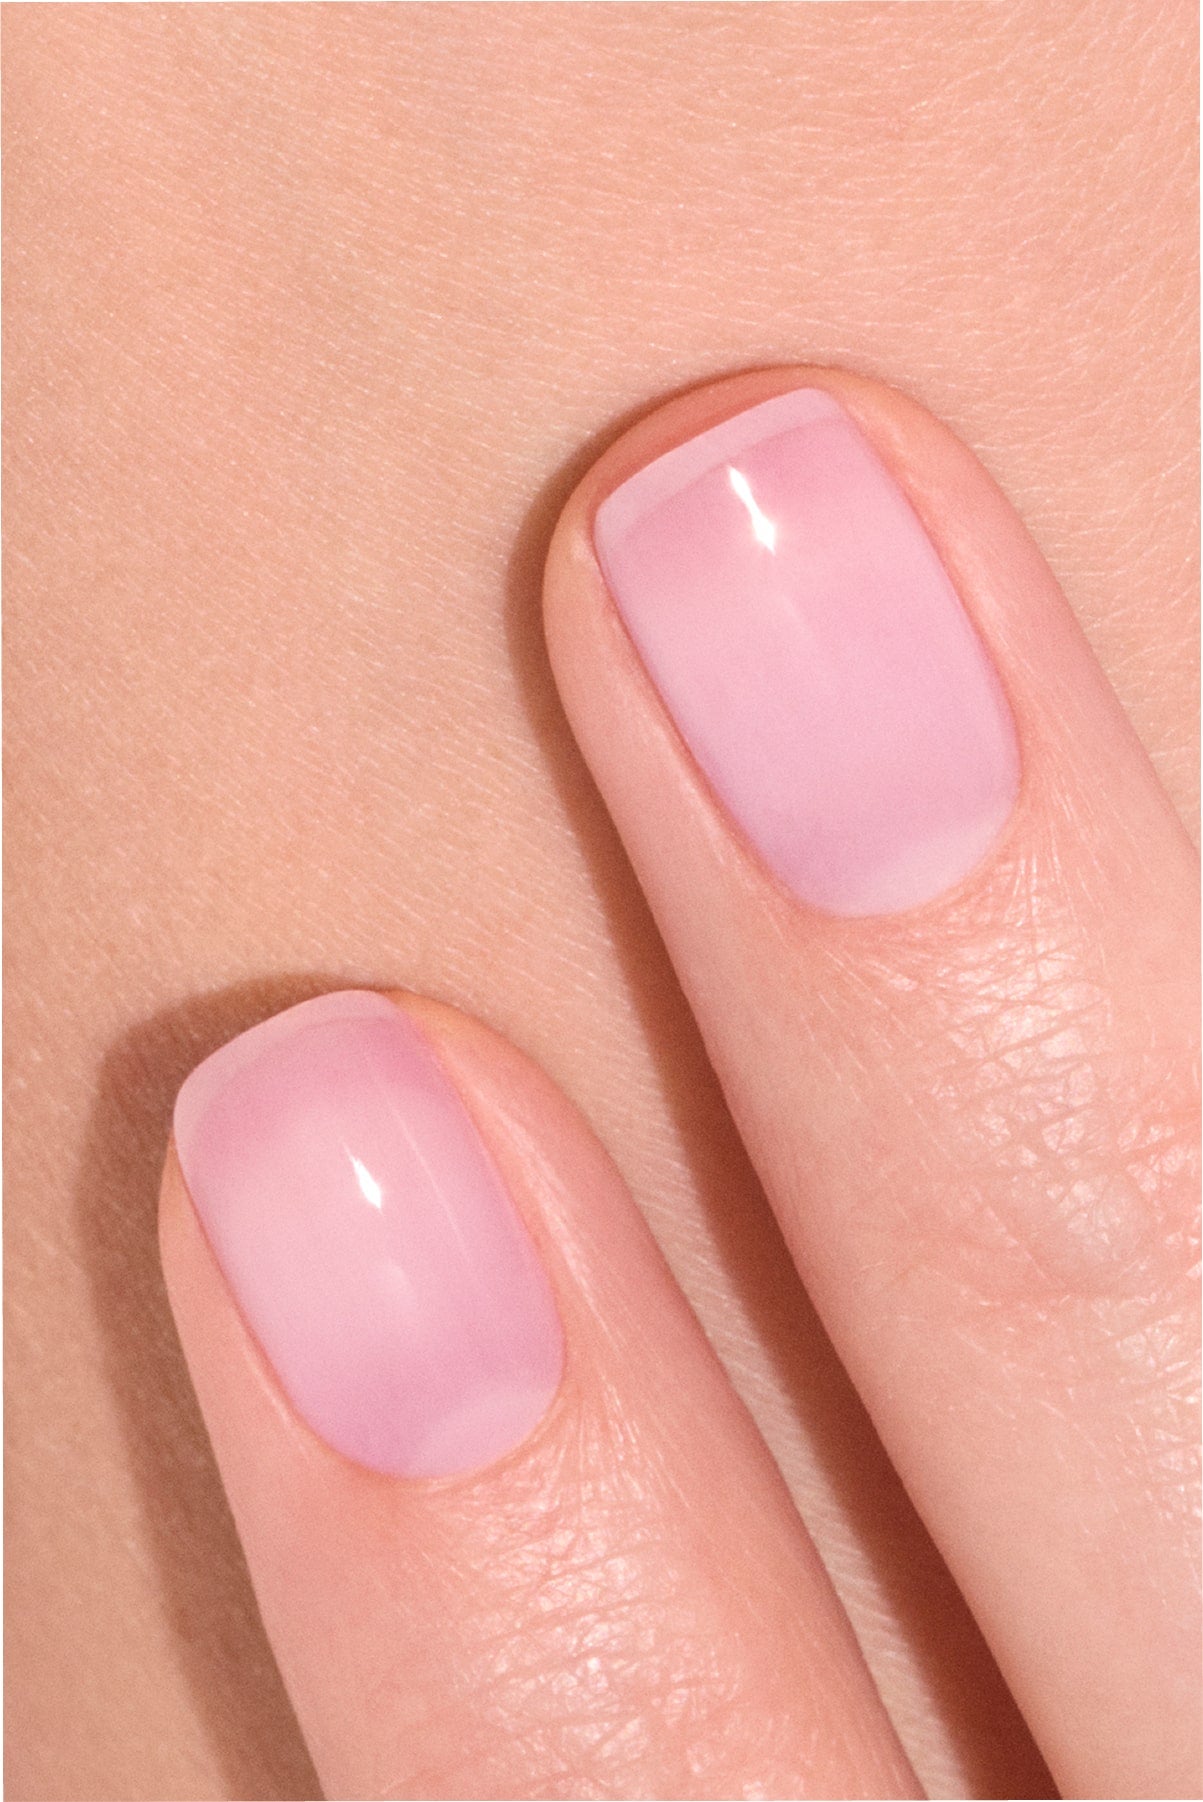
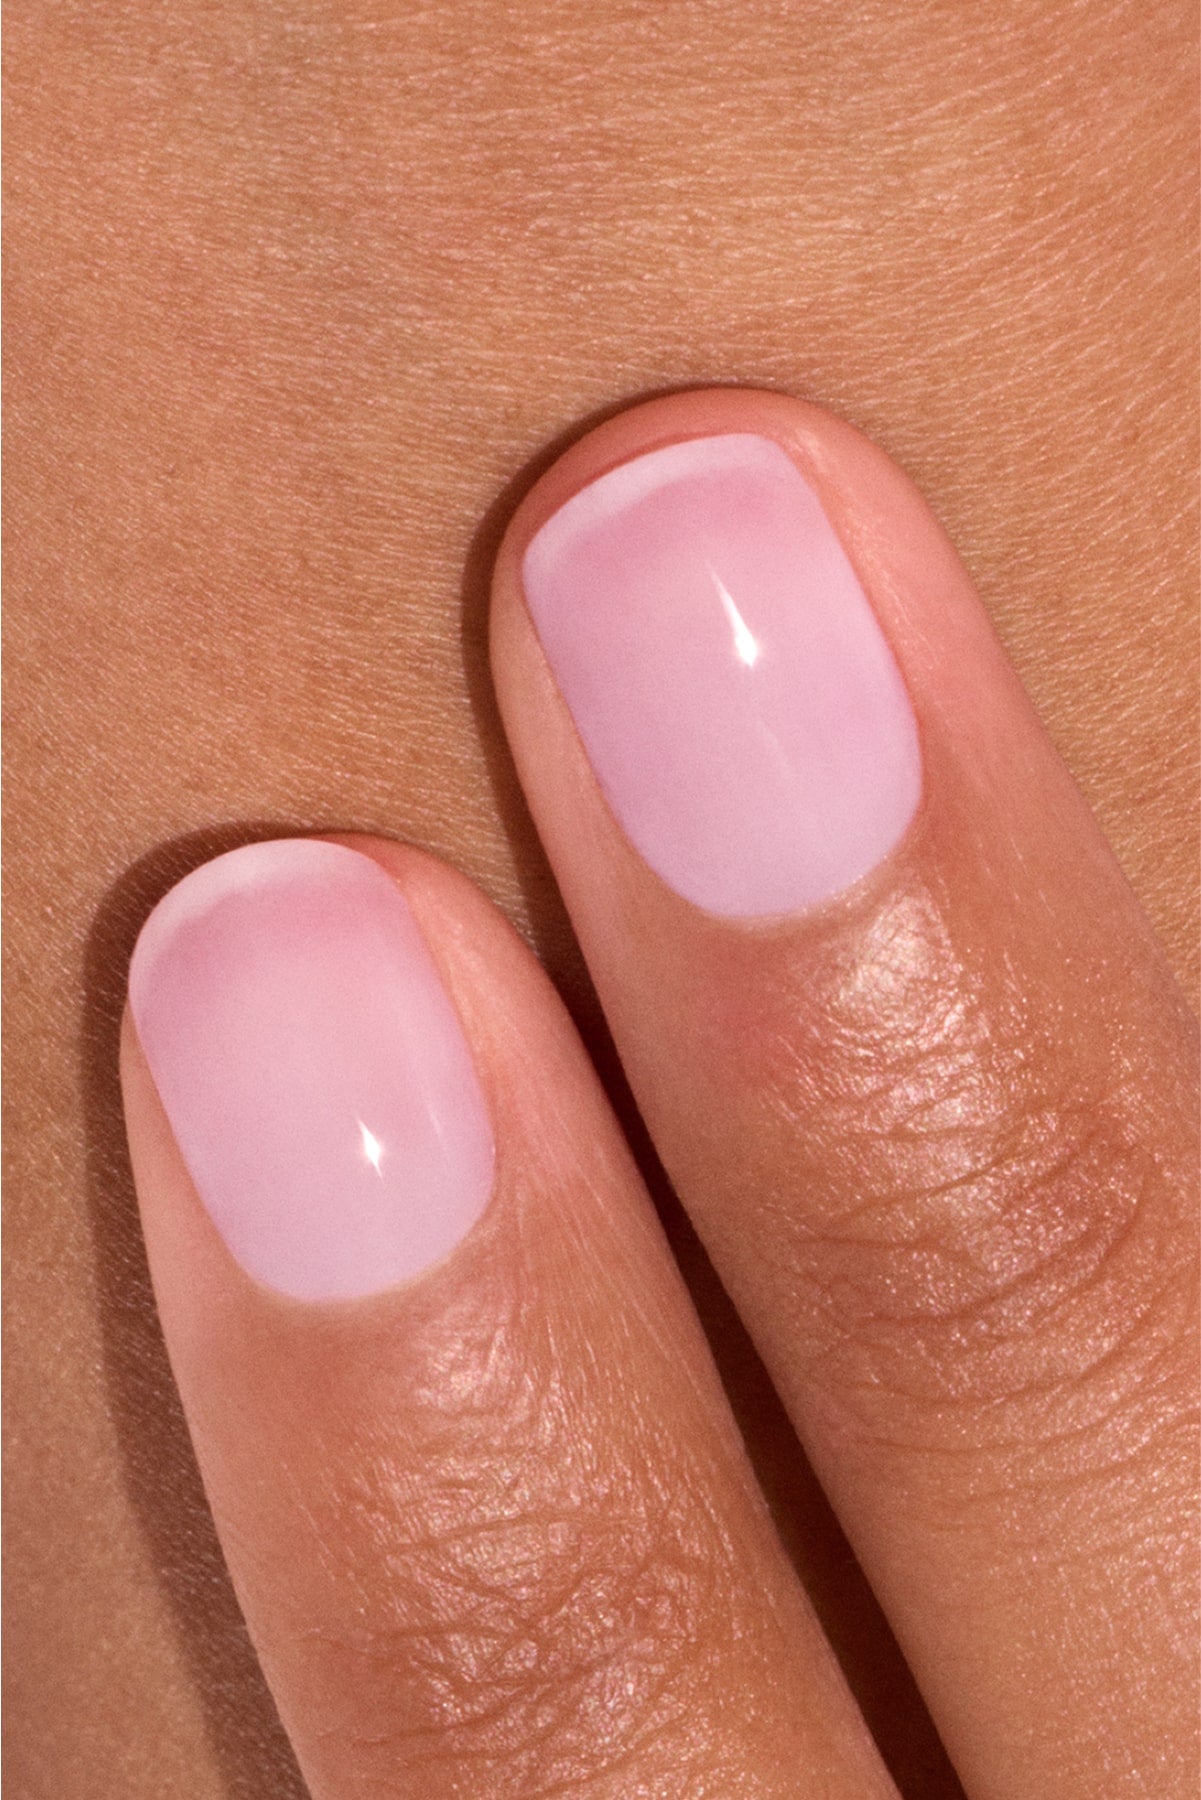
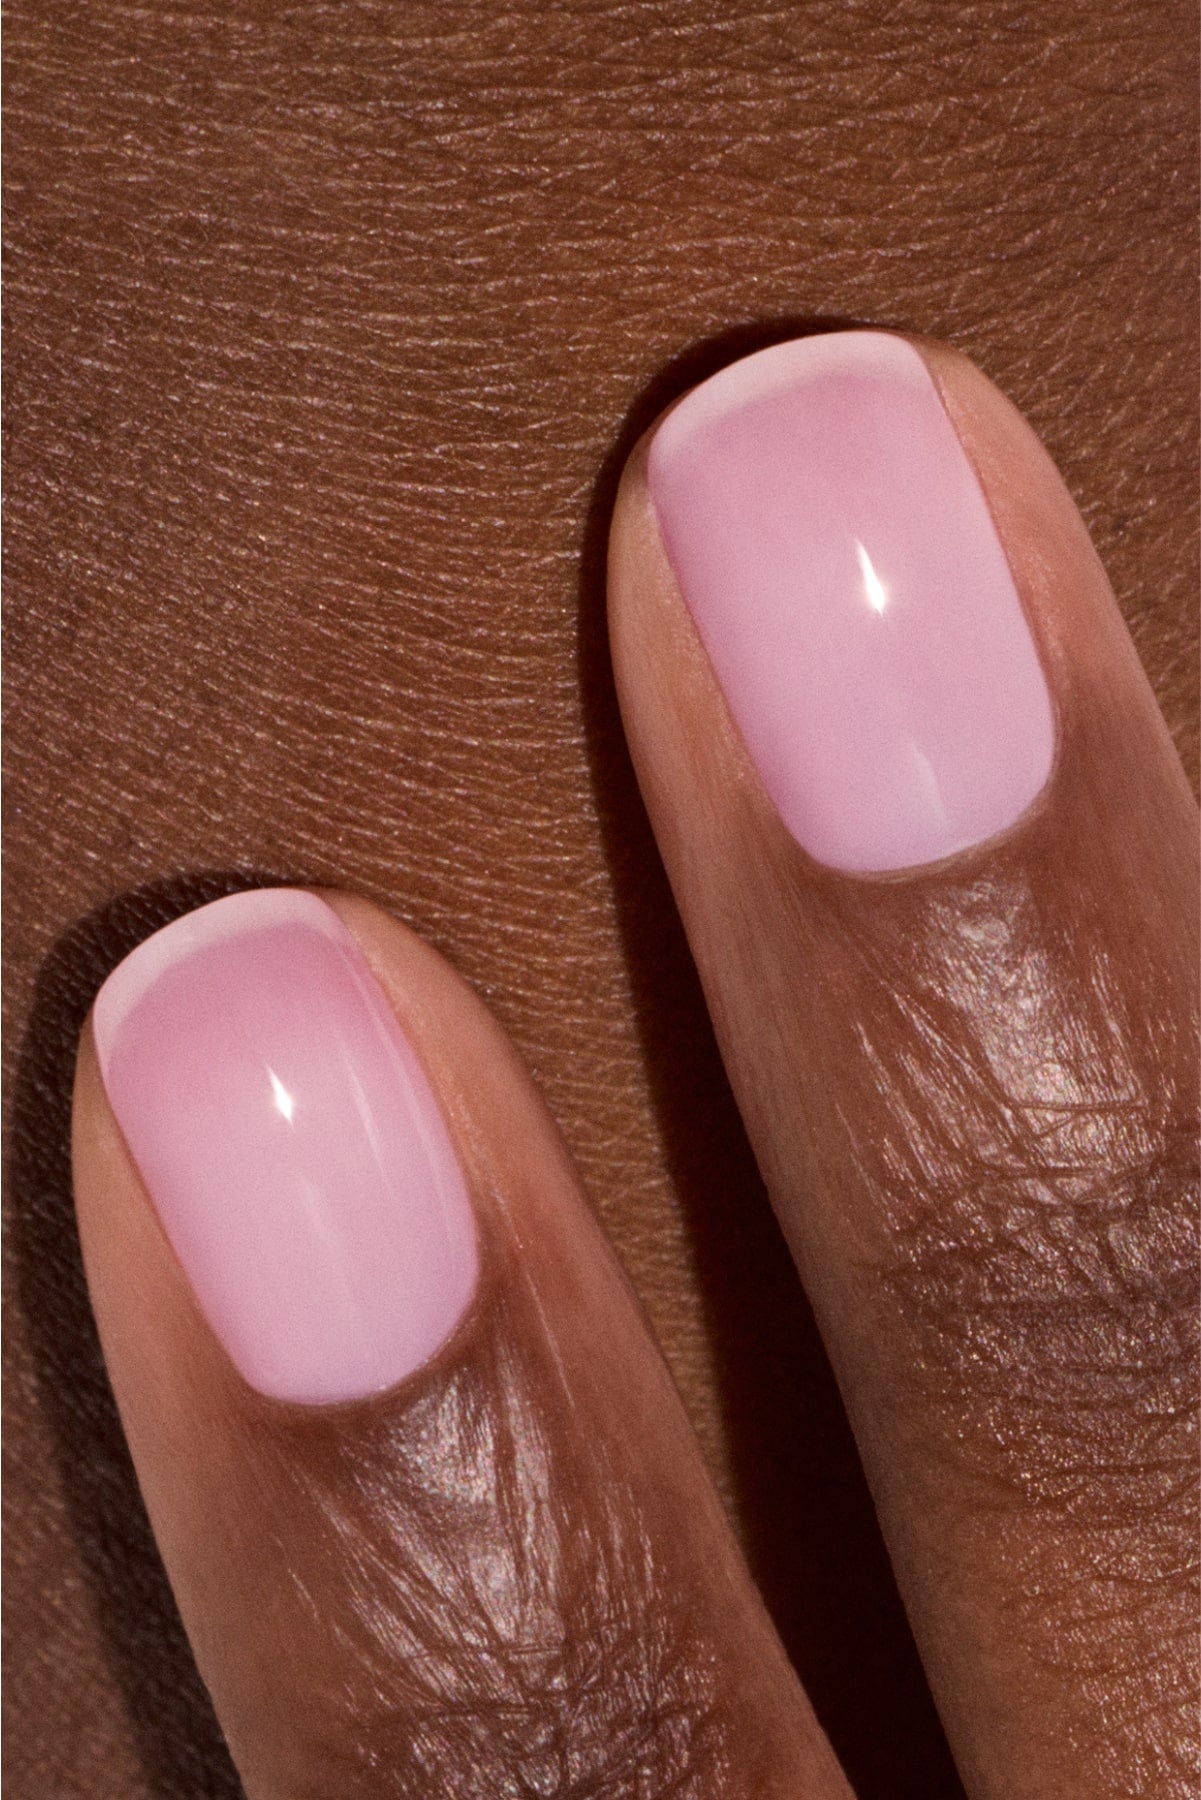
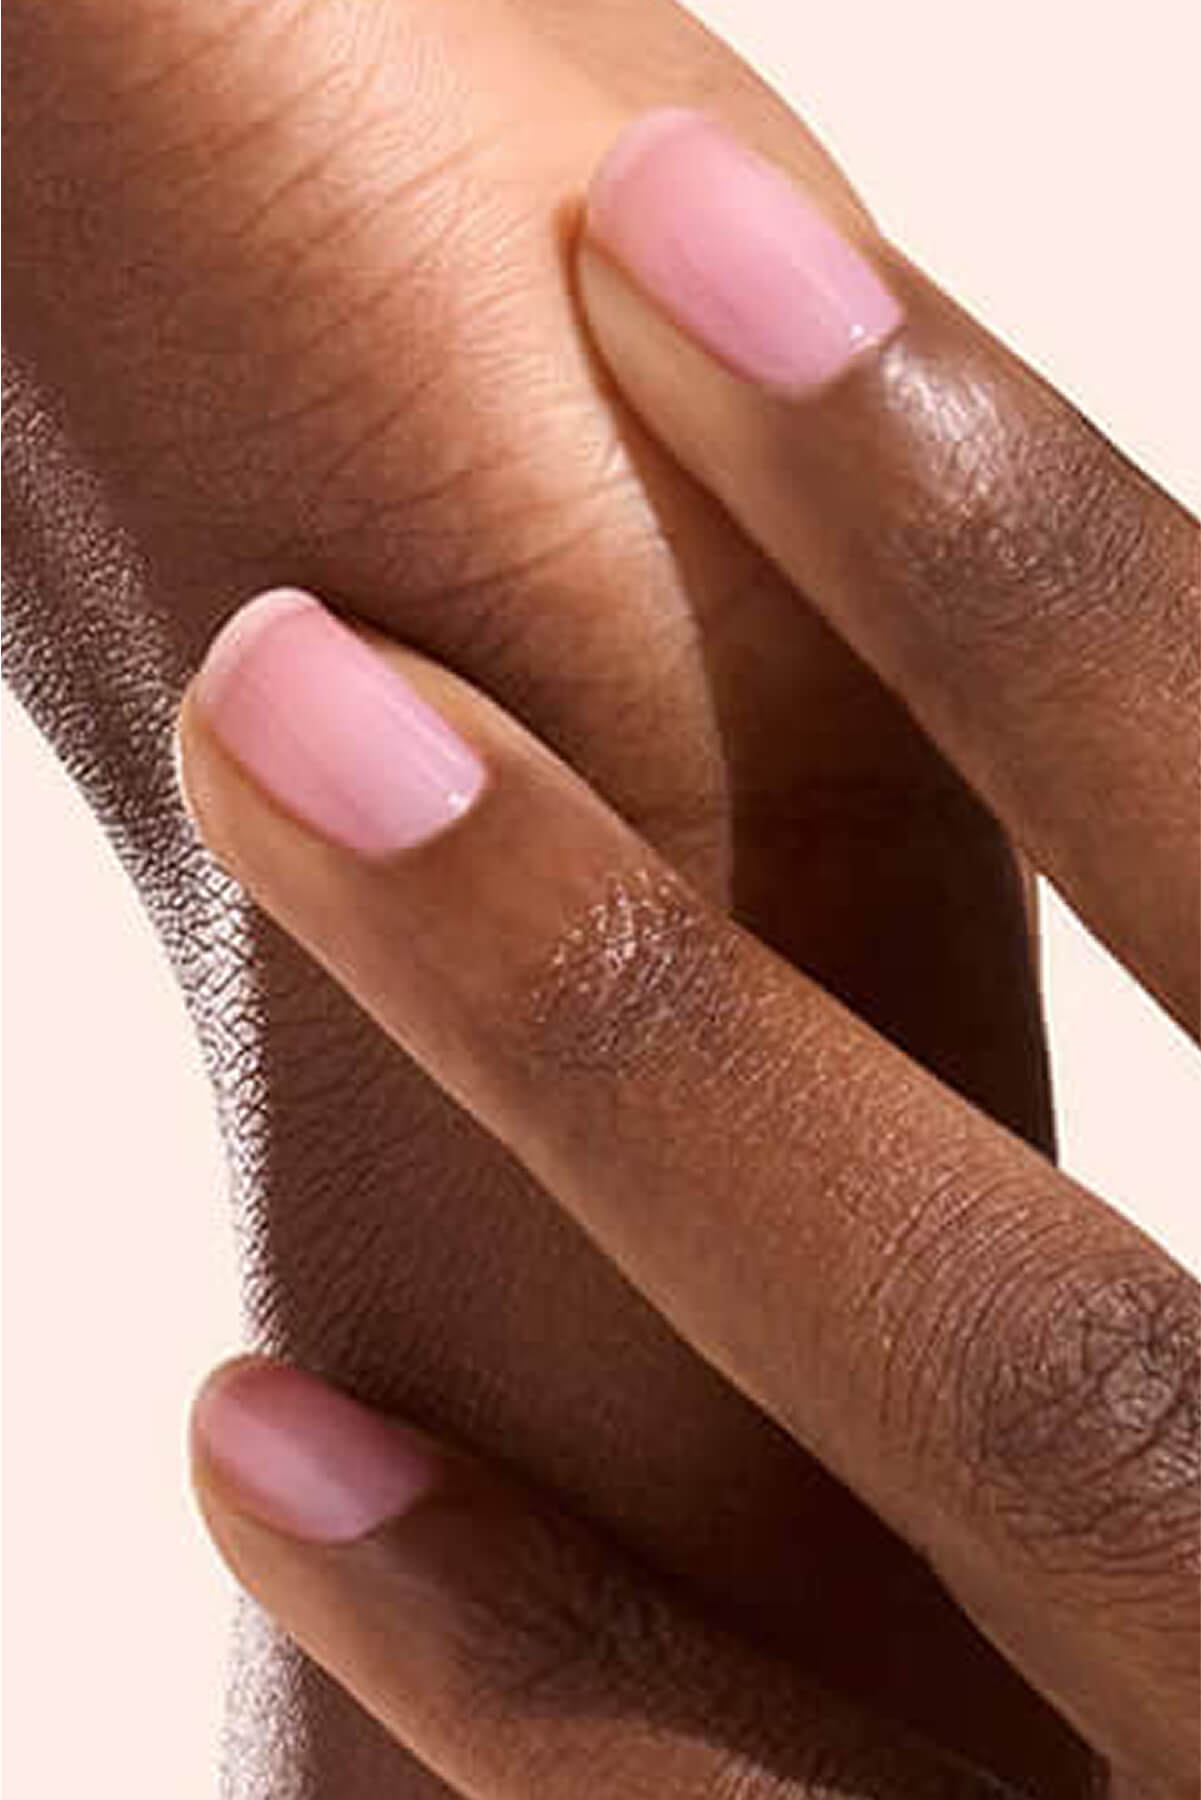
What is the glazed nail trend?
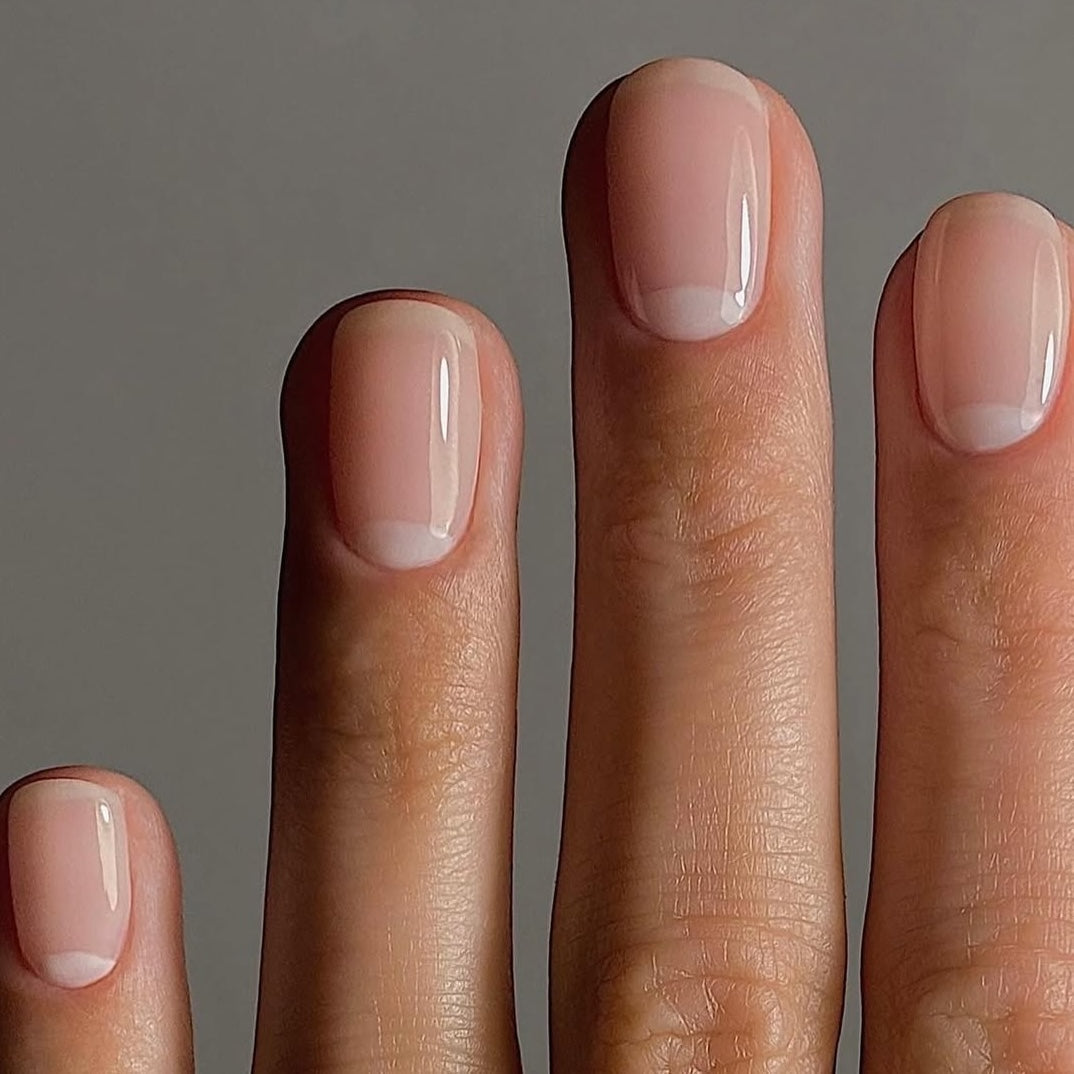
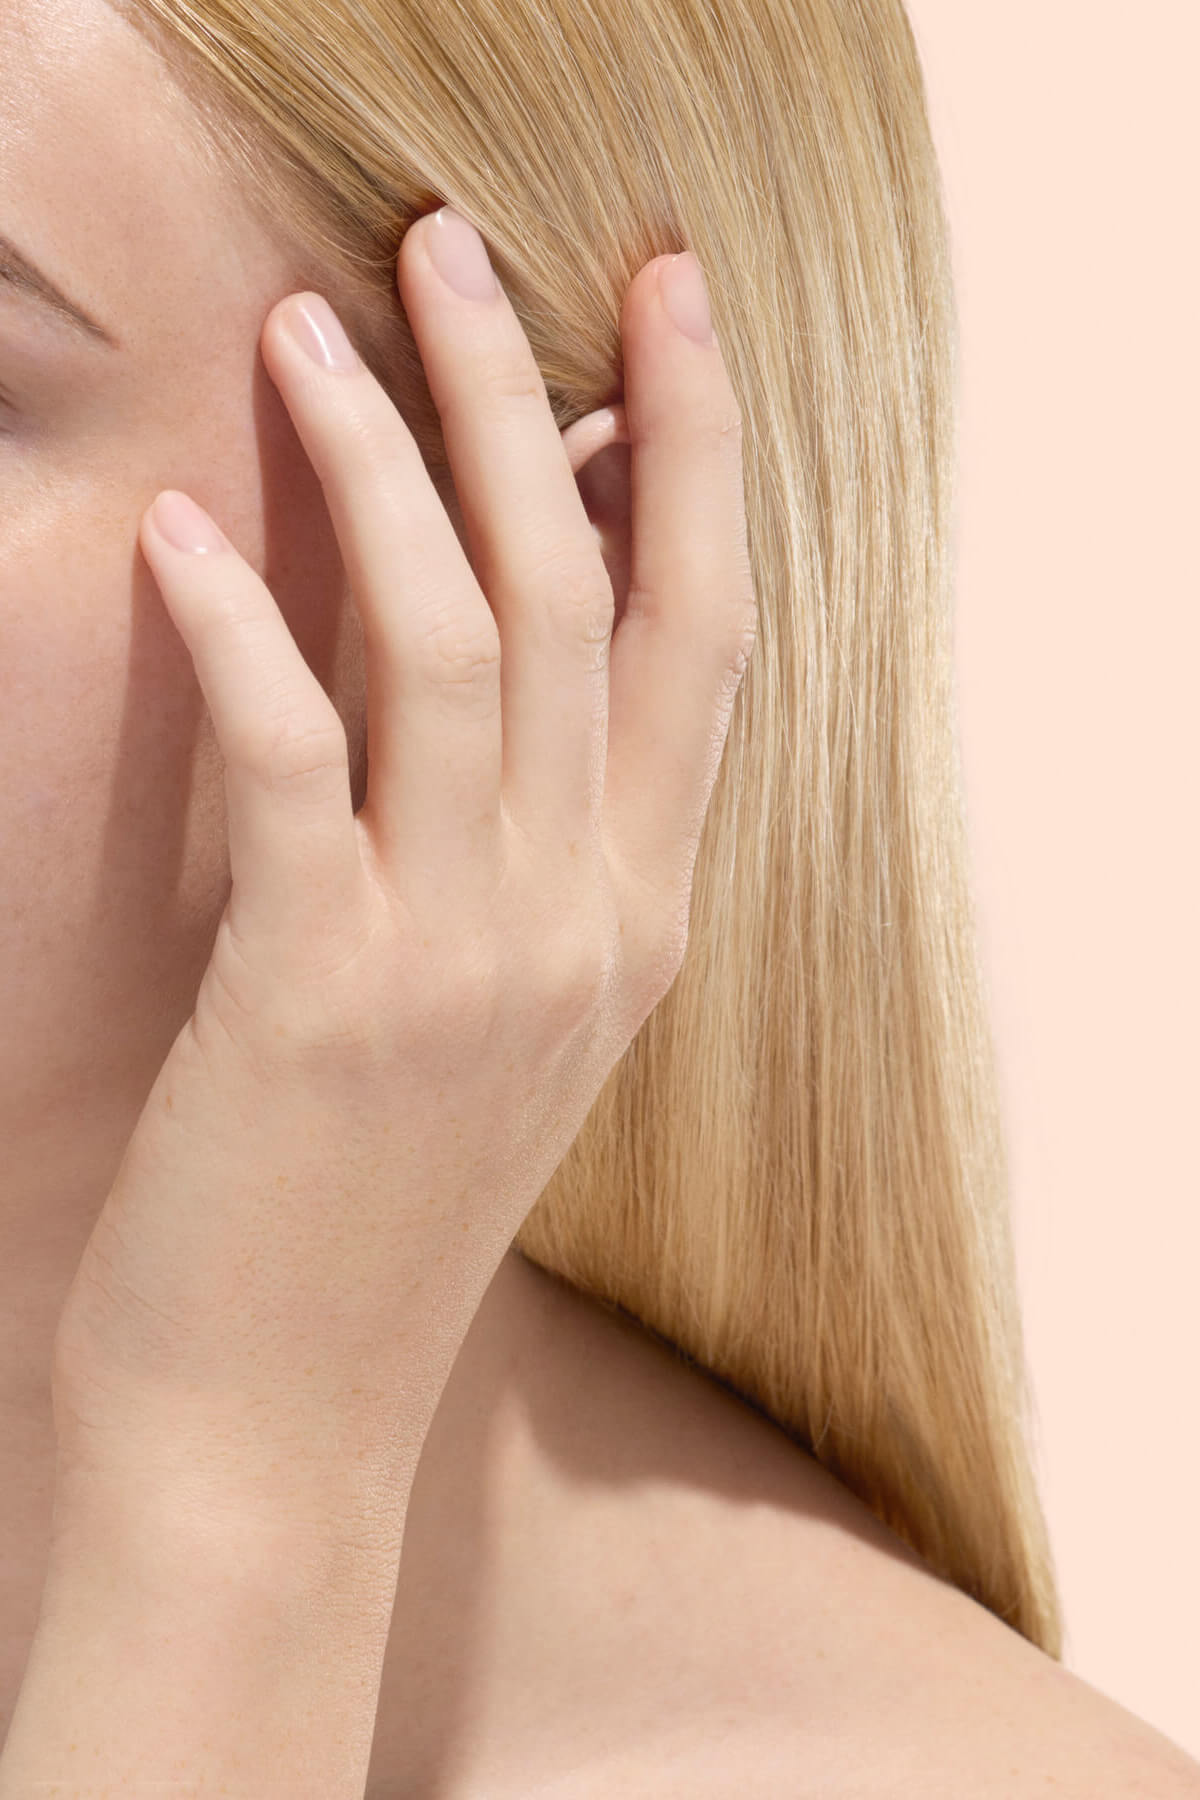
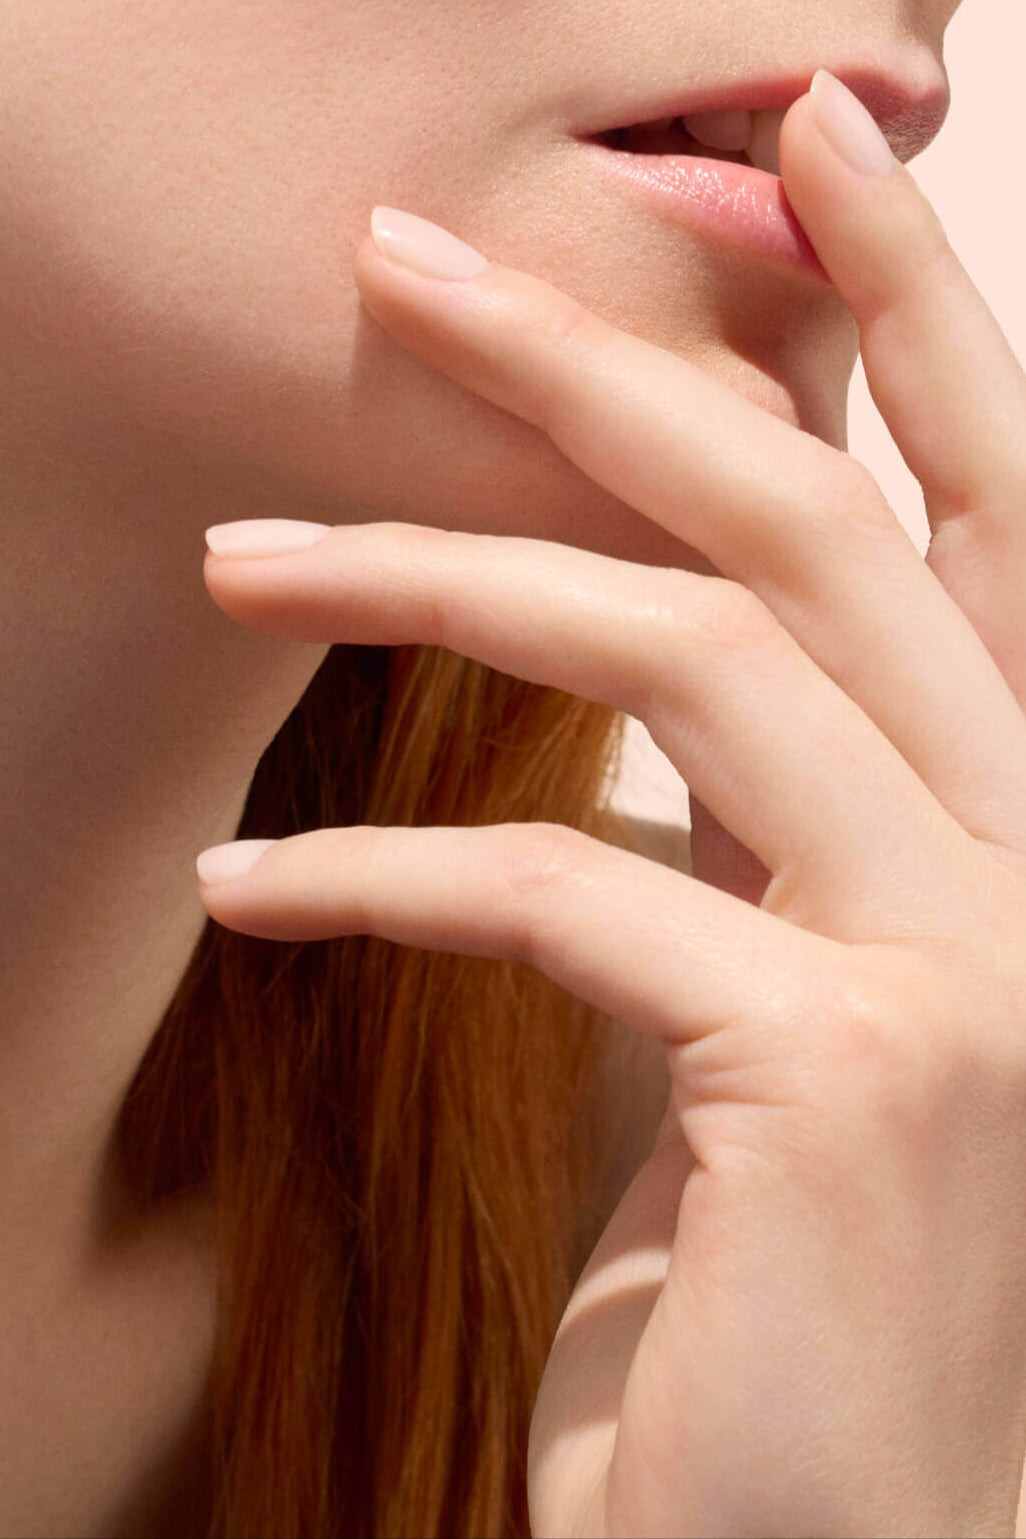
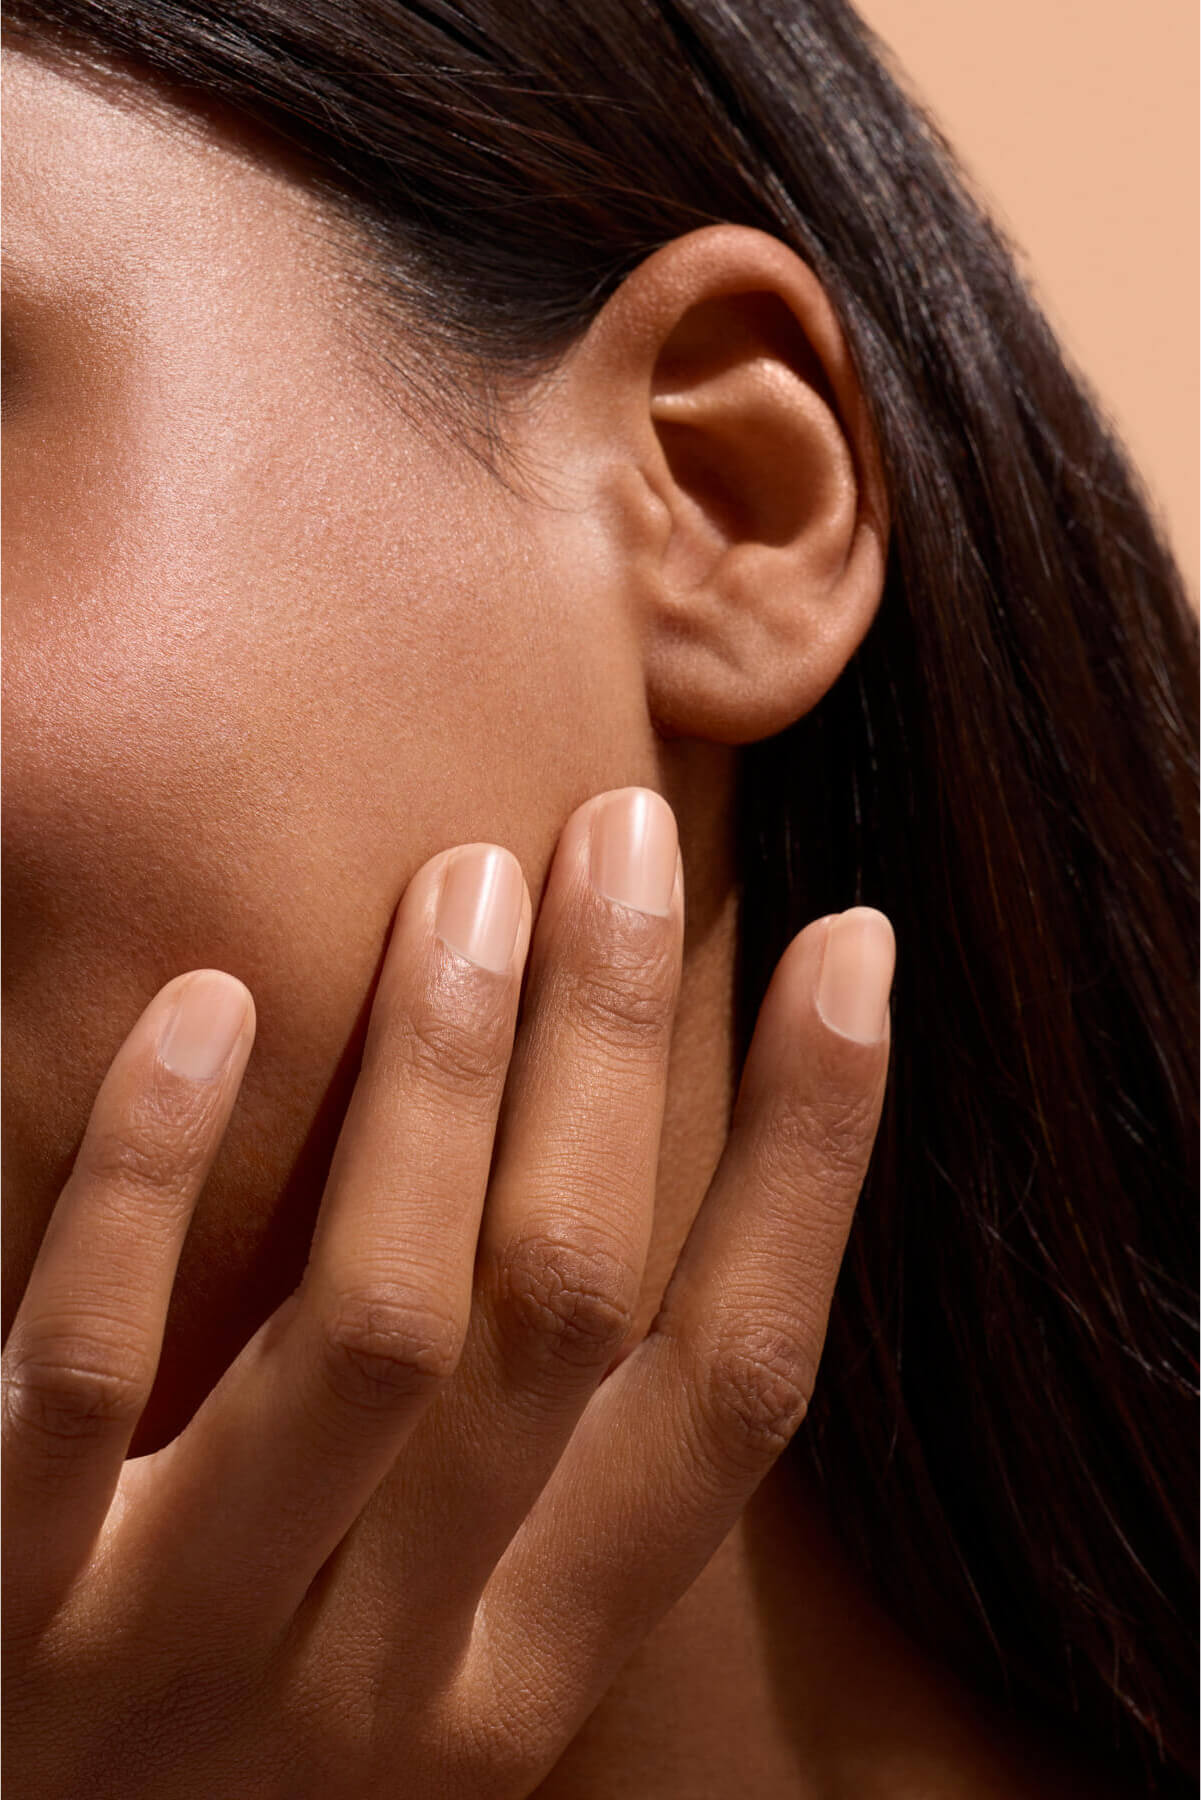
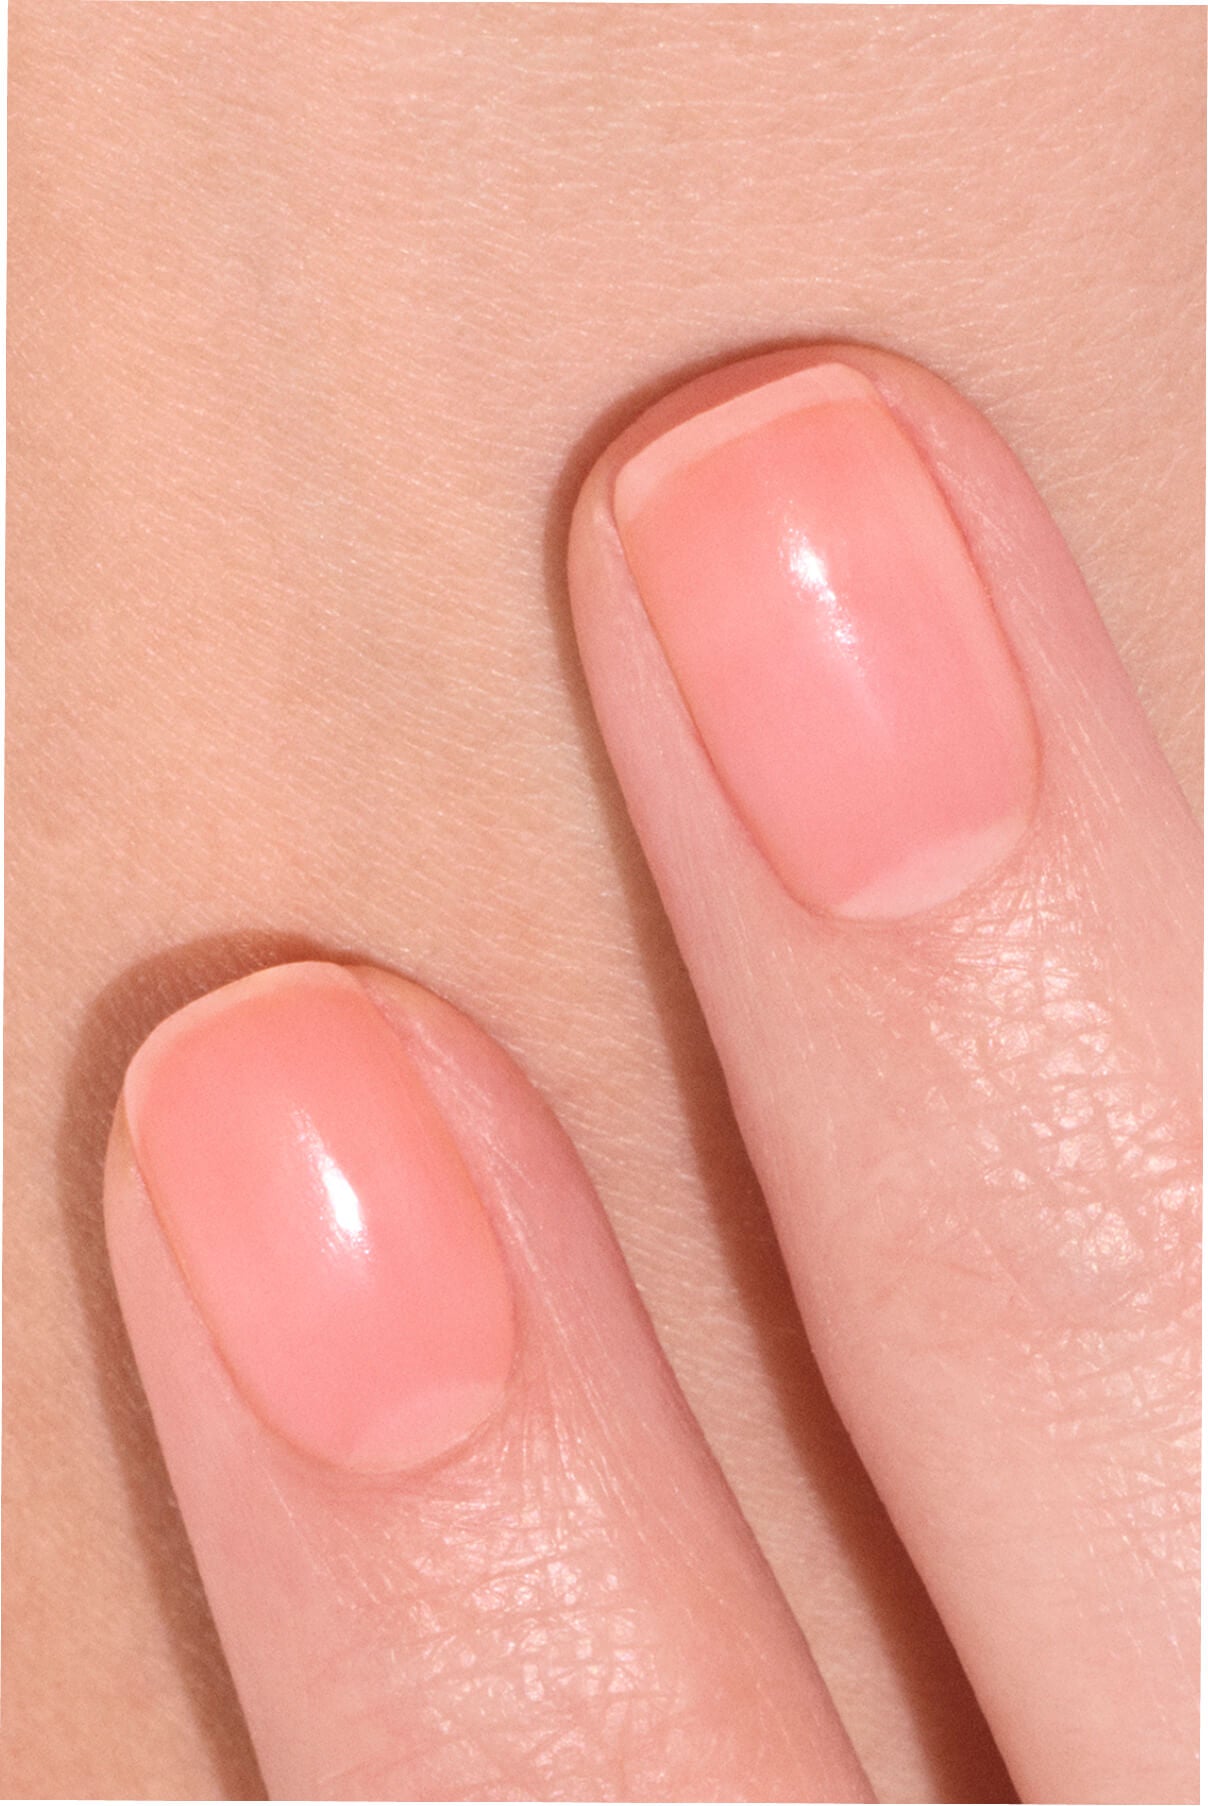
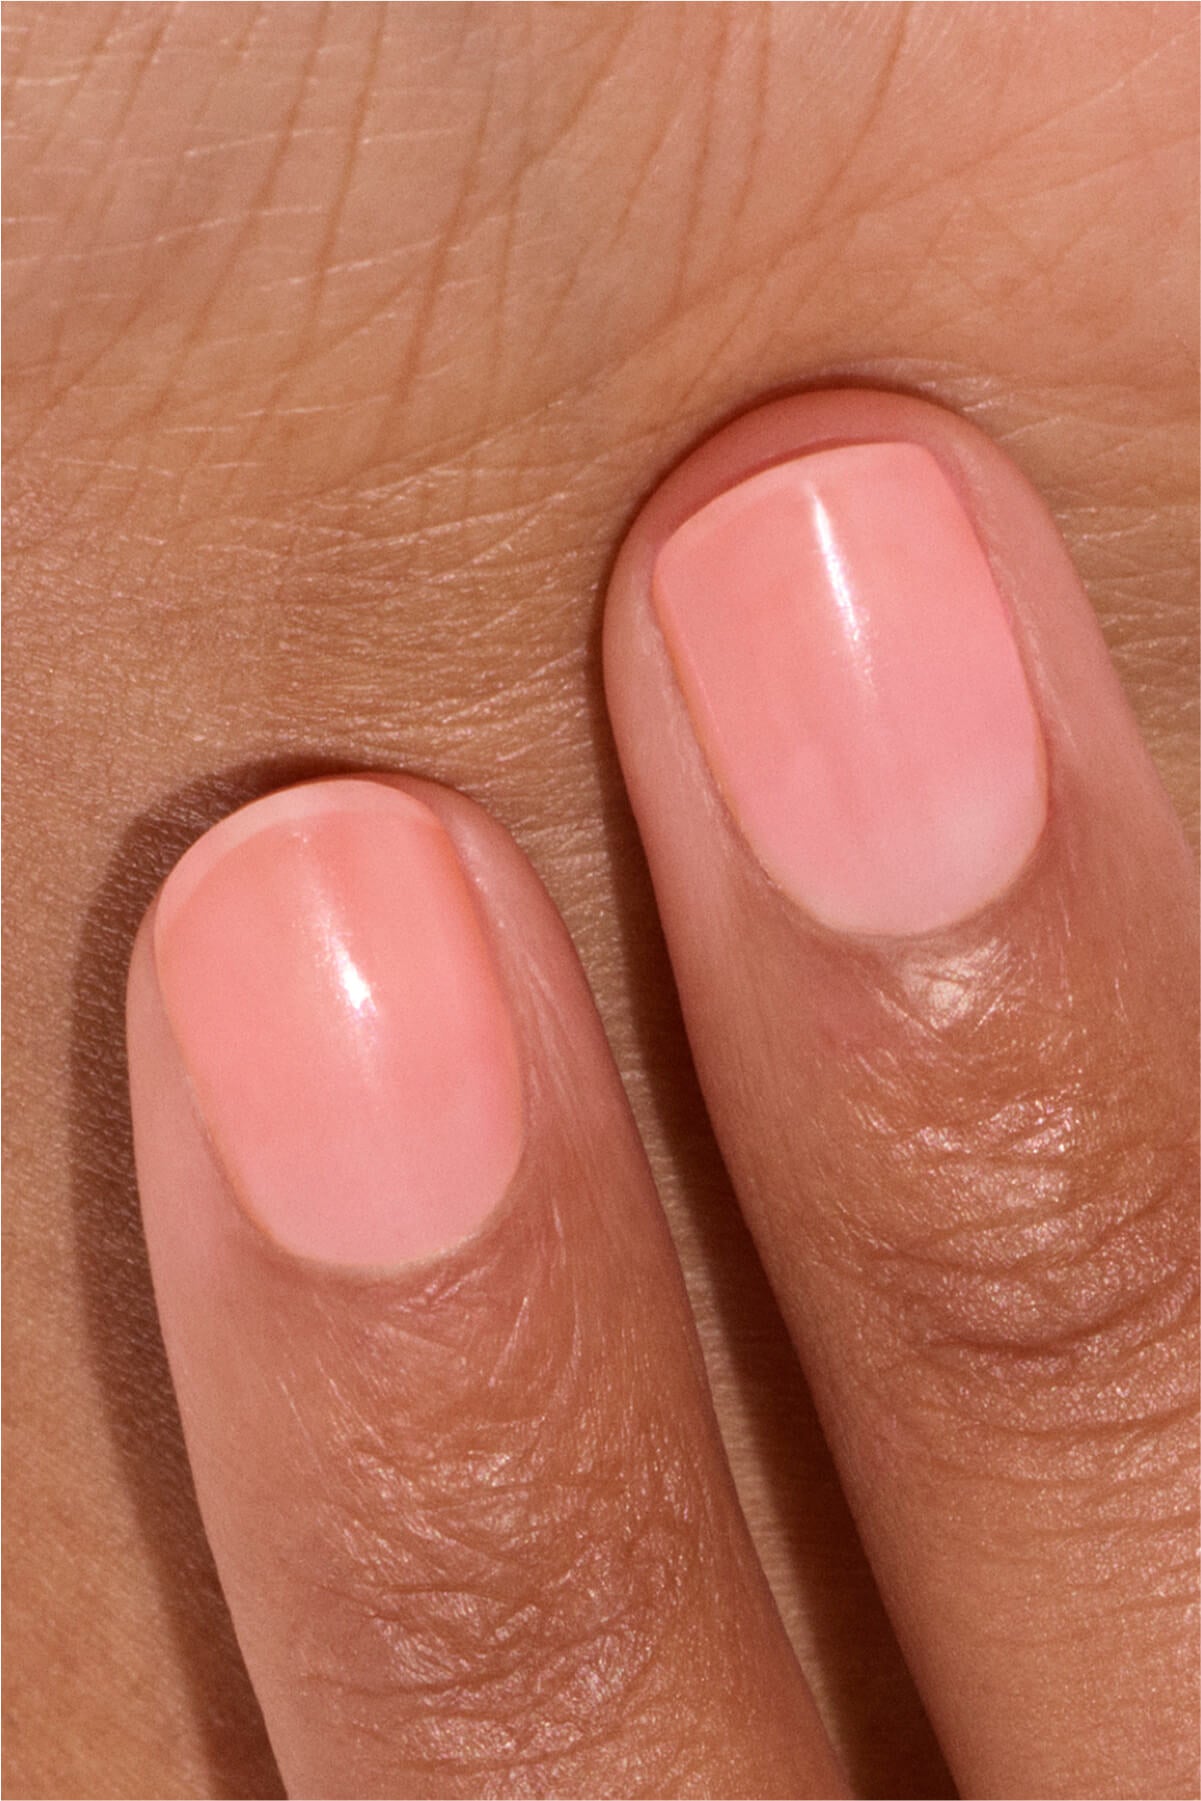
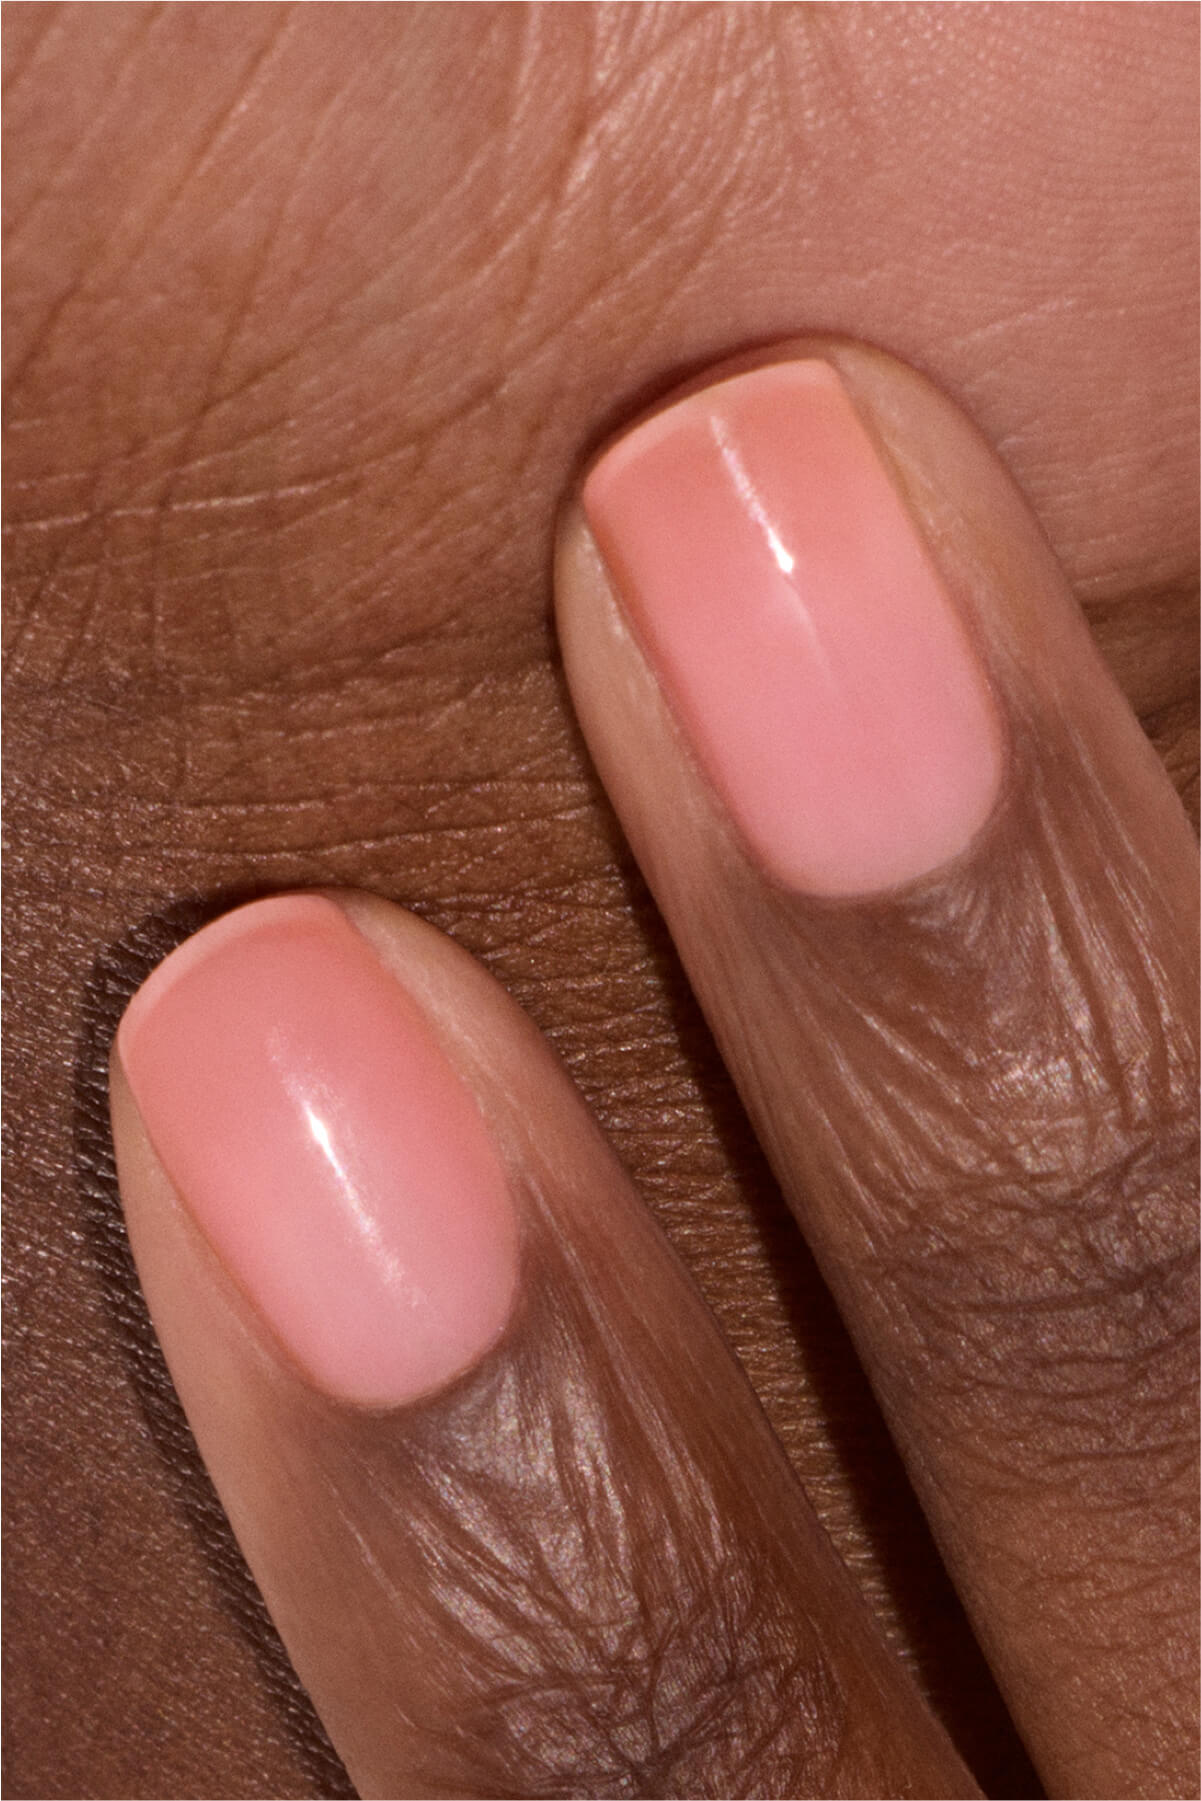
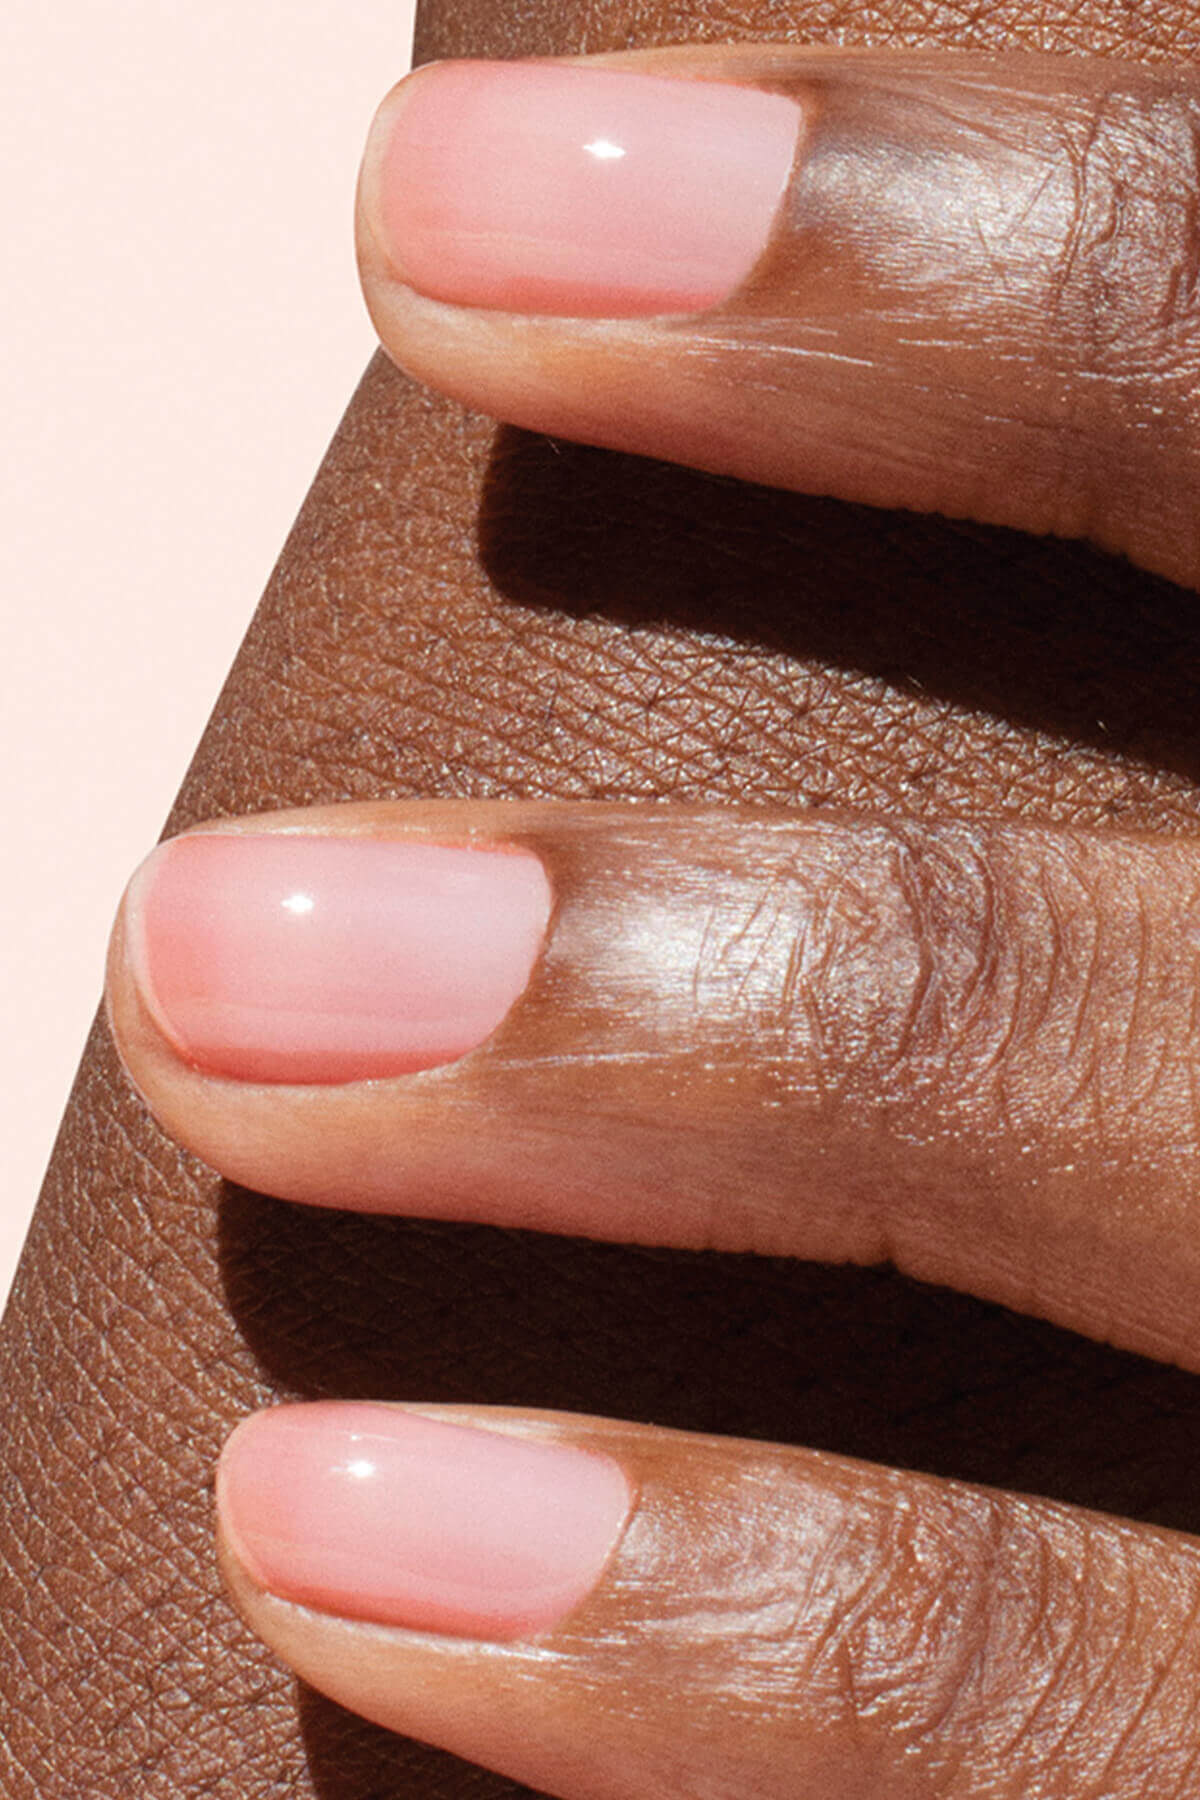
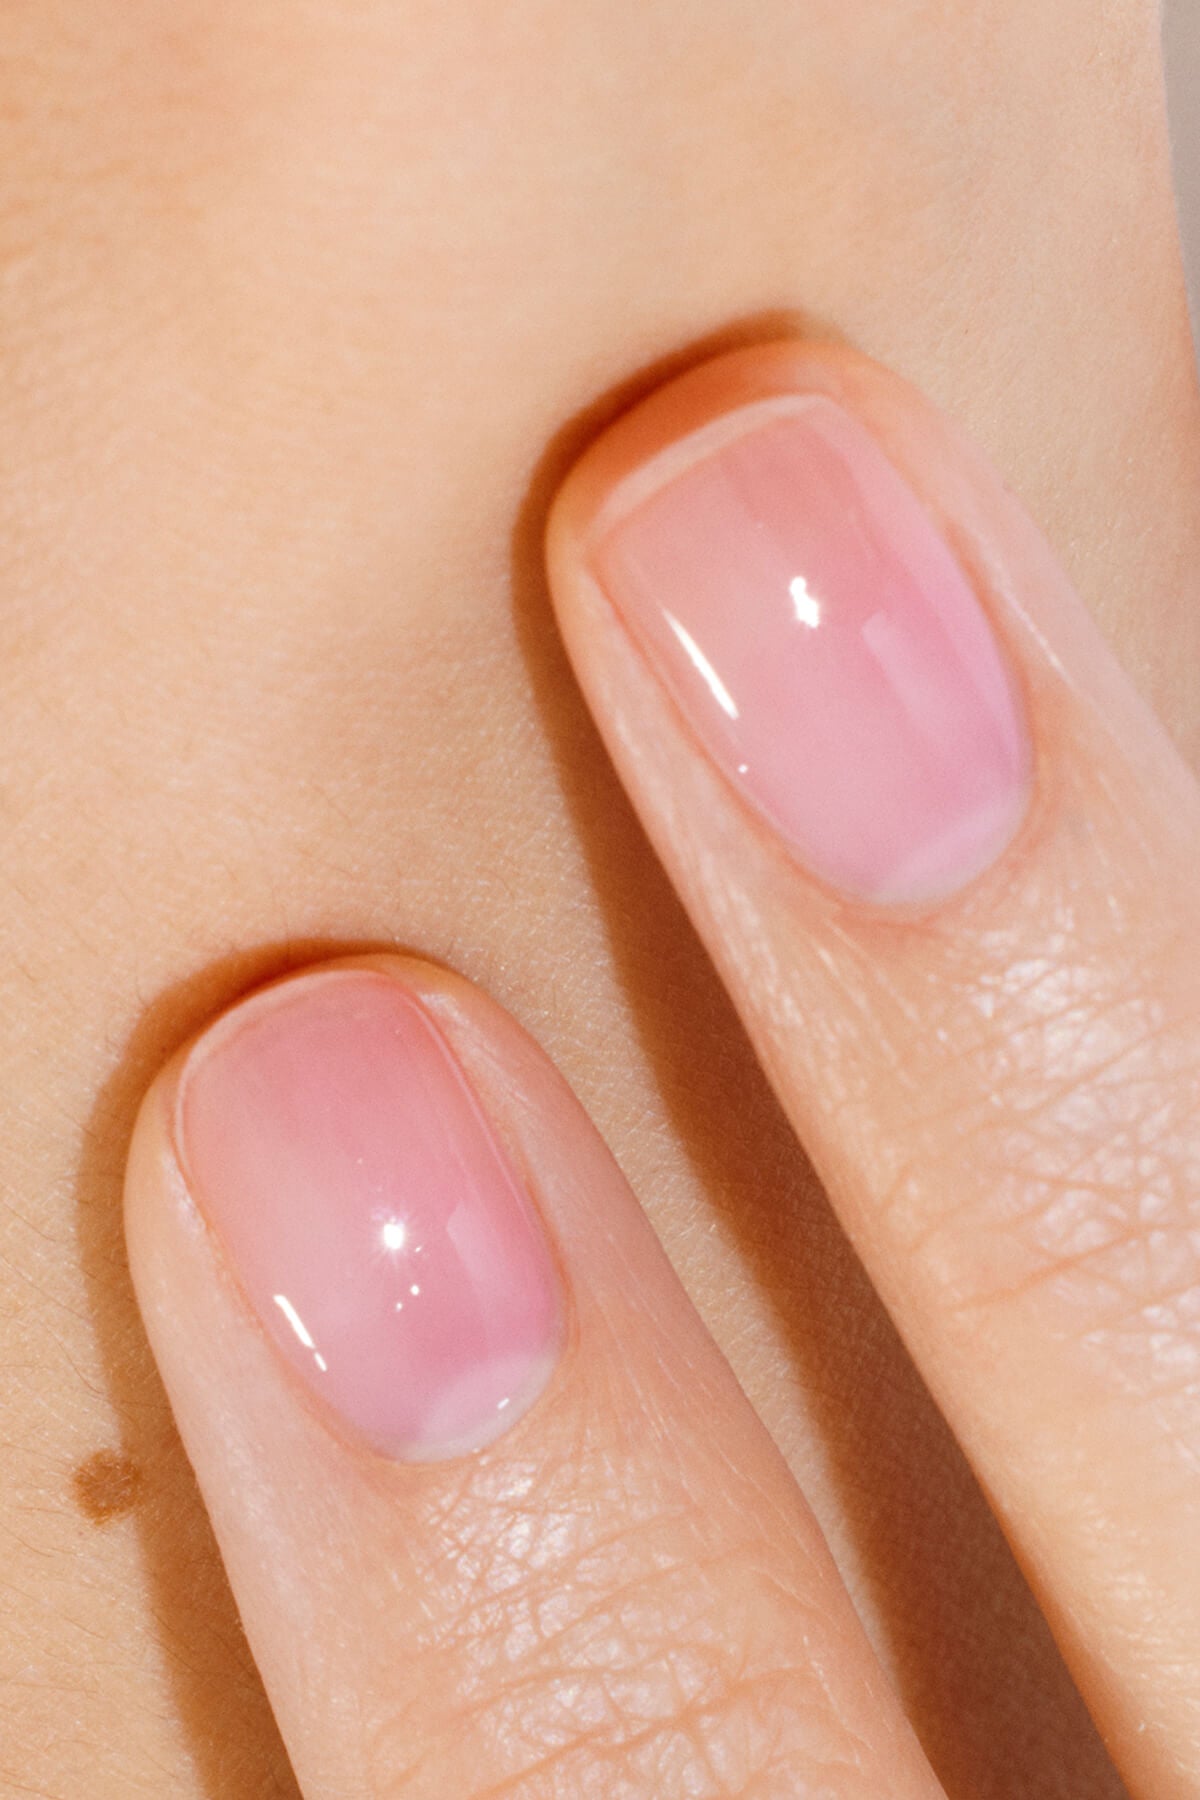
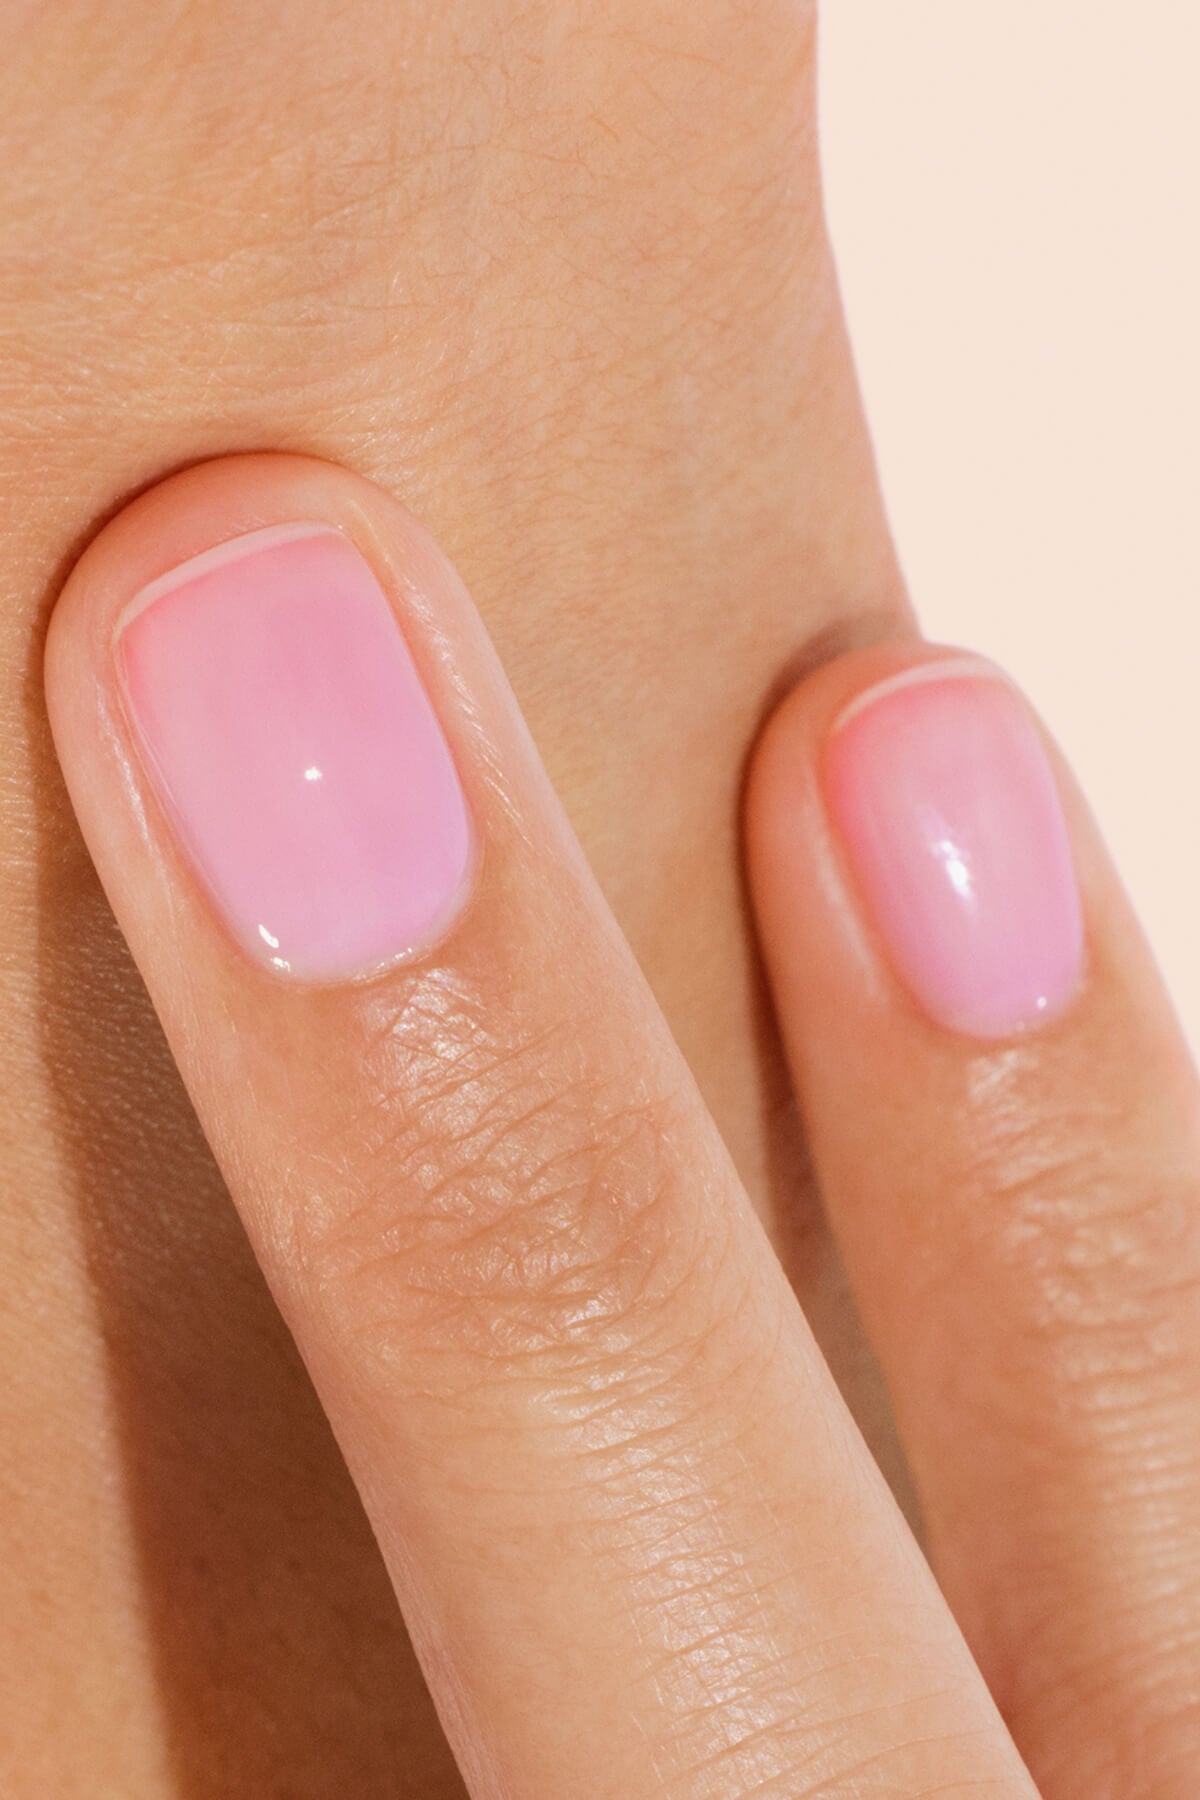
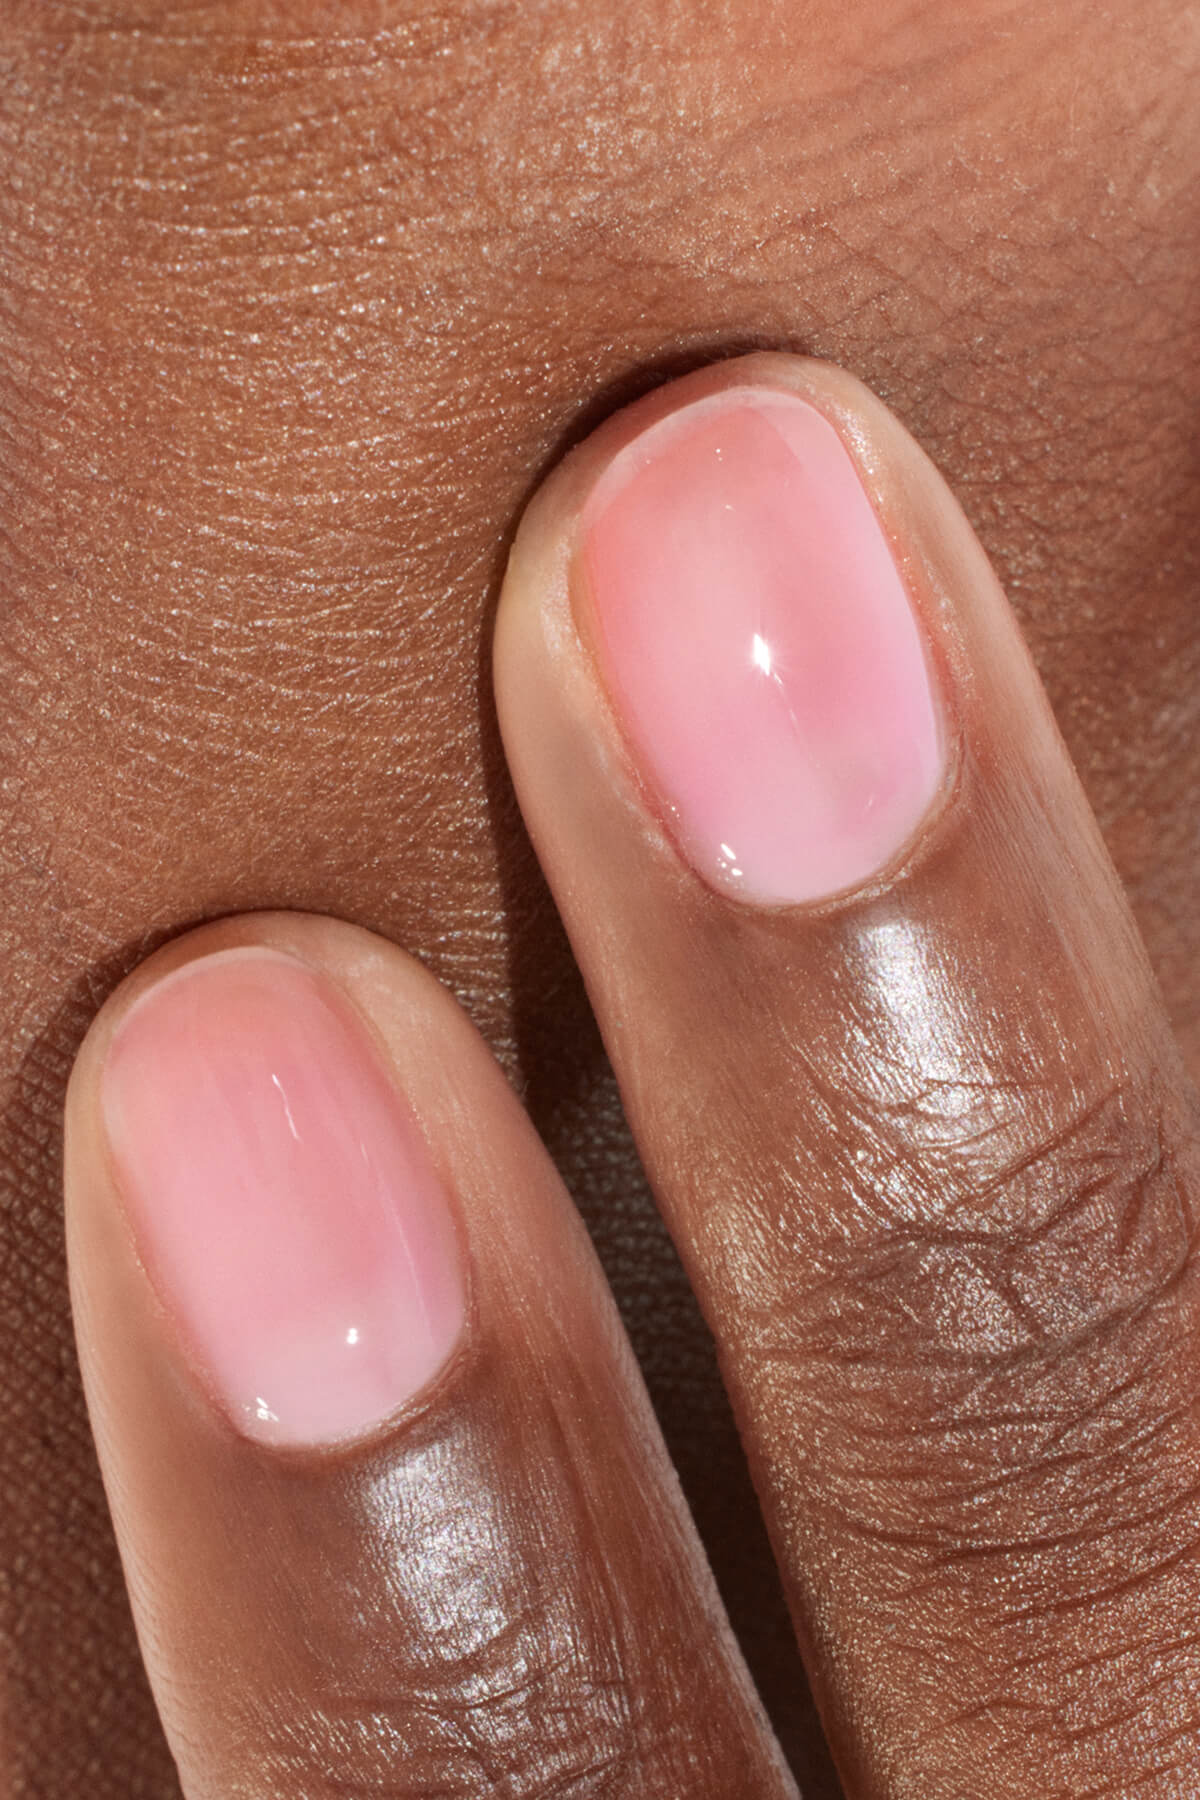
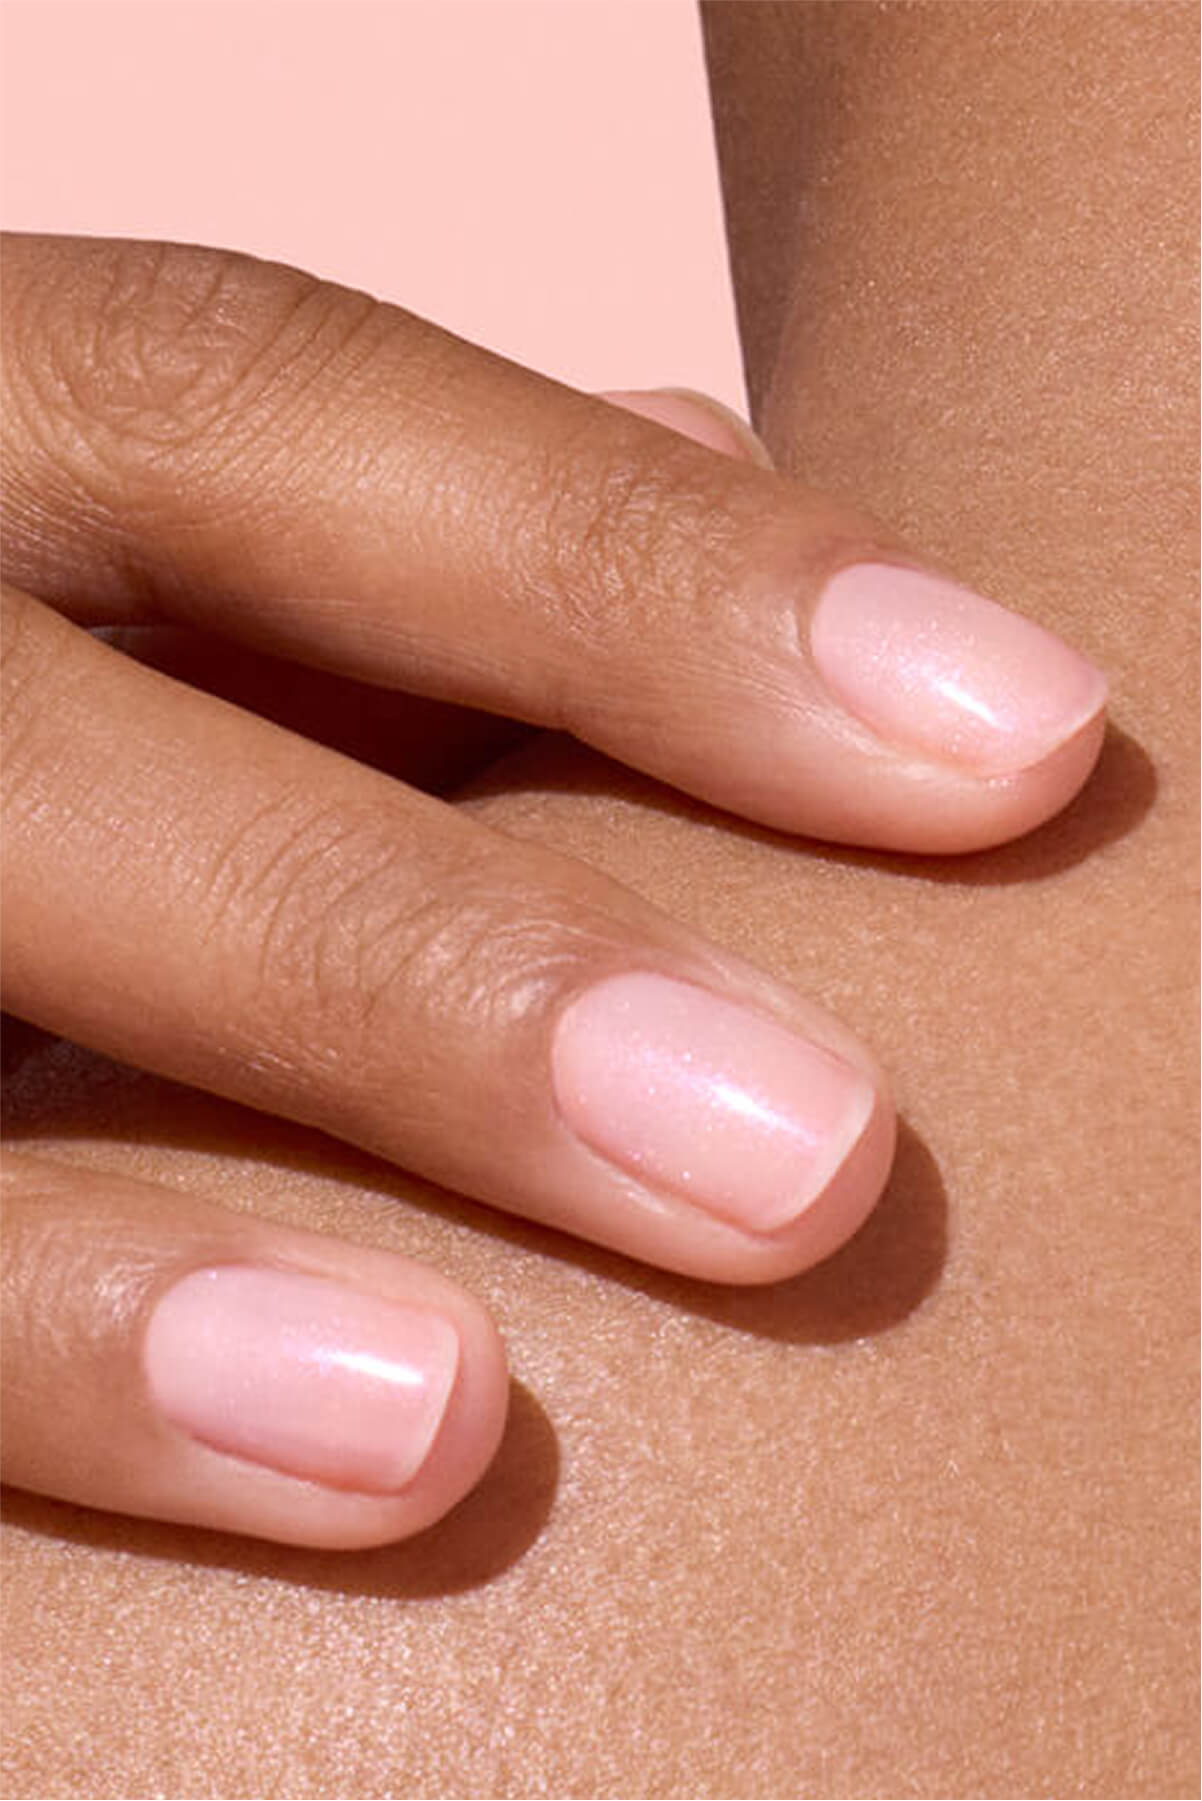
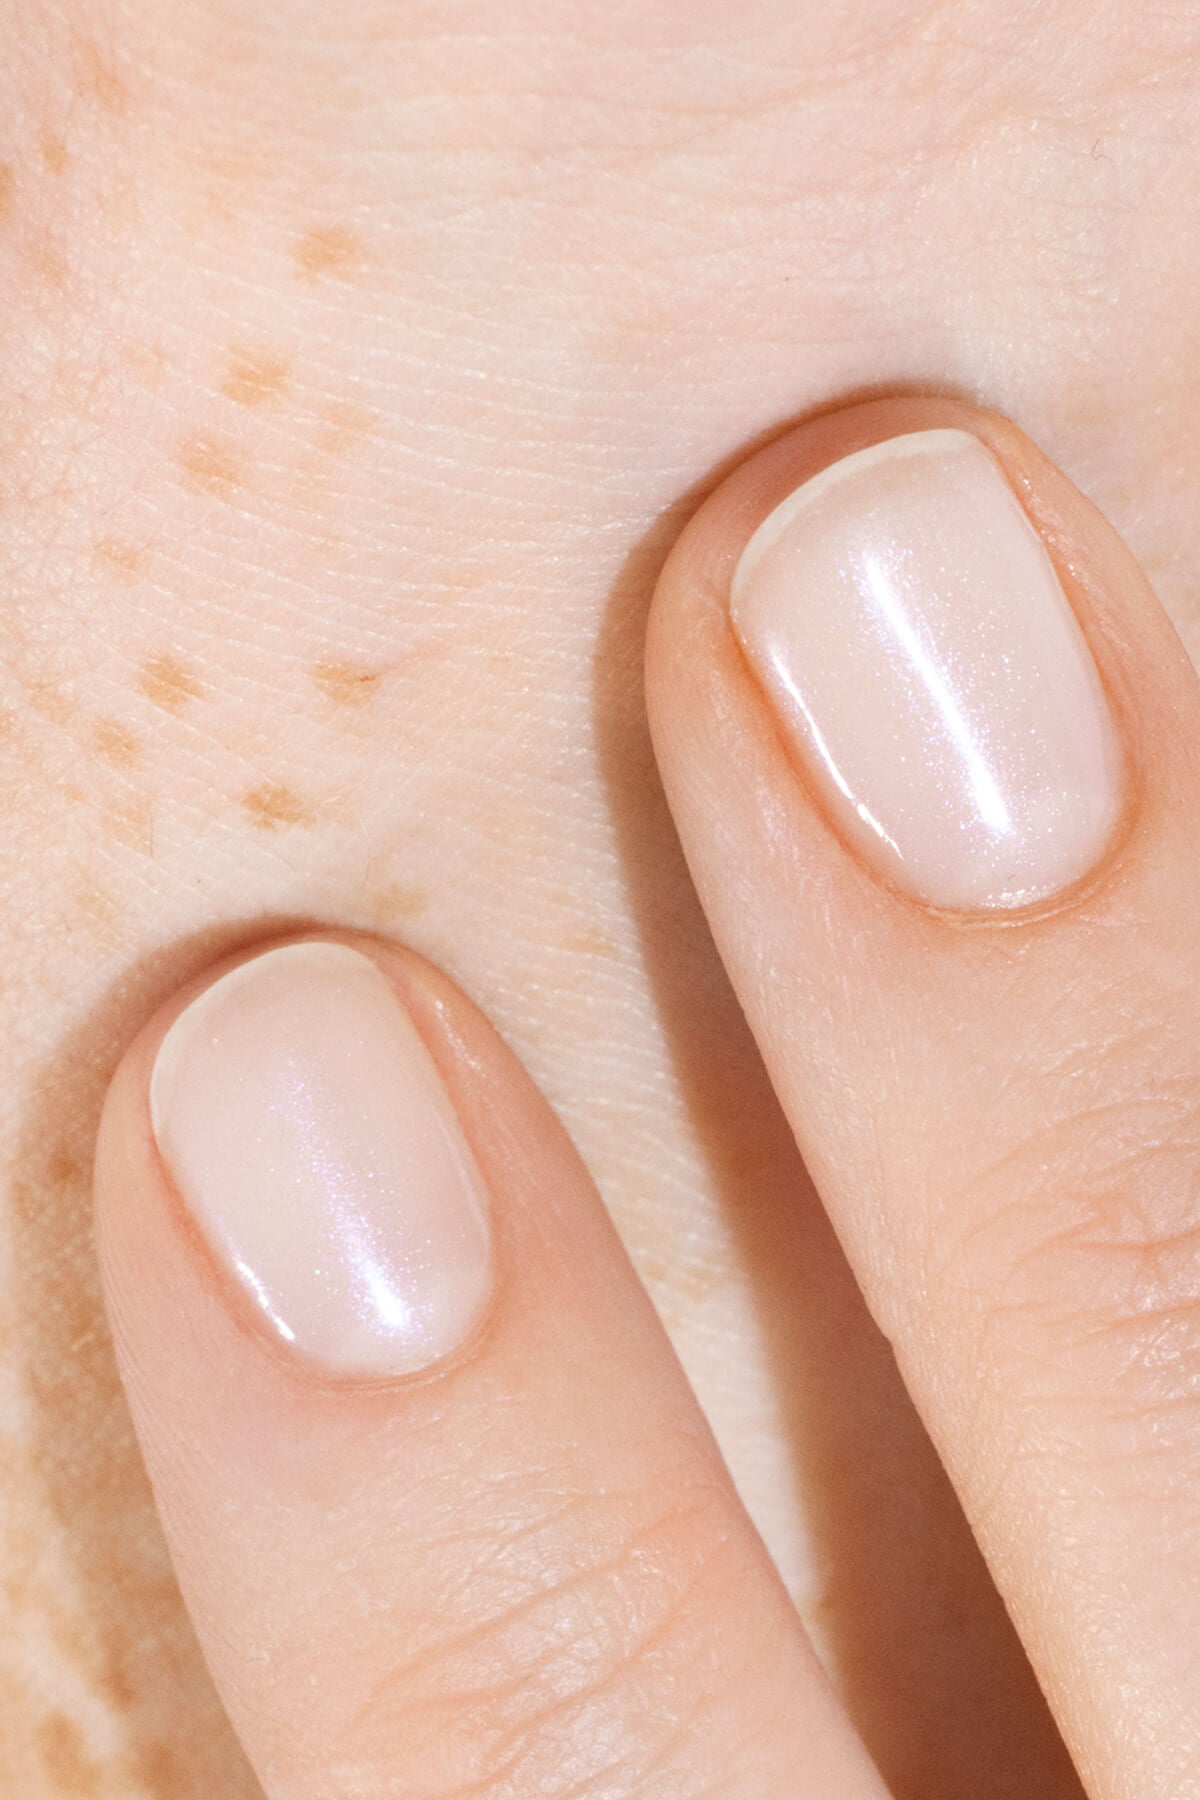
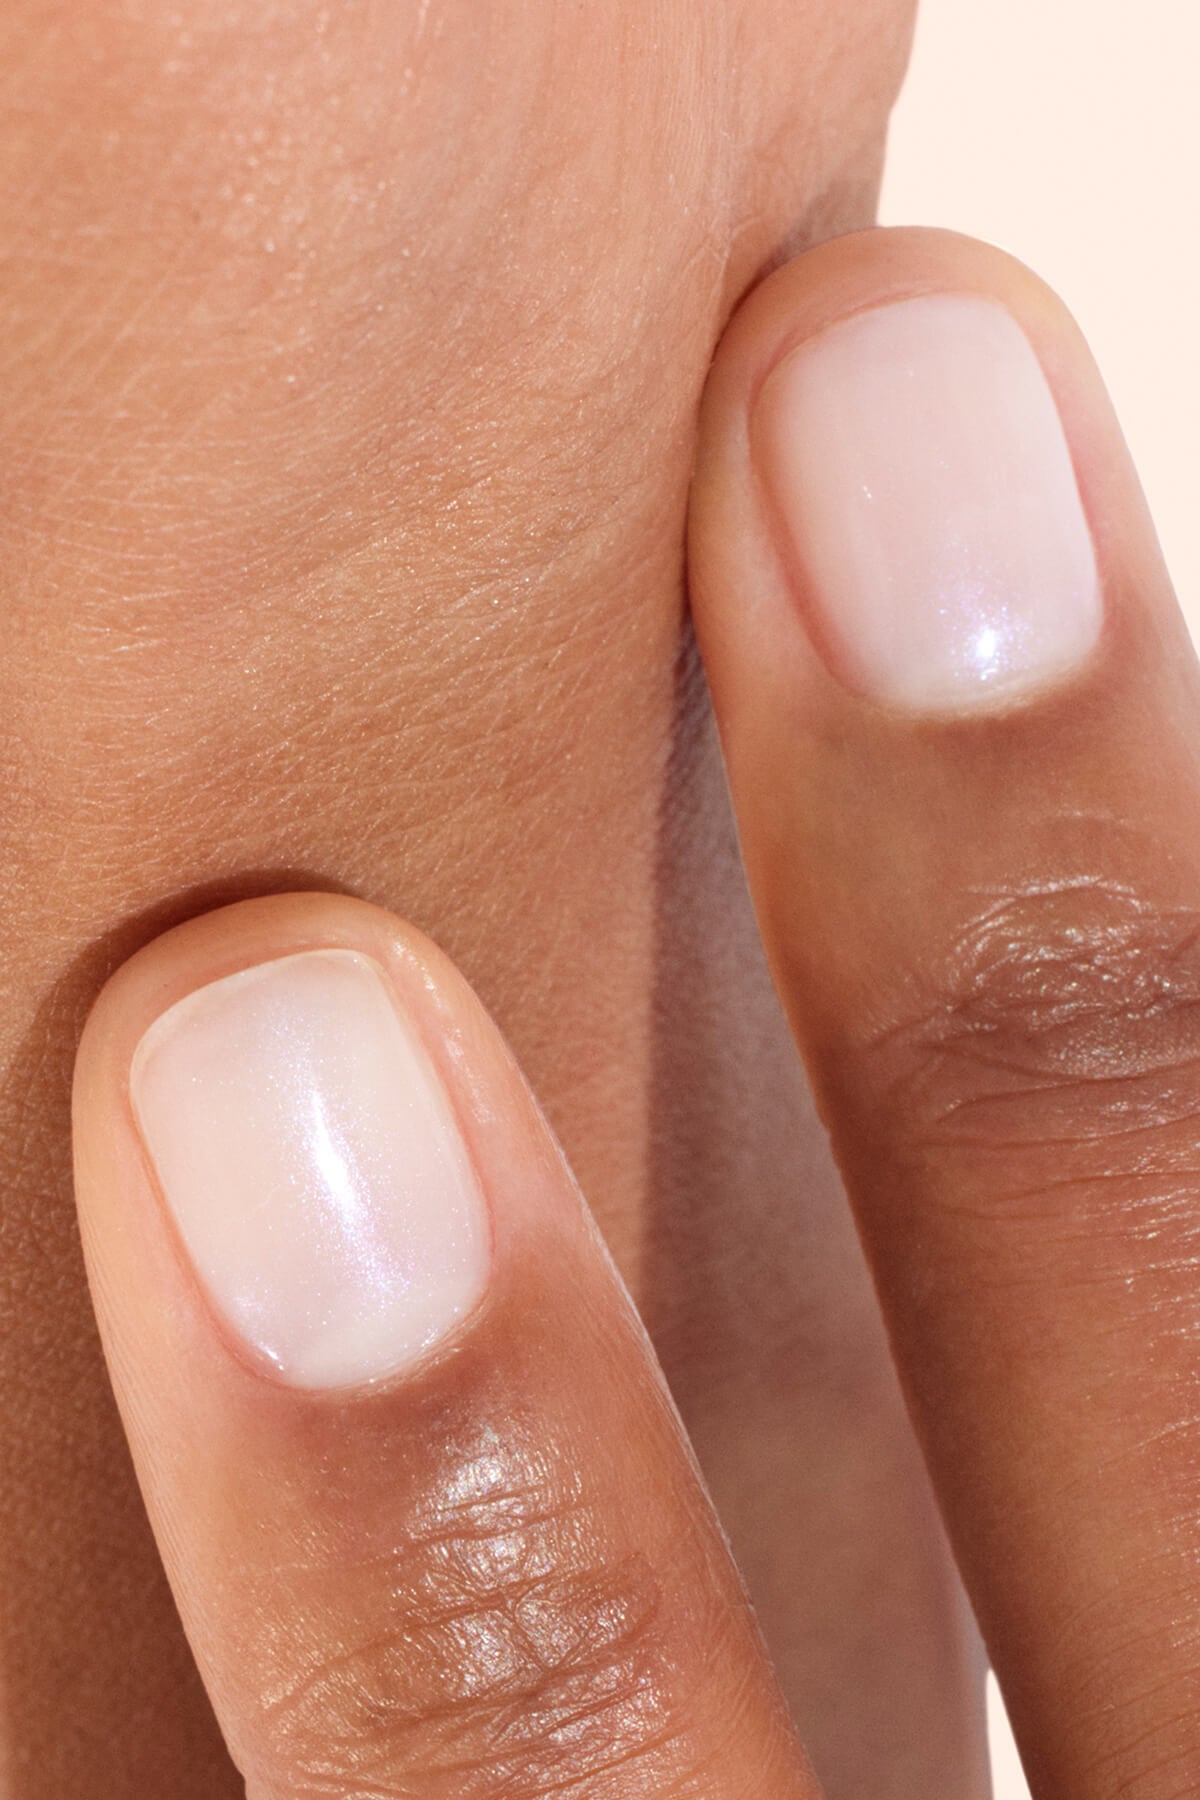
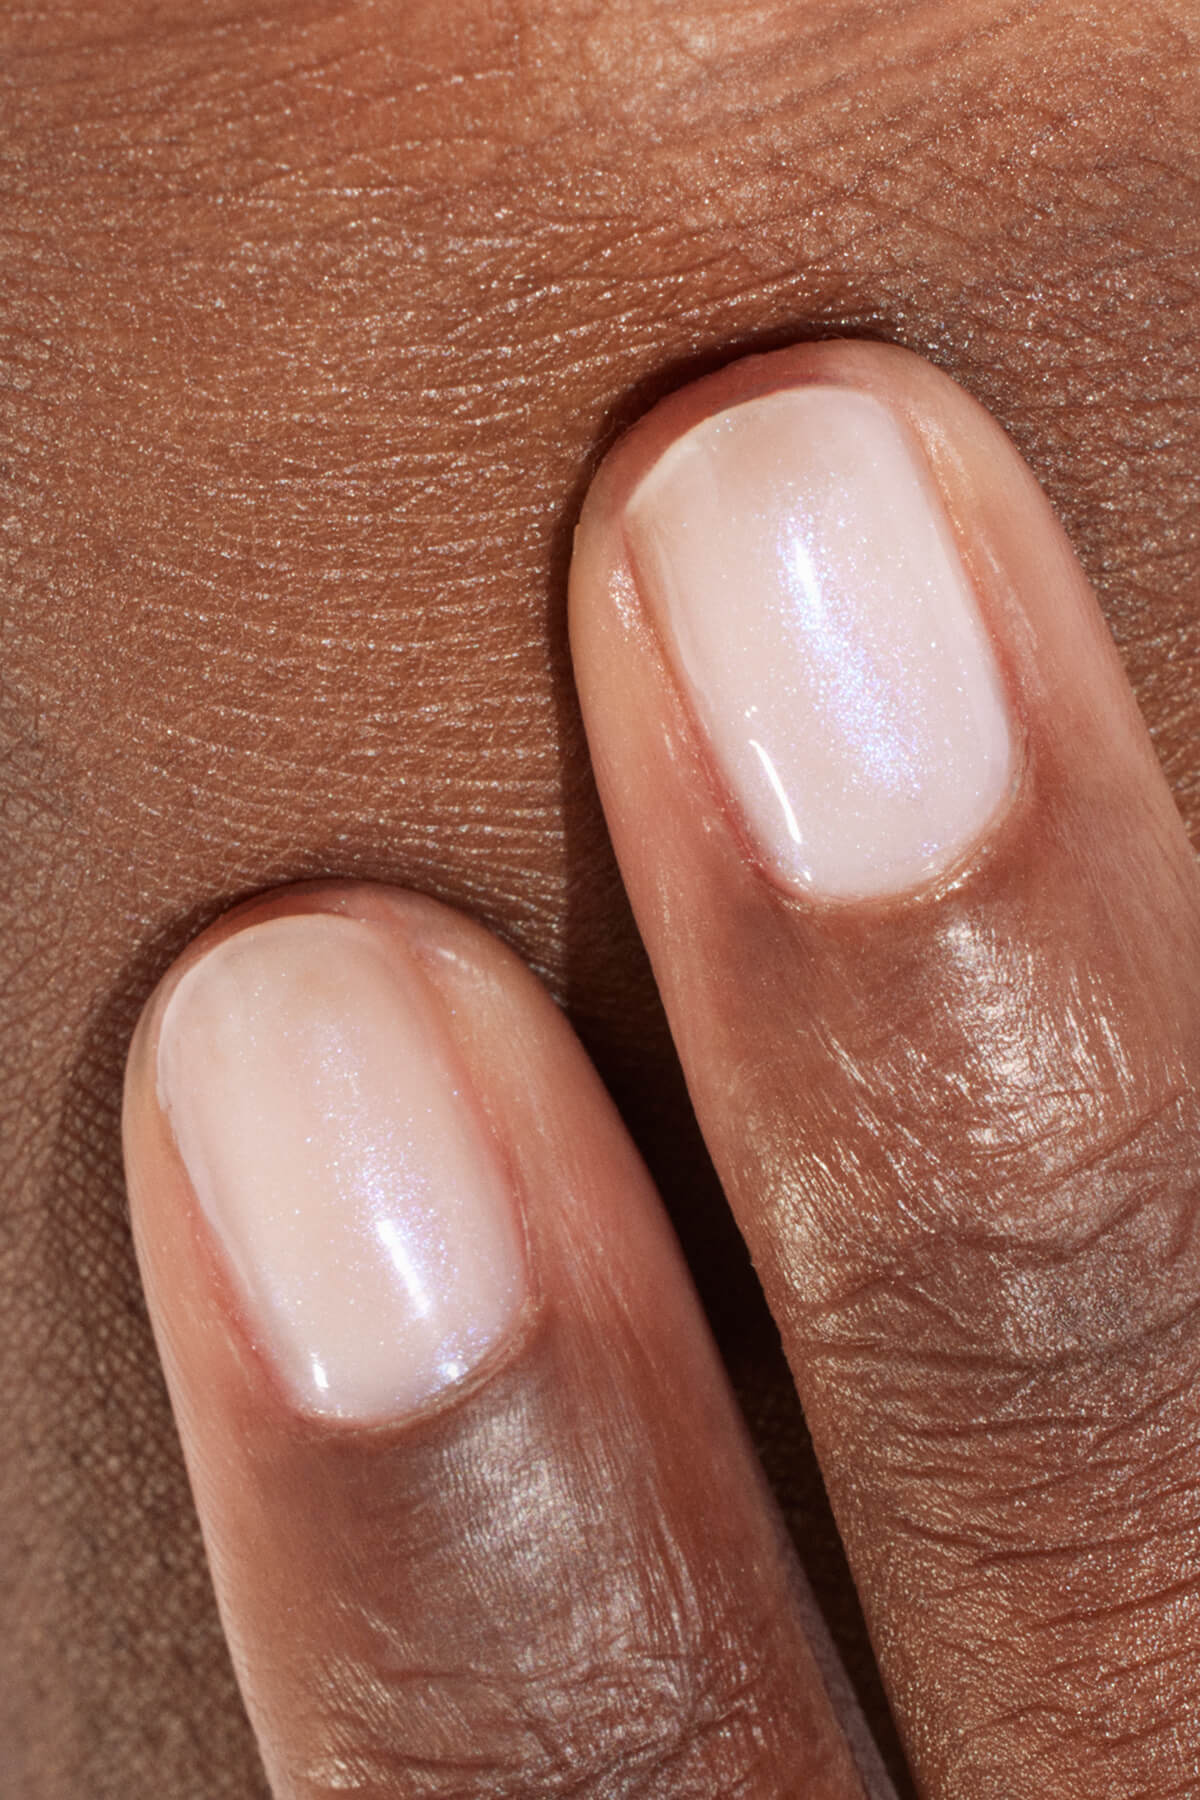
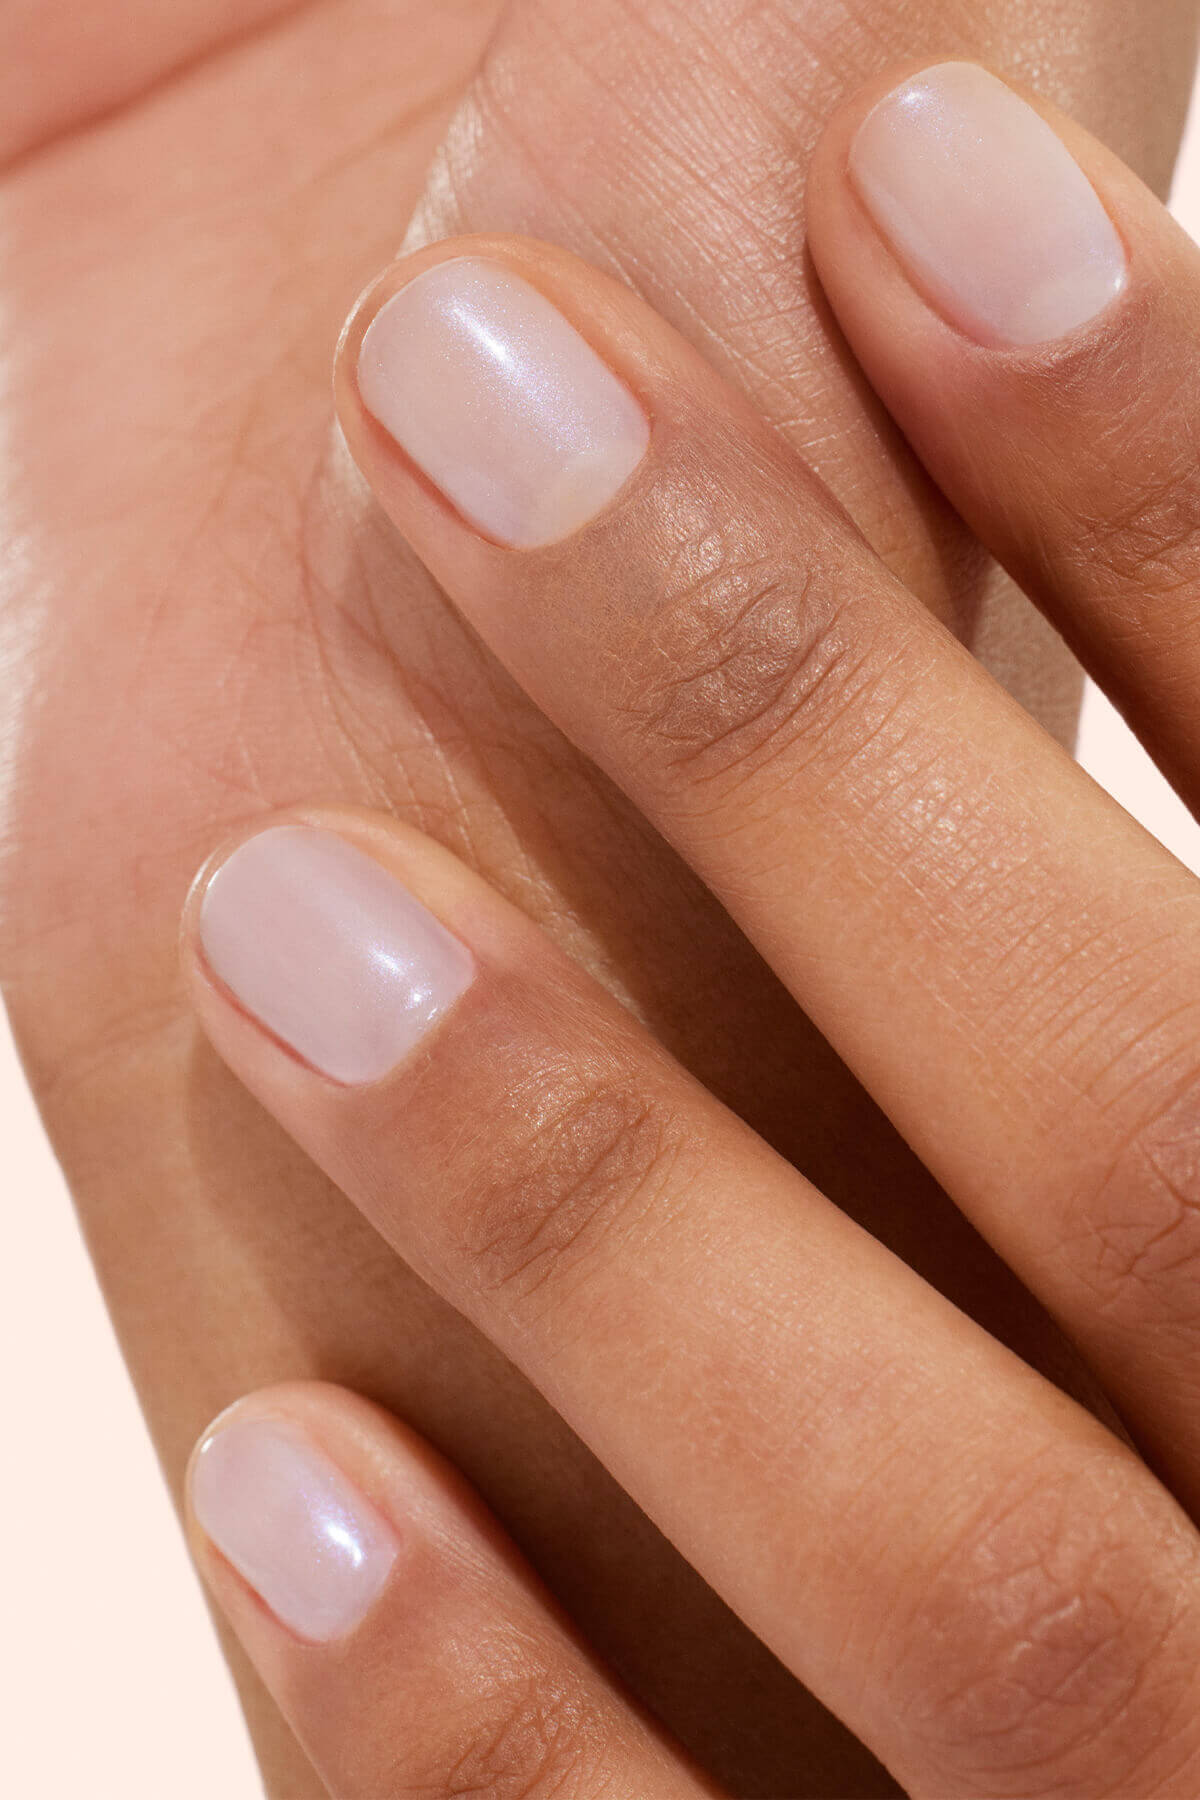
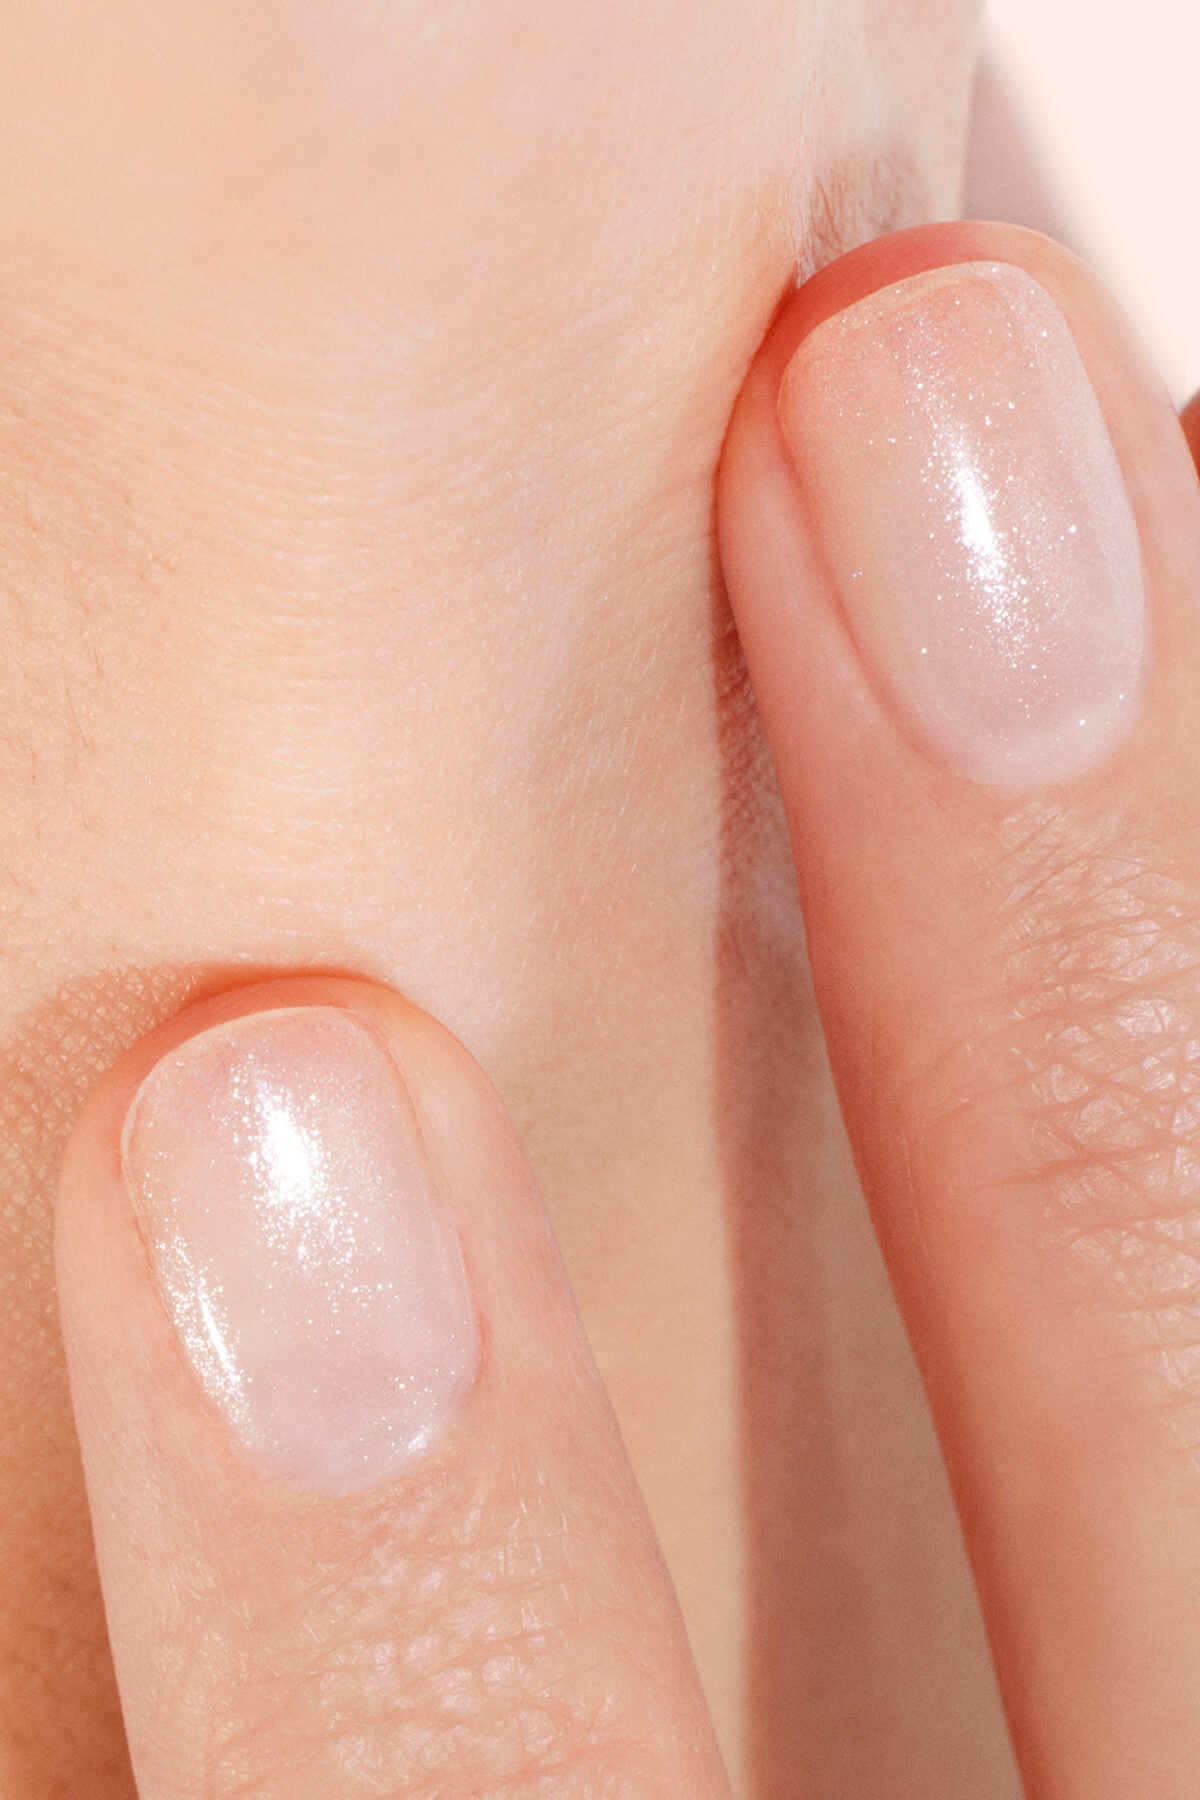
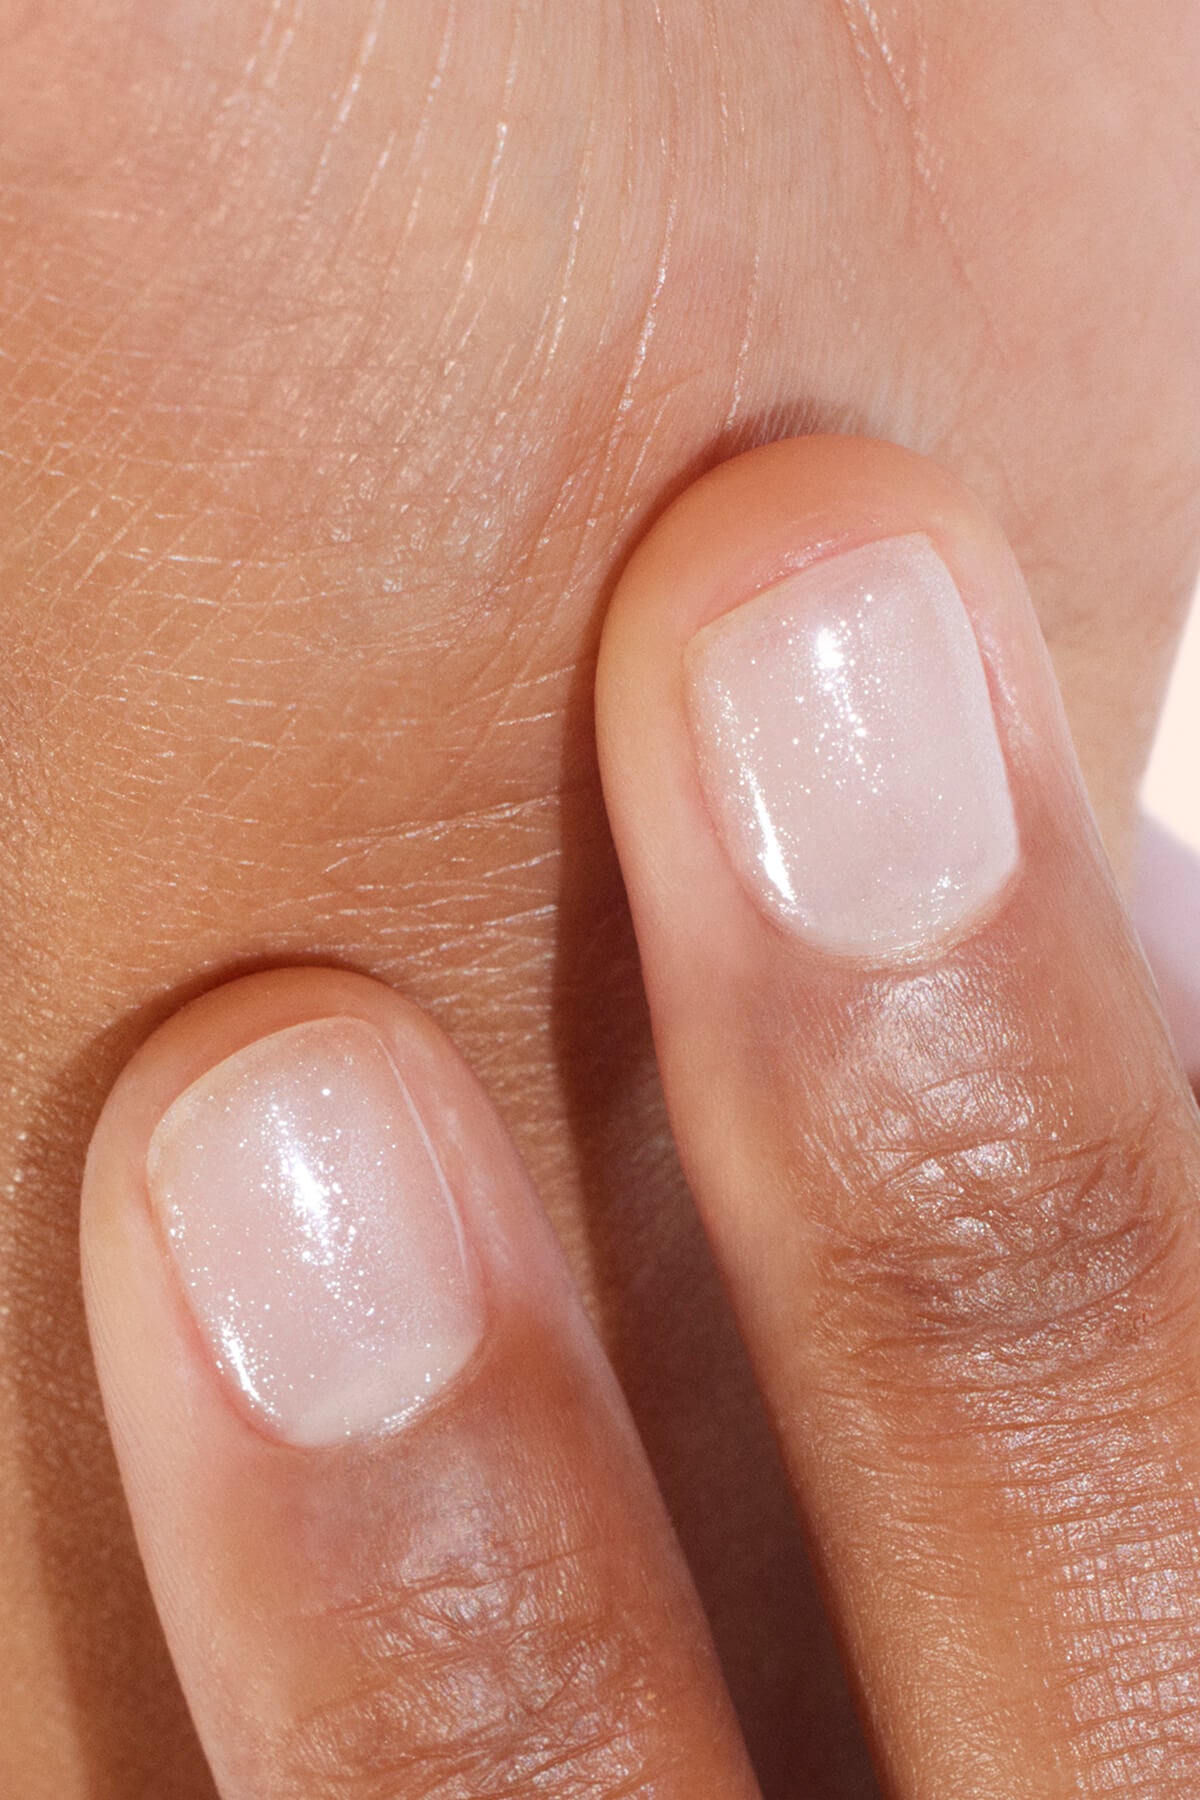
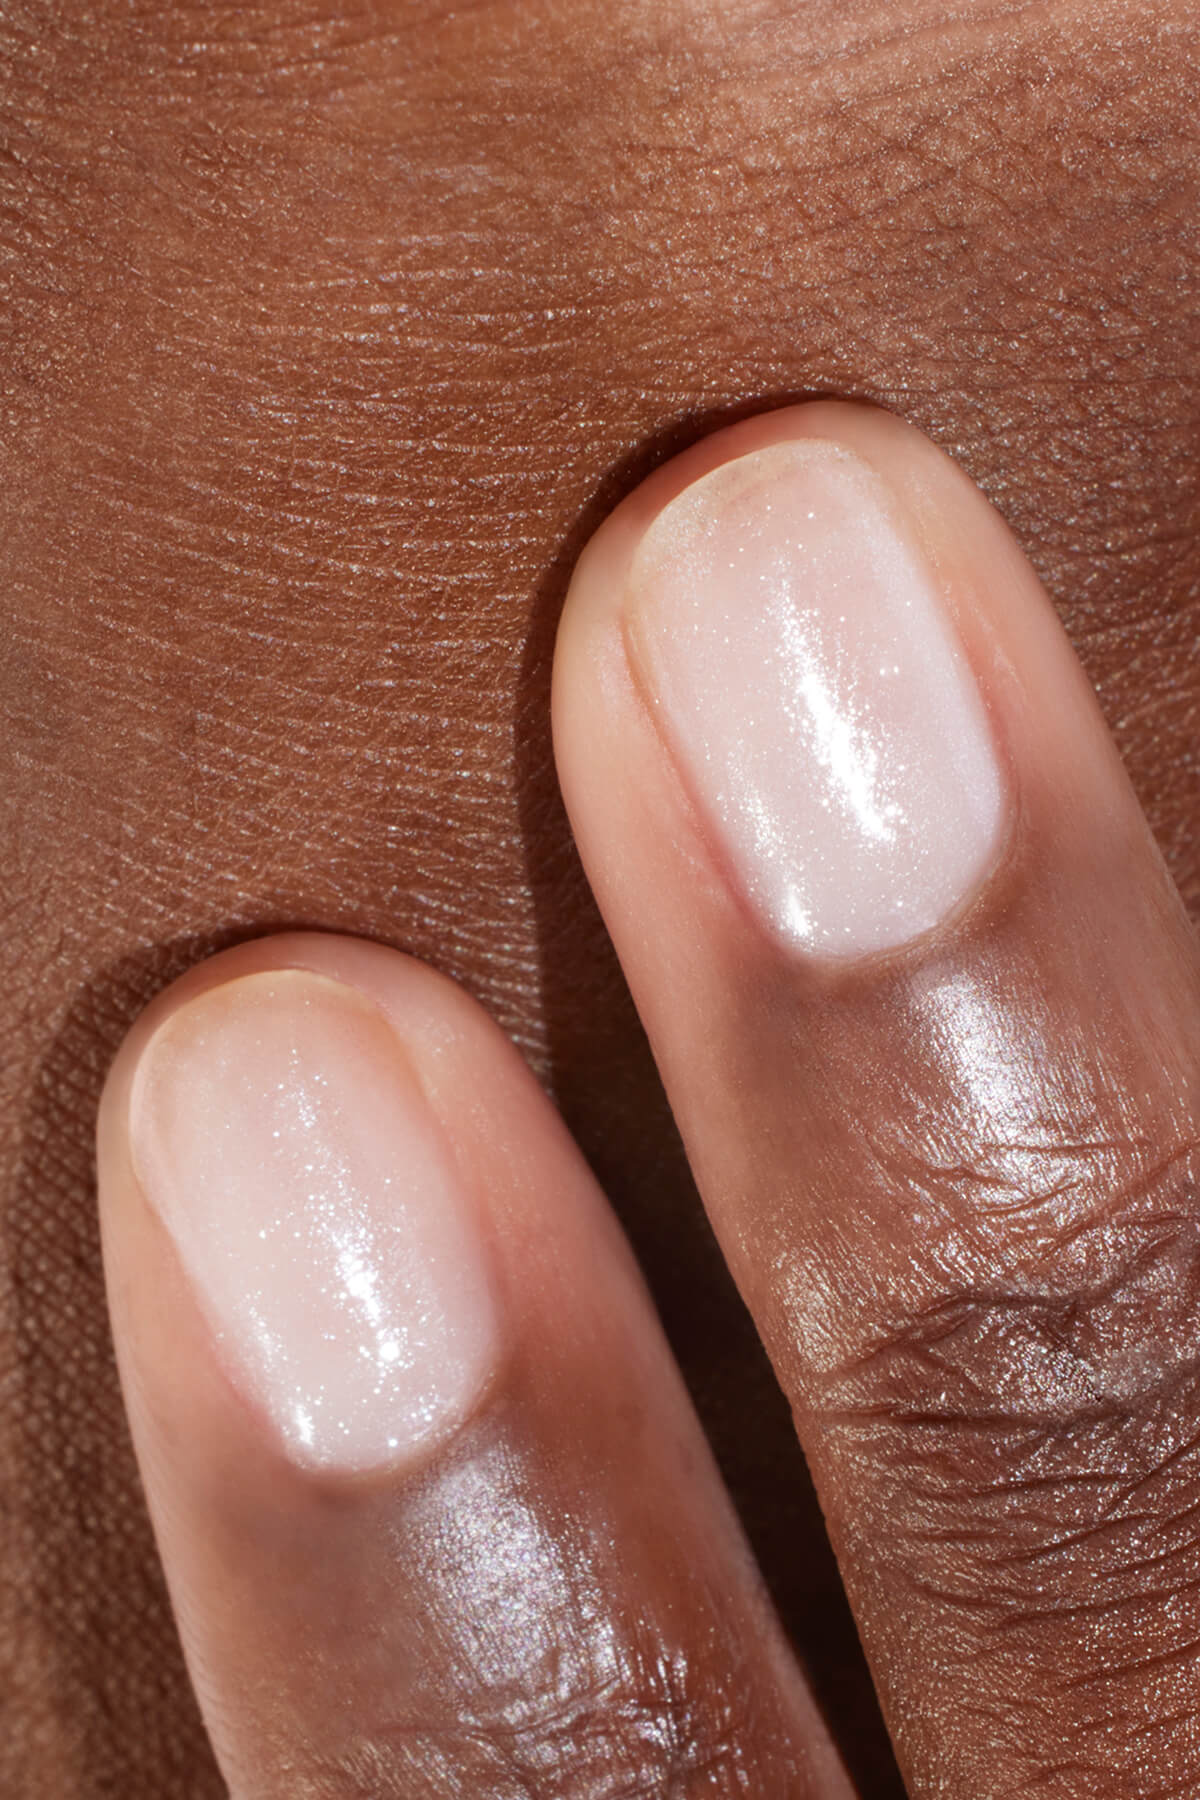
Like most trends, glazed nails or "doughnut glazed nails" were made popular by social media. They owe their success to the famous model Hailey Bieber who posted her doughnut glazed nails on Tik Tok, gaining millions of views and propelling this nail art to the top of the manicure trend chart. Inspired by the glossy texture of glazed doughnuts, glazed nails have a minimalist yet sophisticated aesthetic that appeals to many celebrities, including Vanessa Hudgens and Jennifer Lopez.

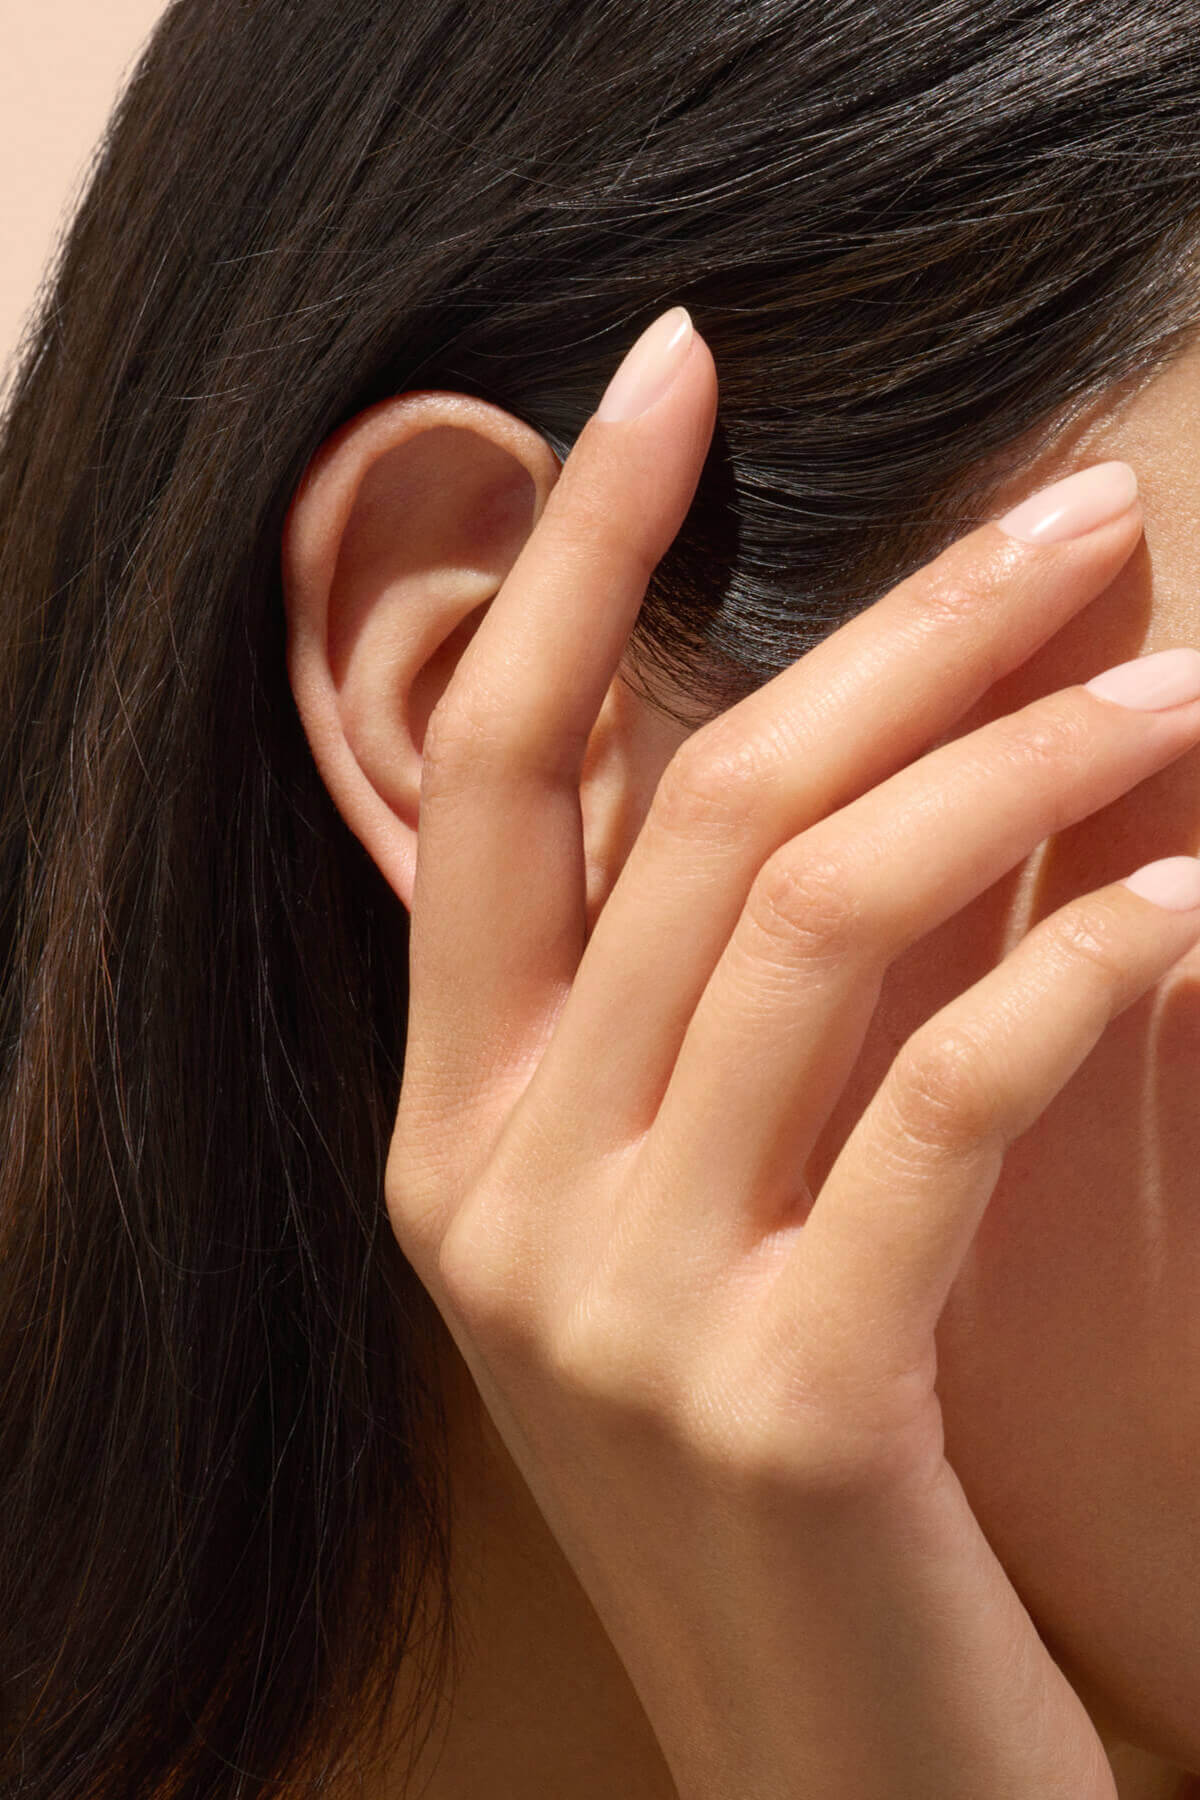
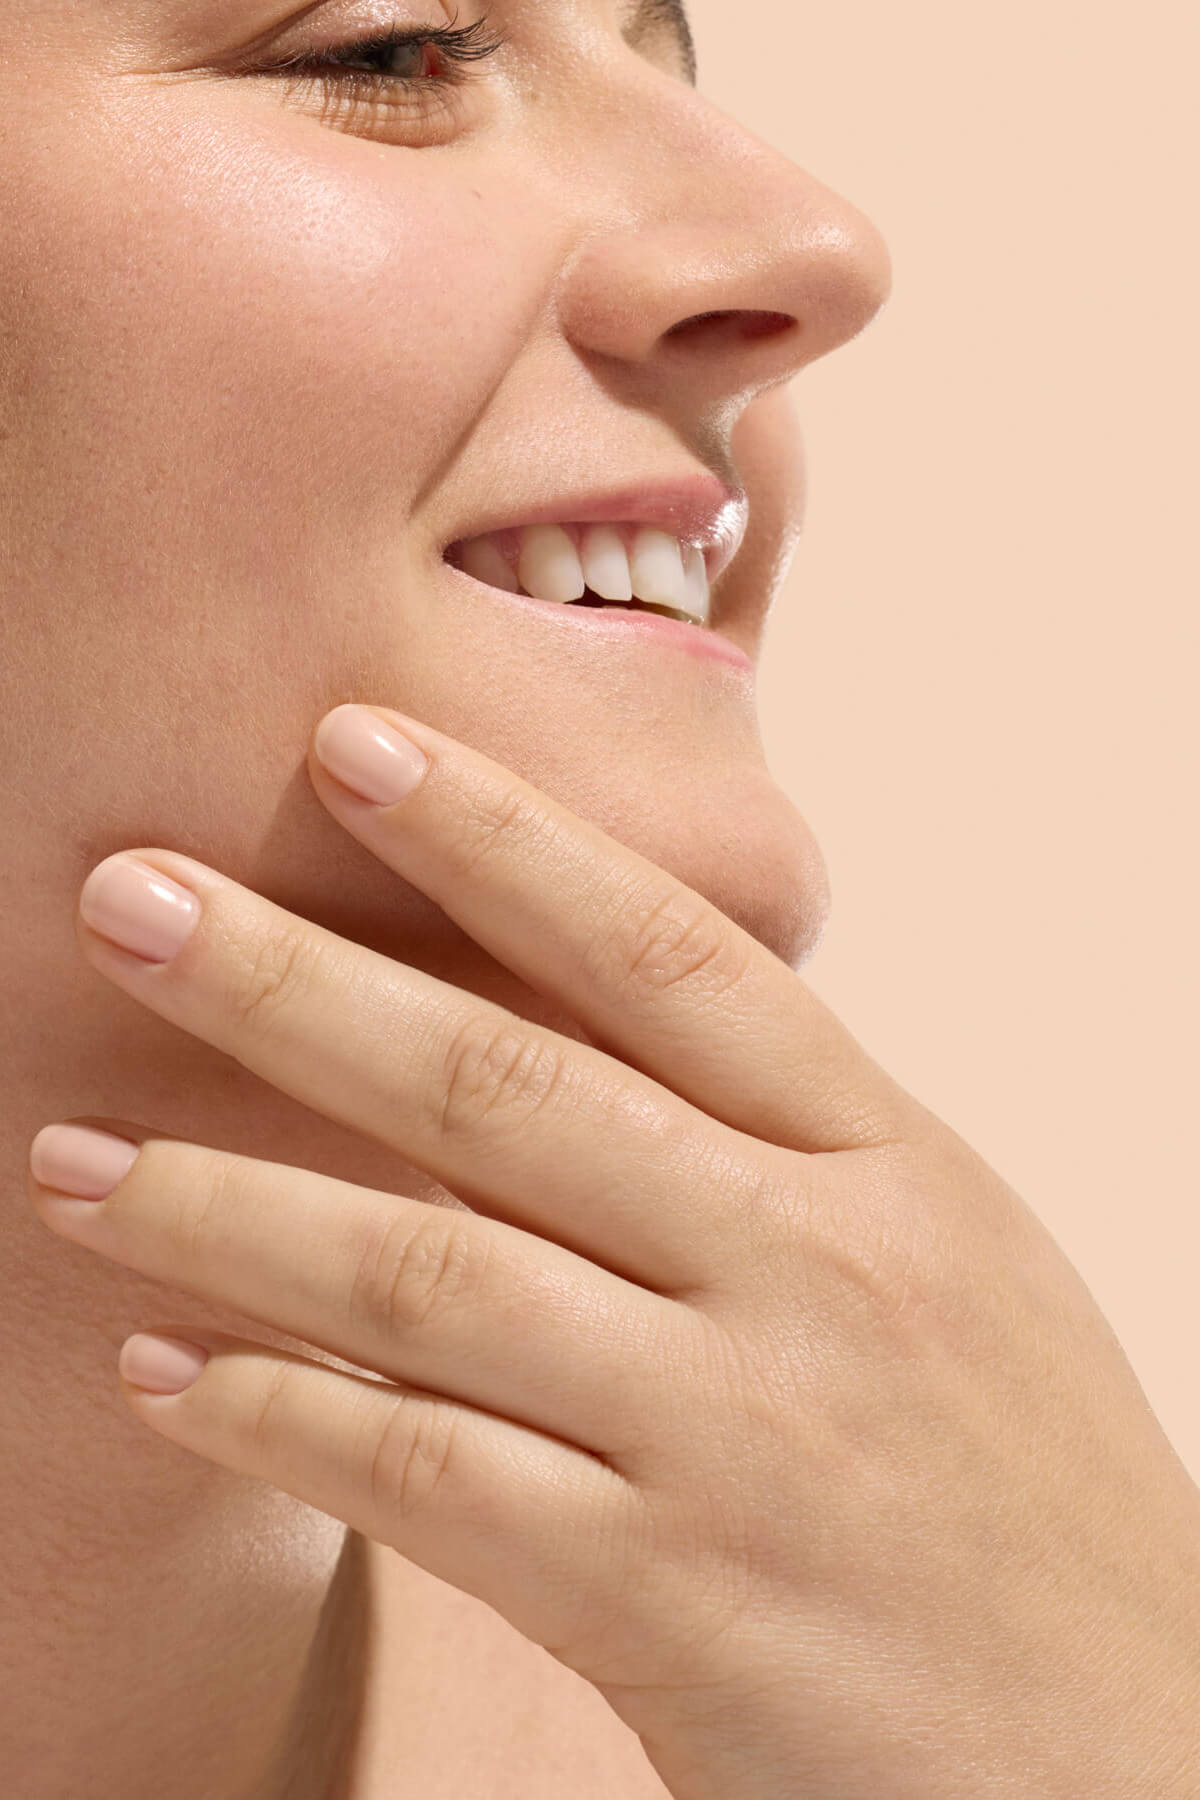
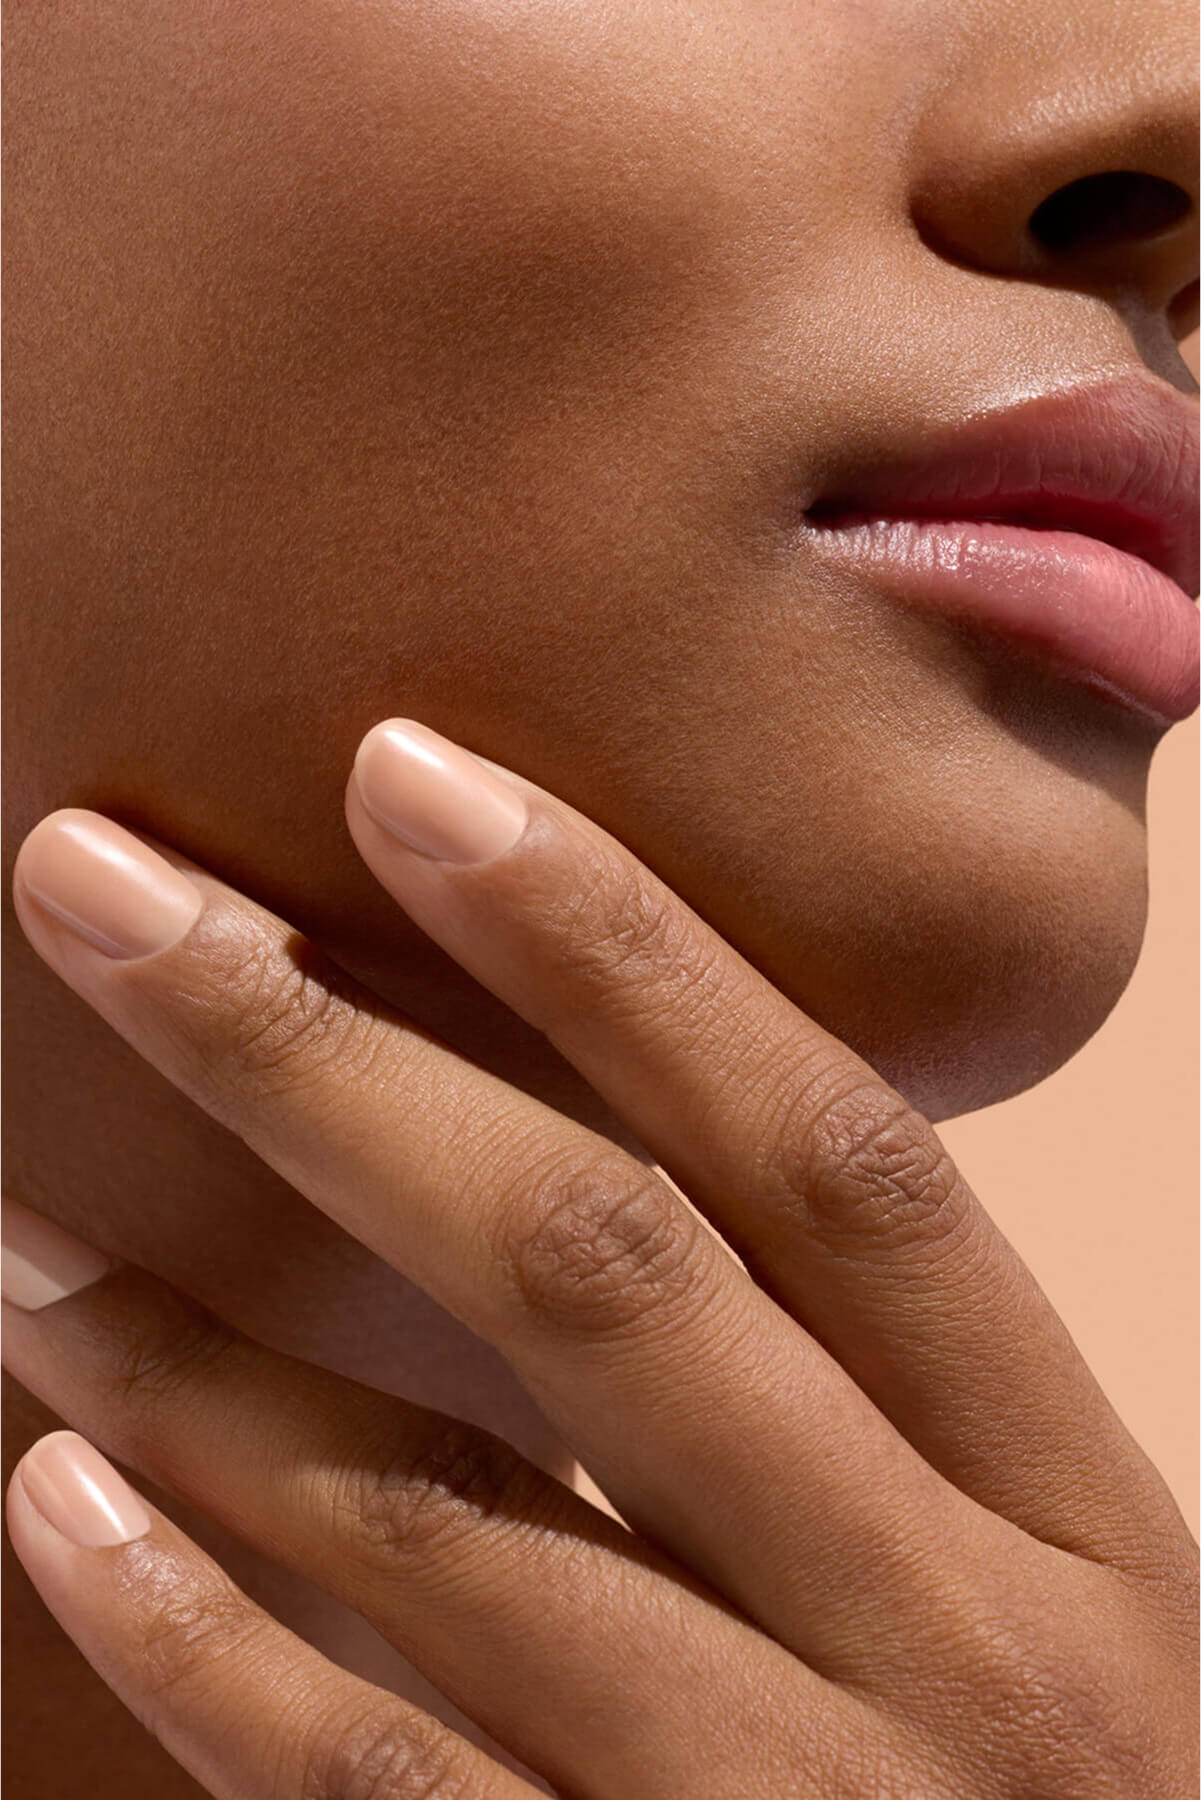
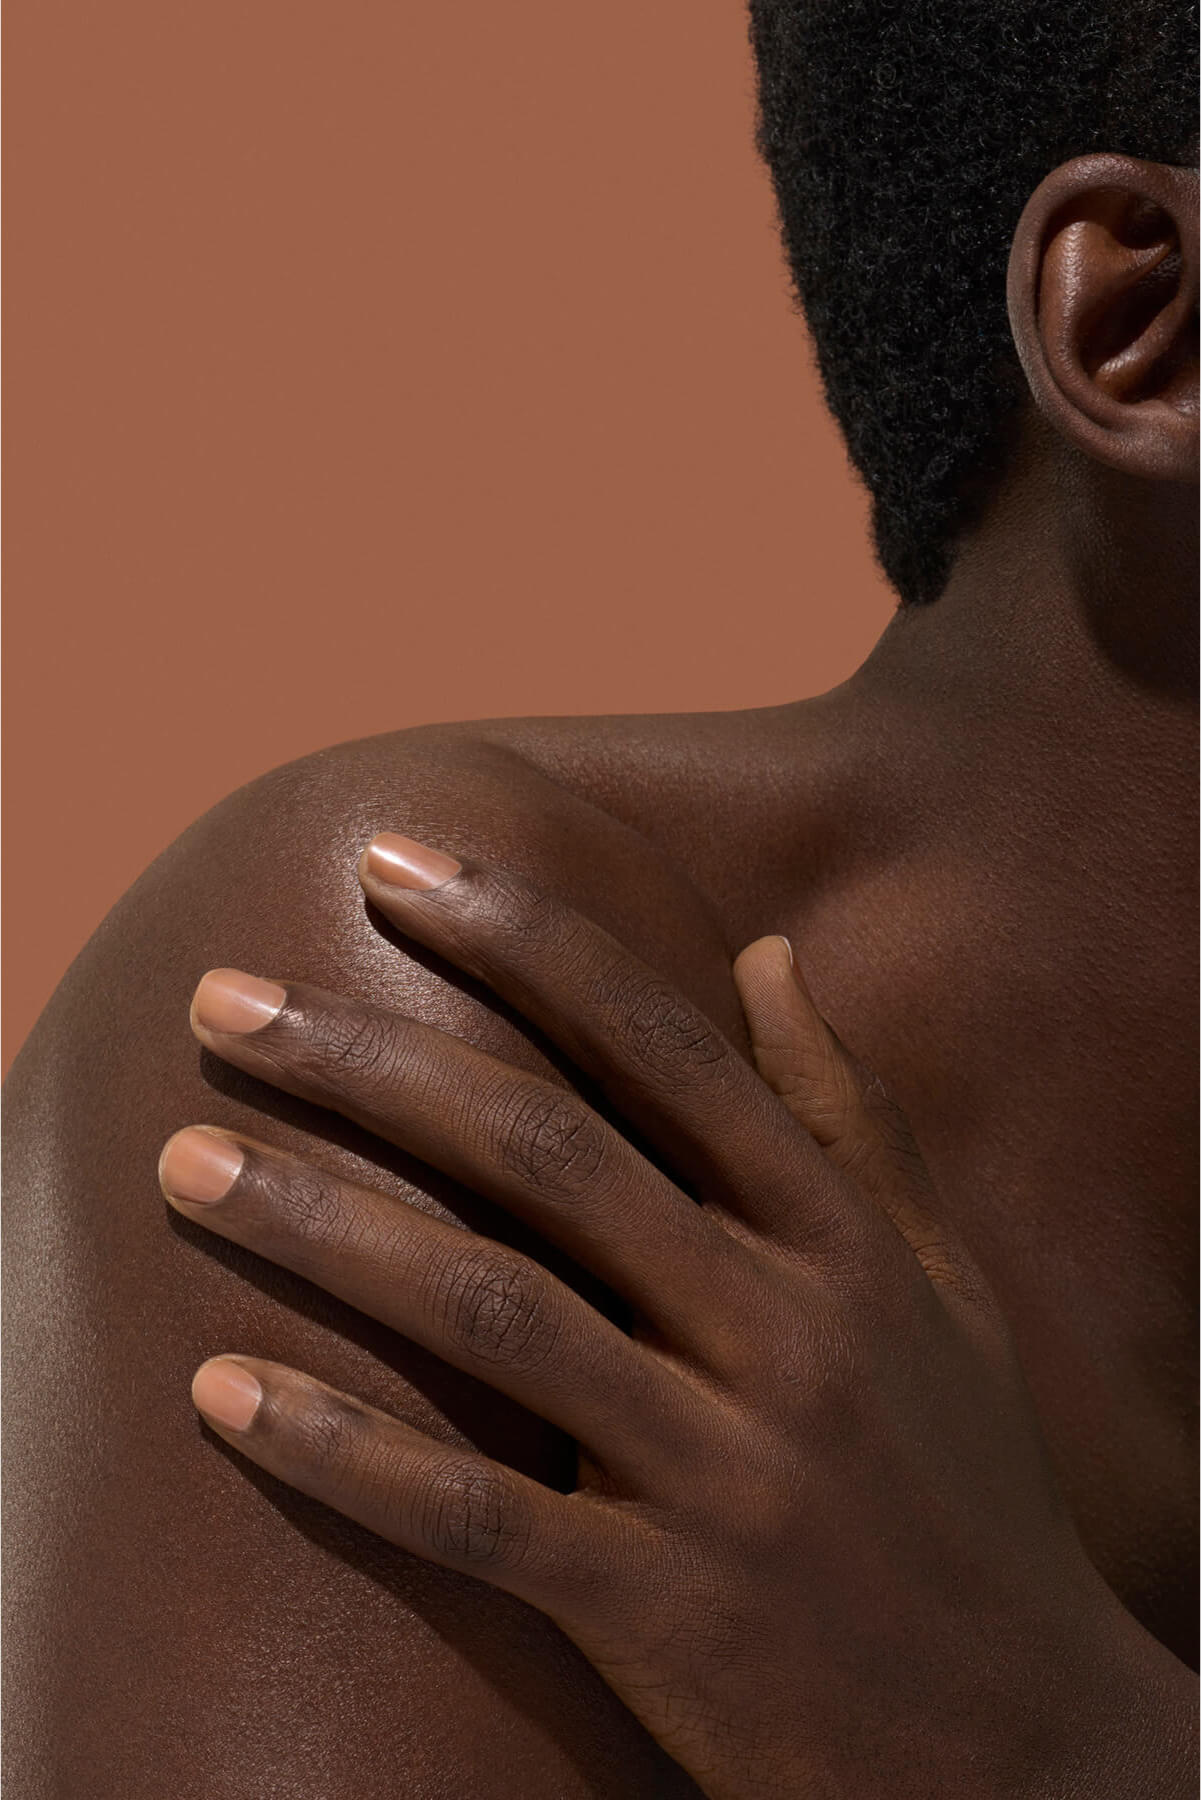
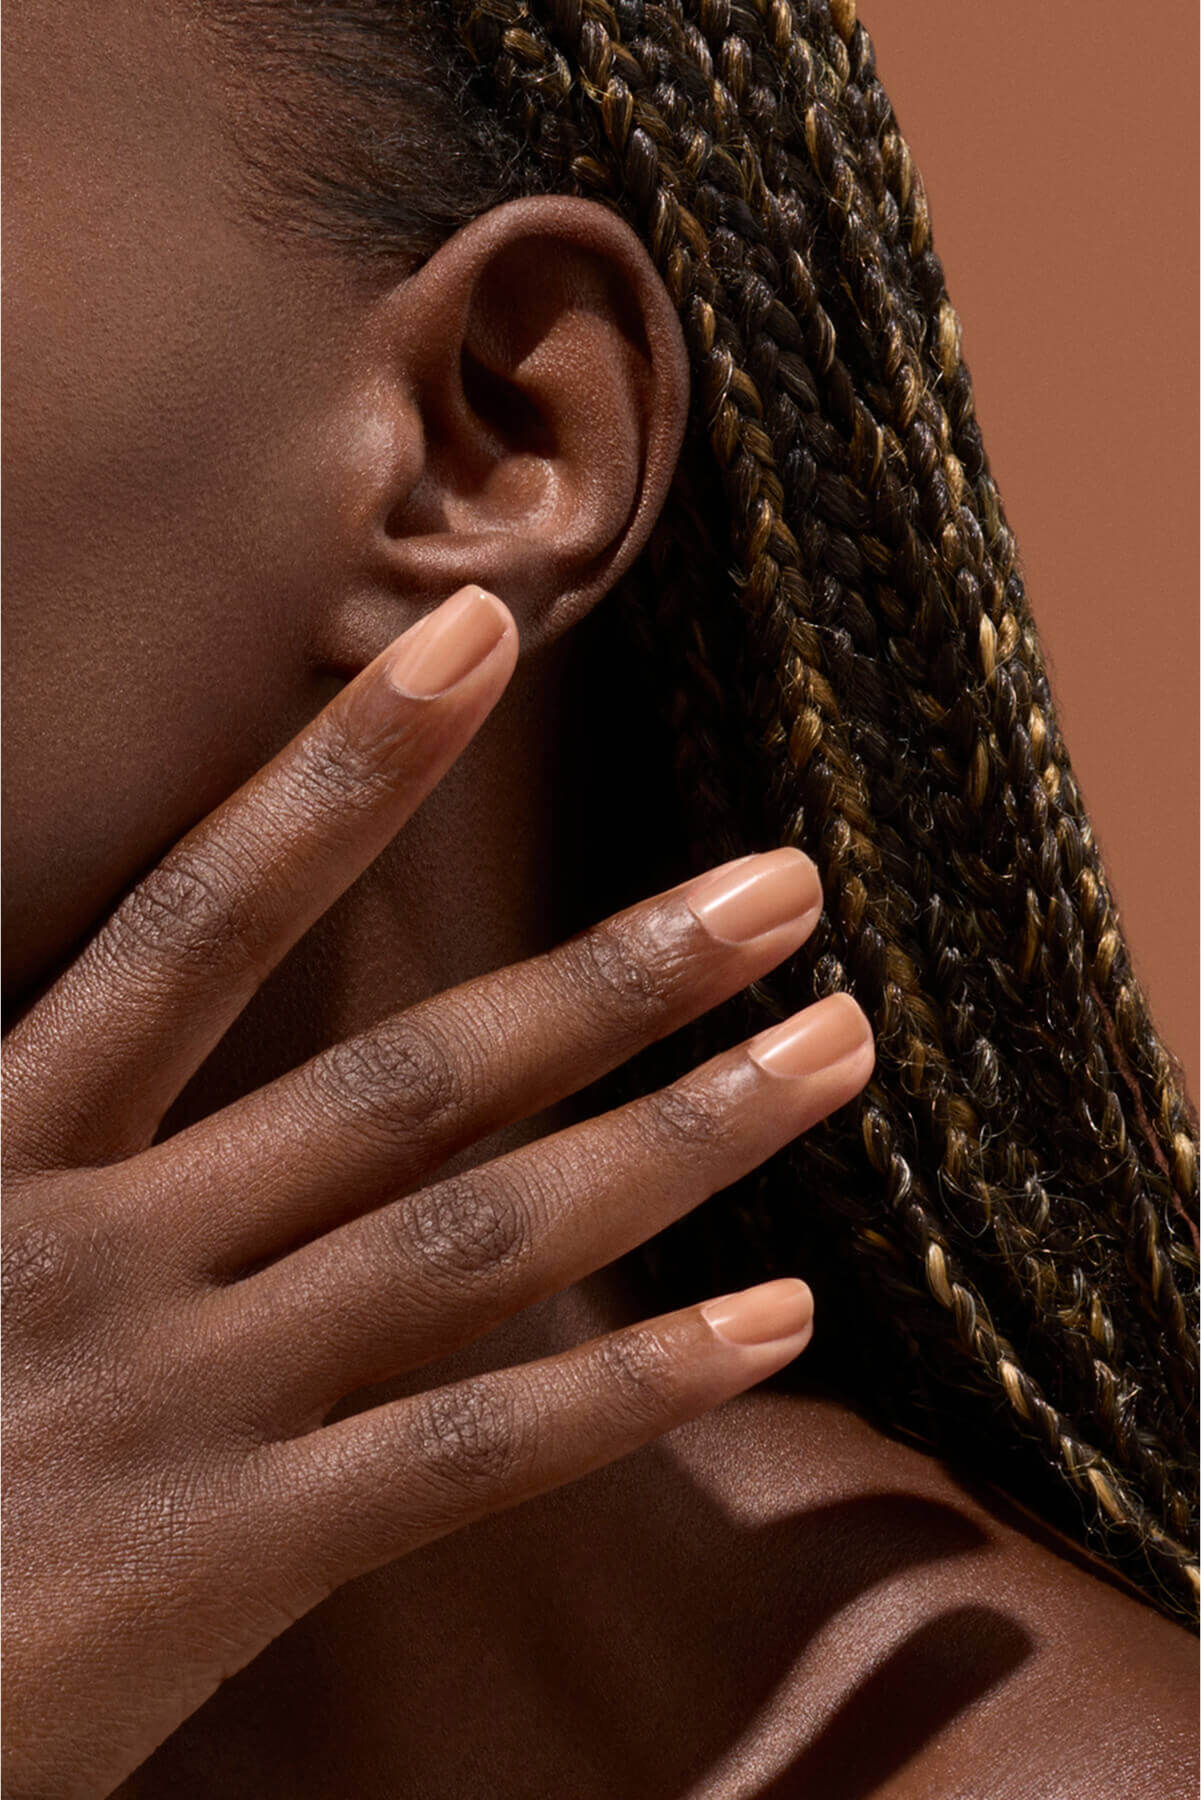
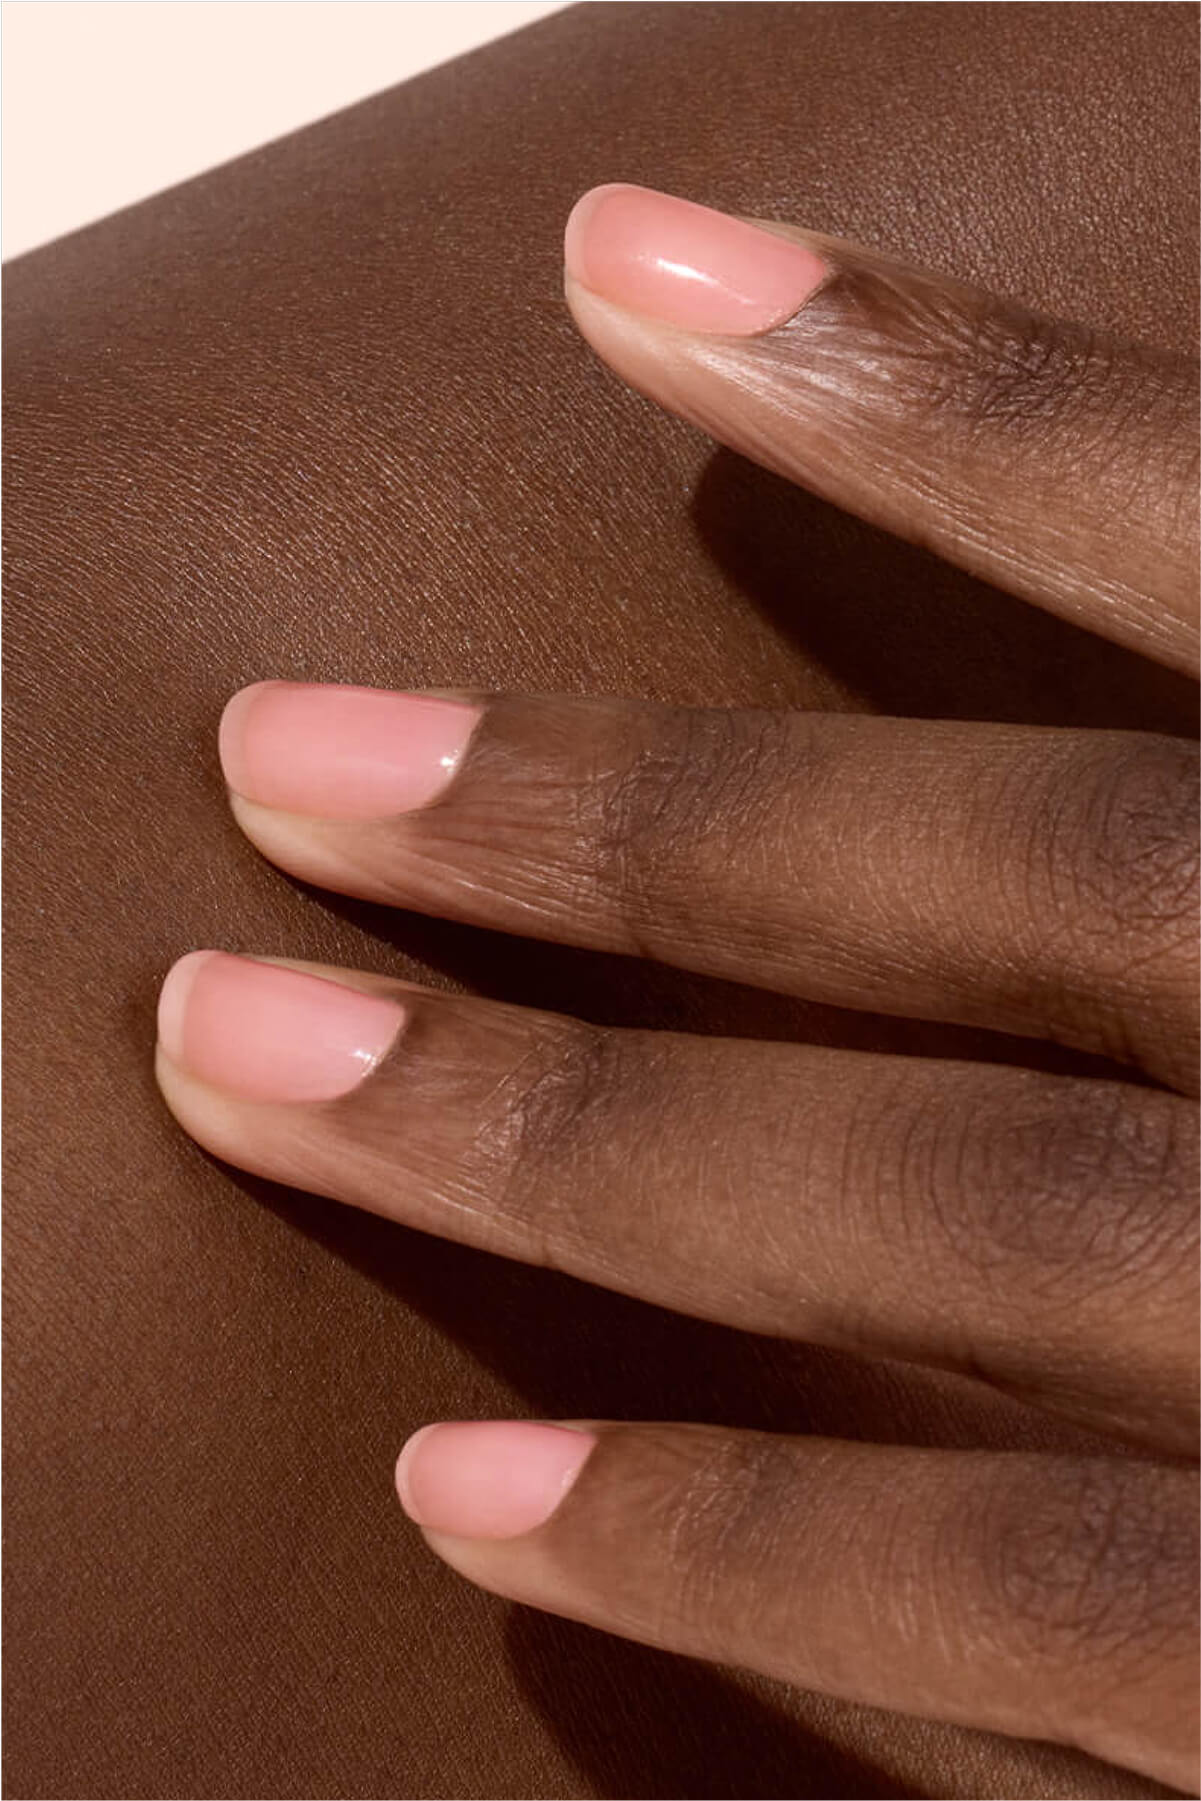
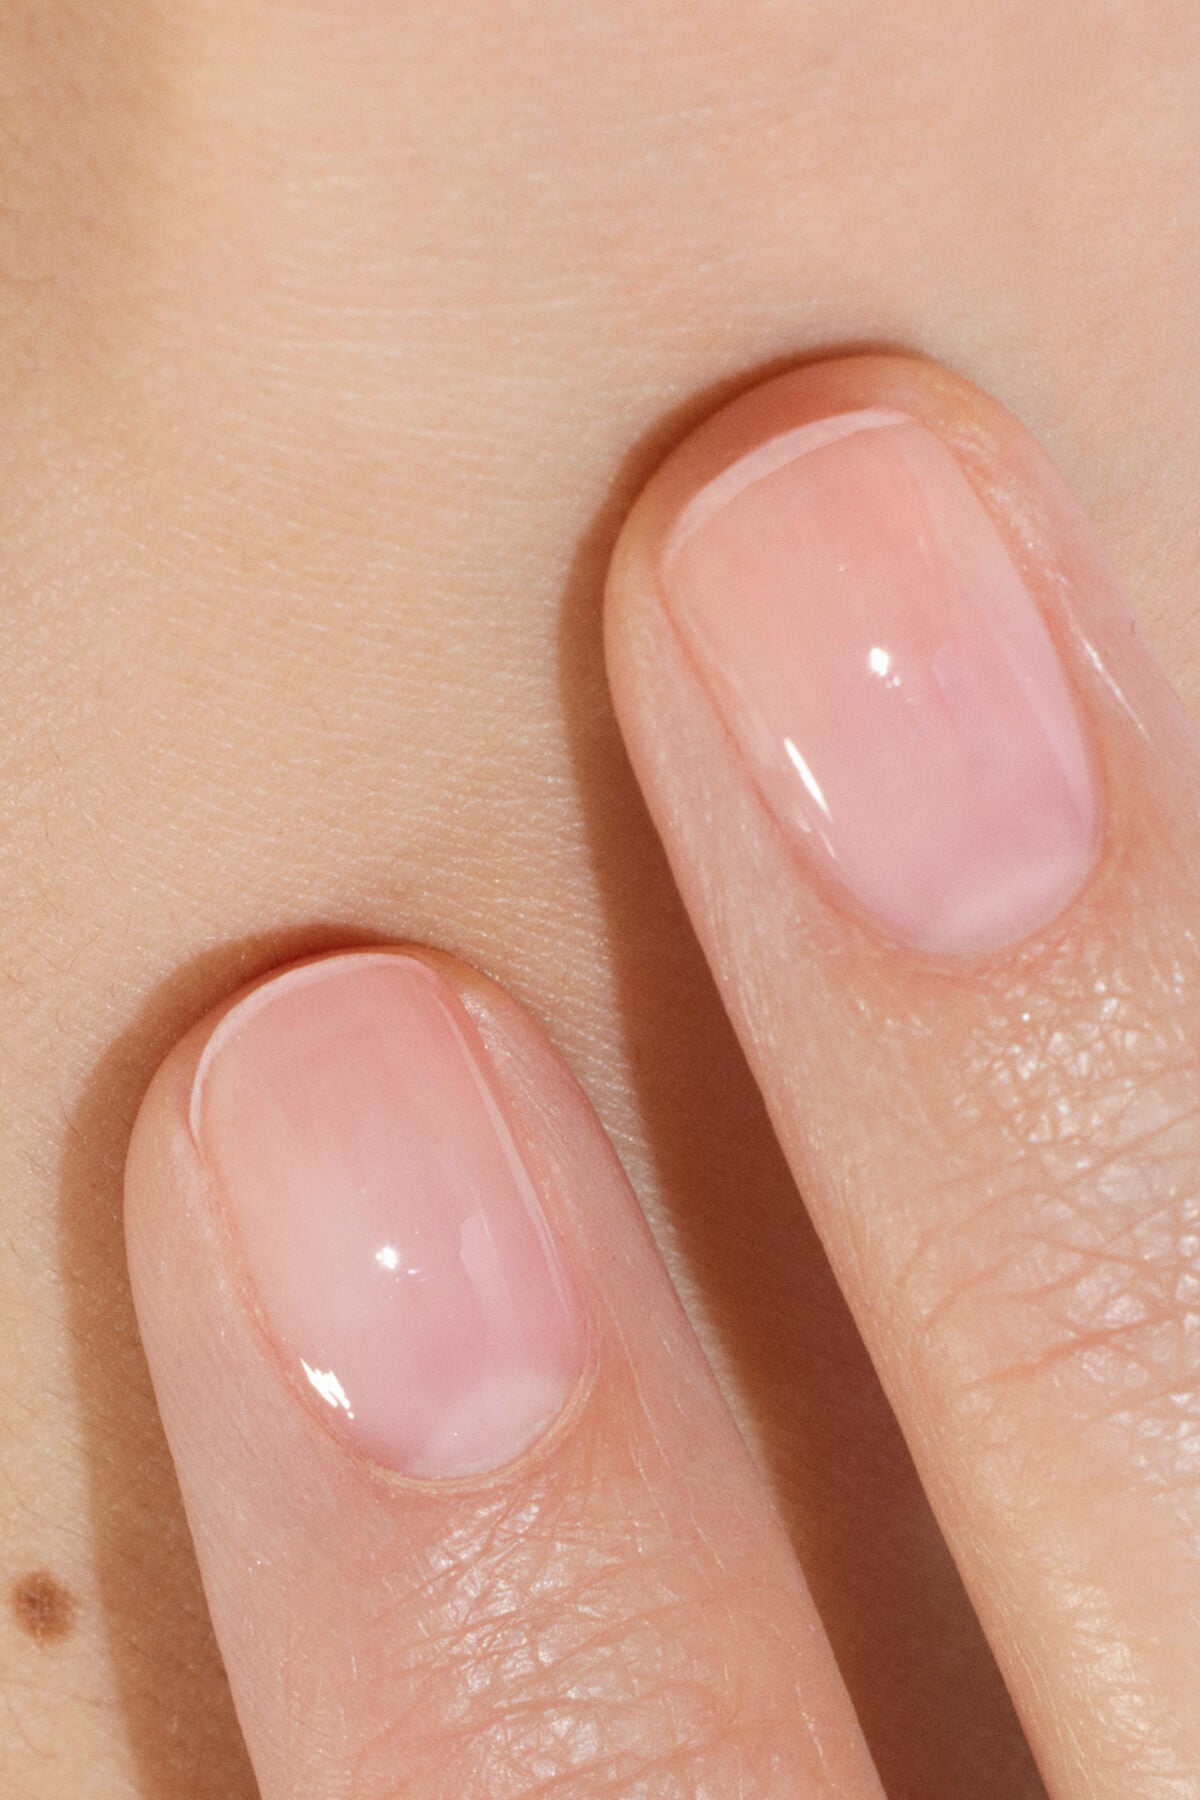
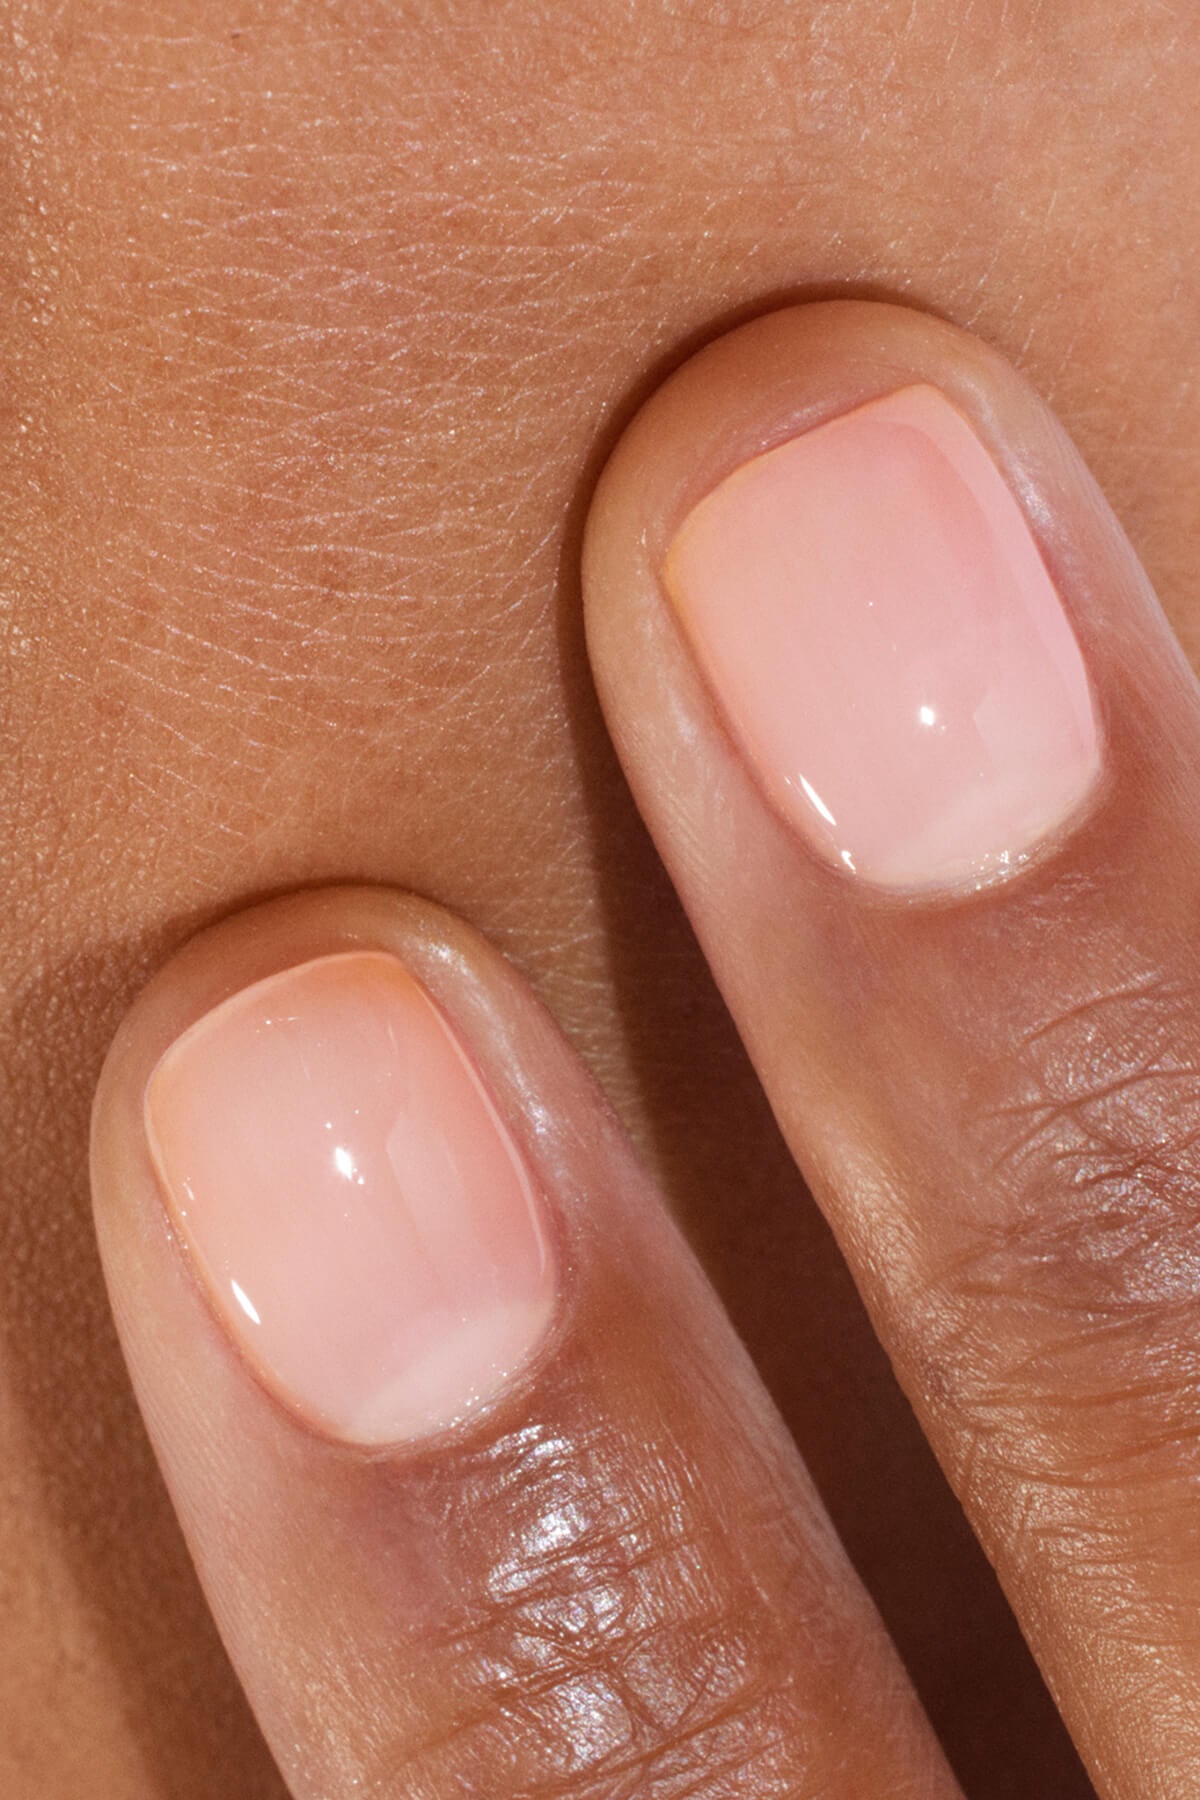
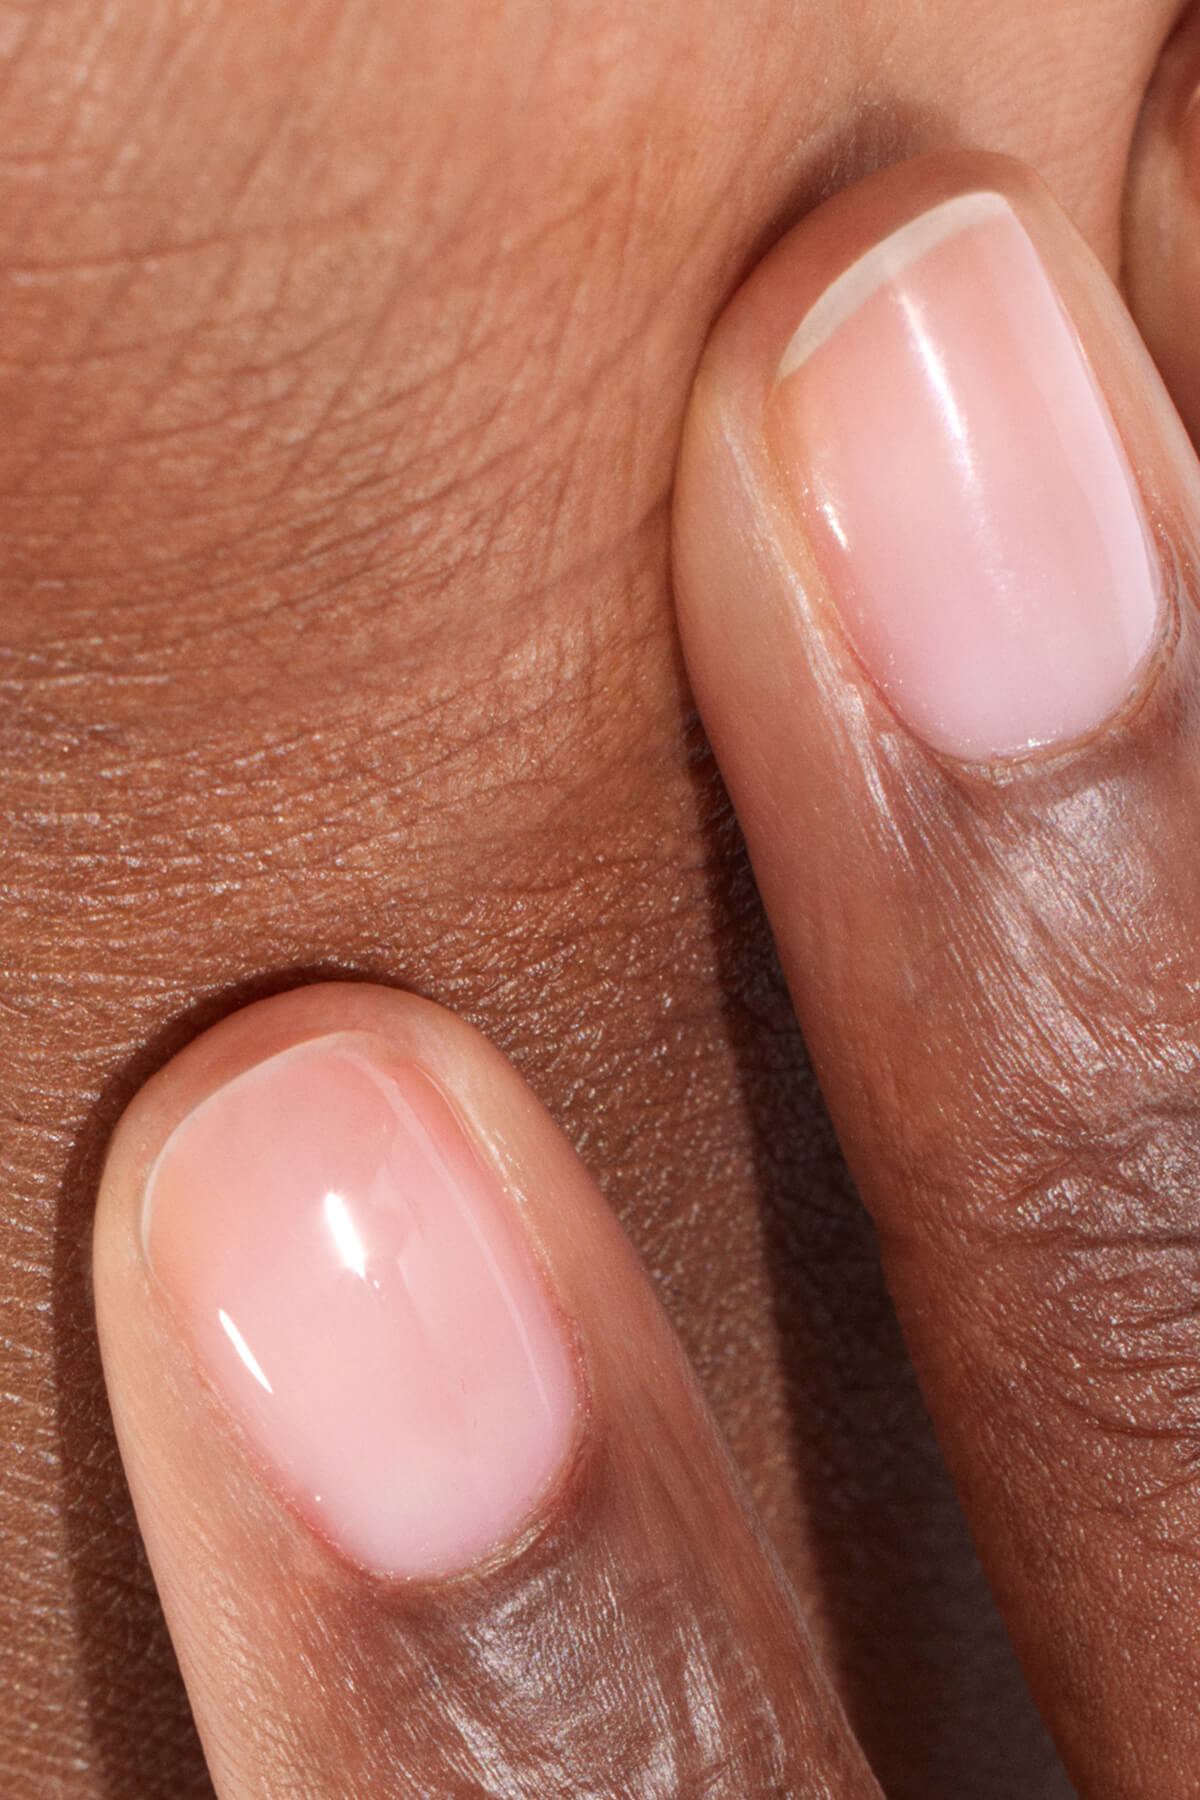
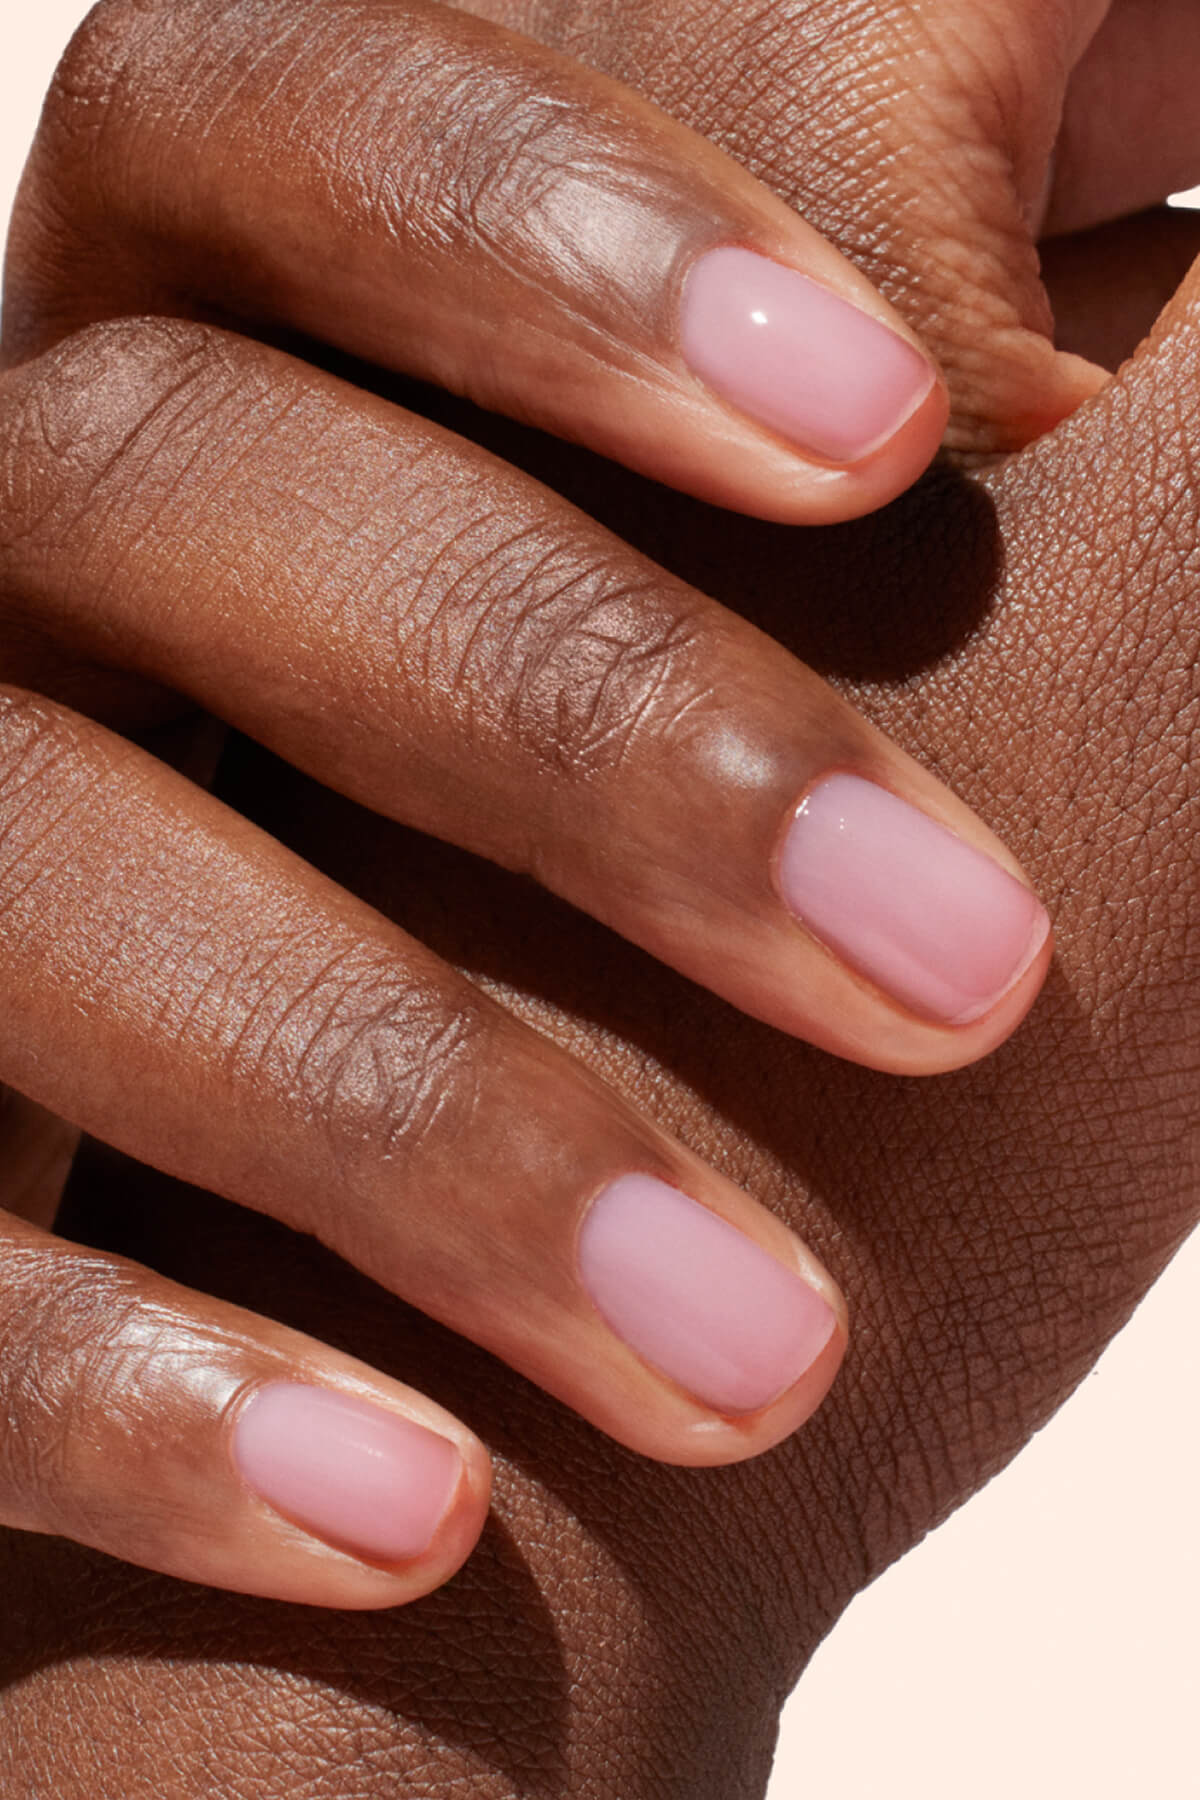
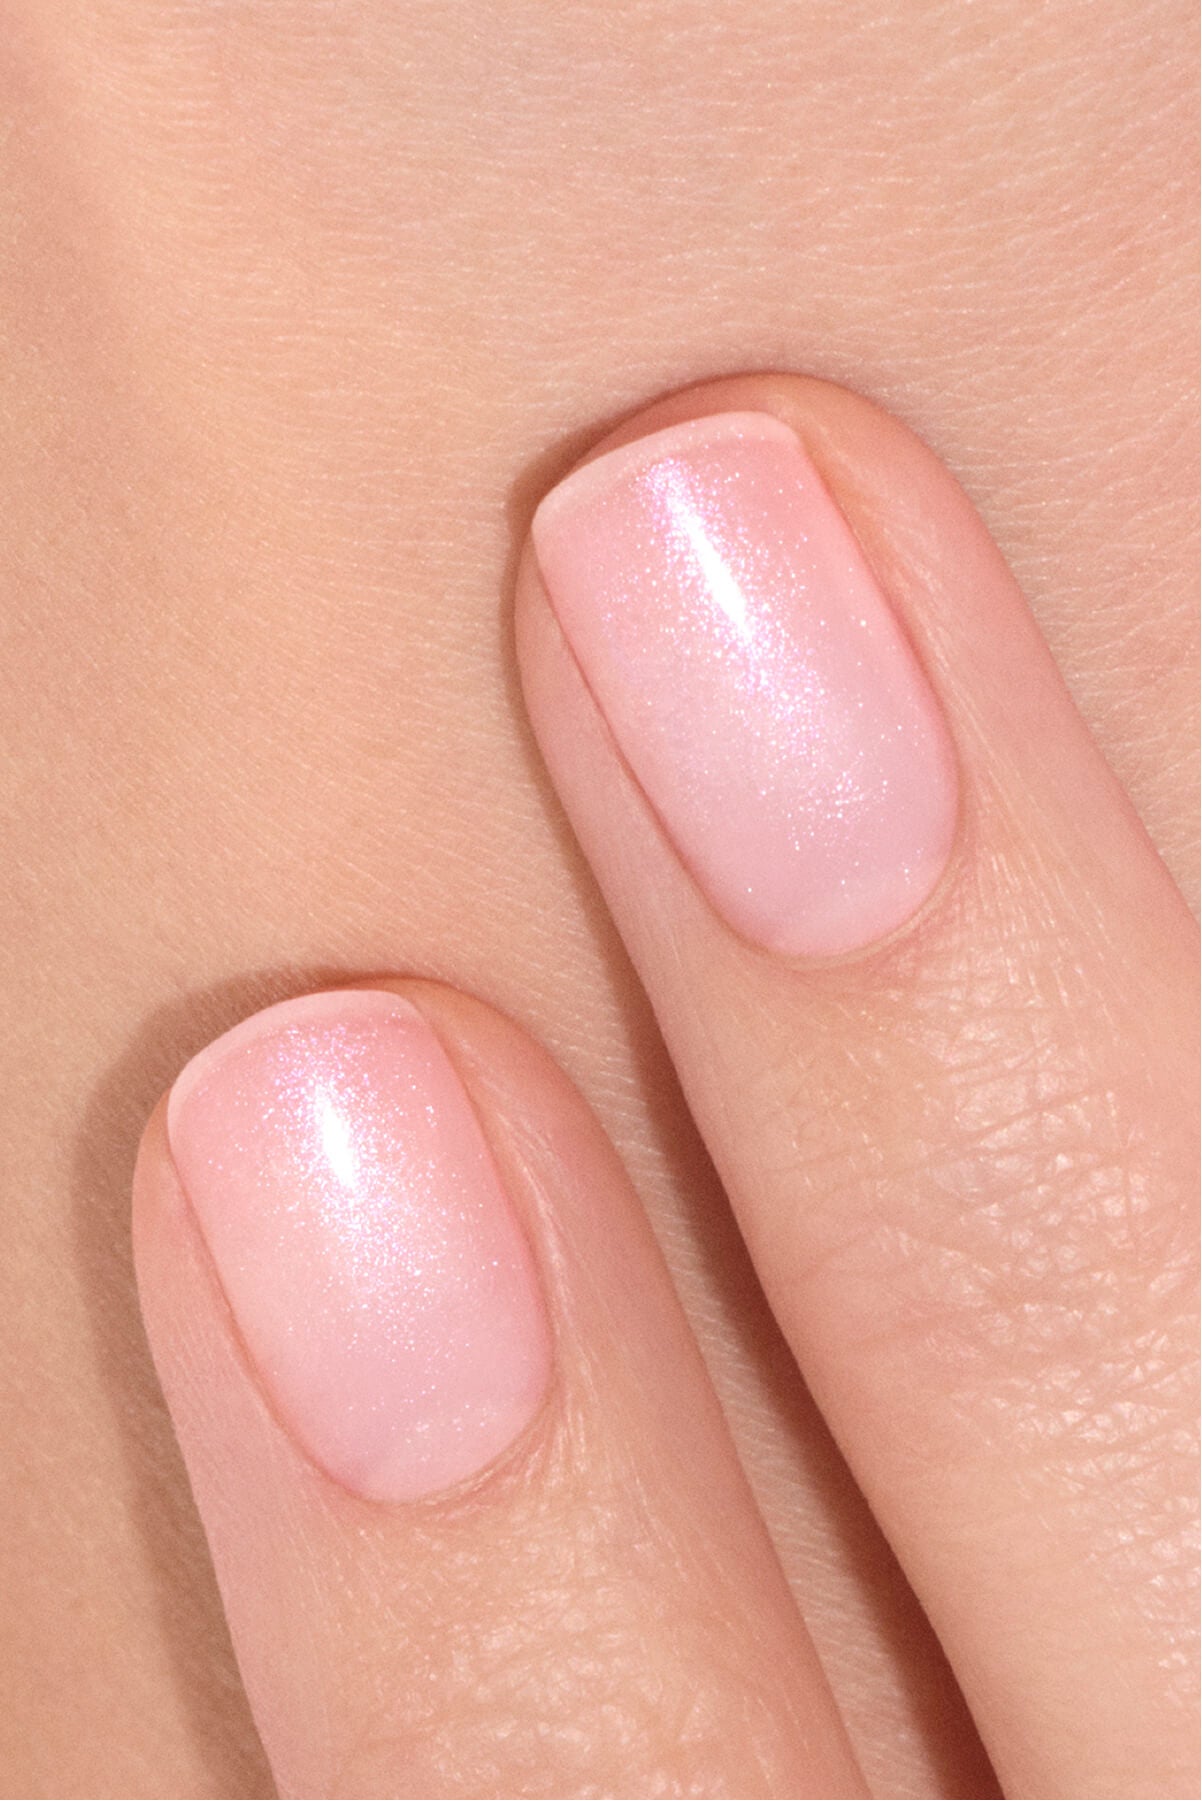
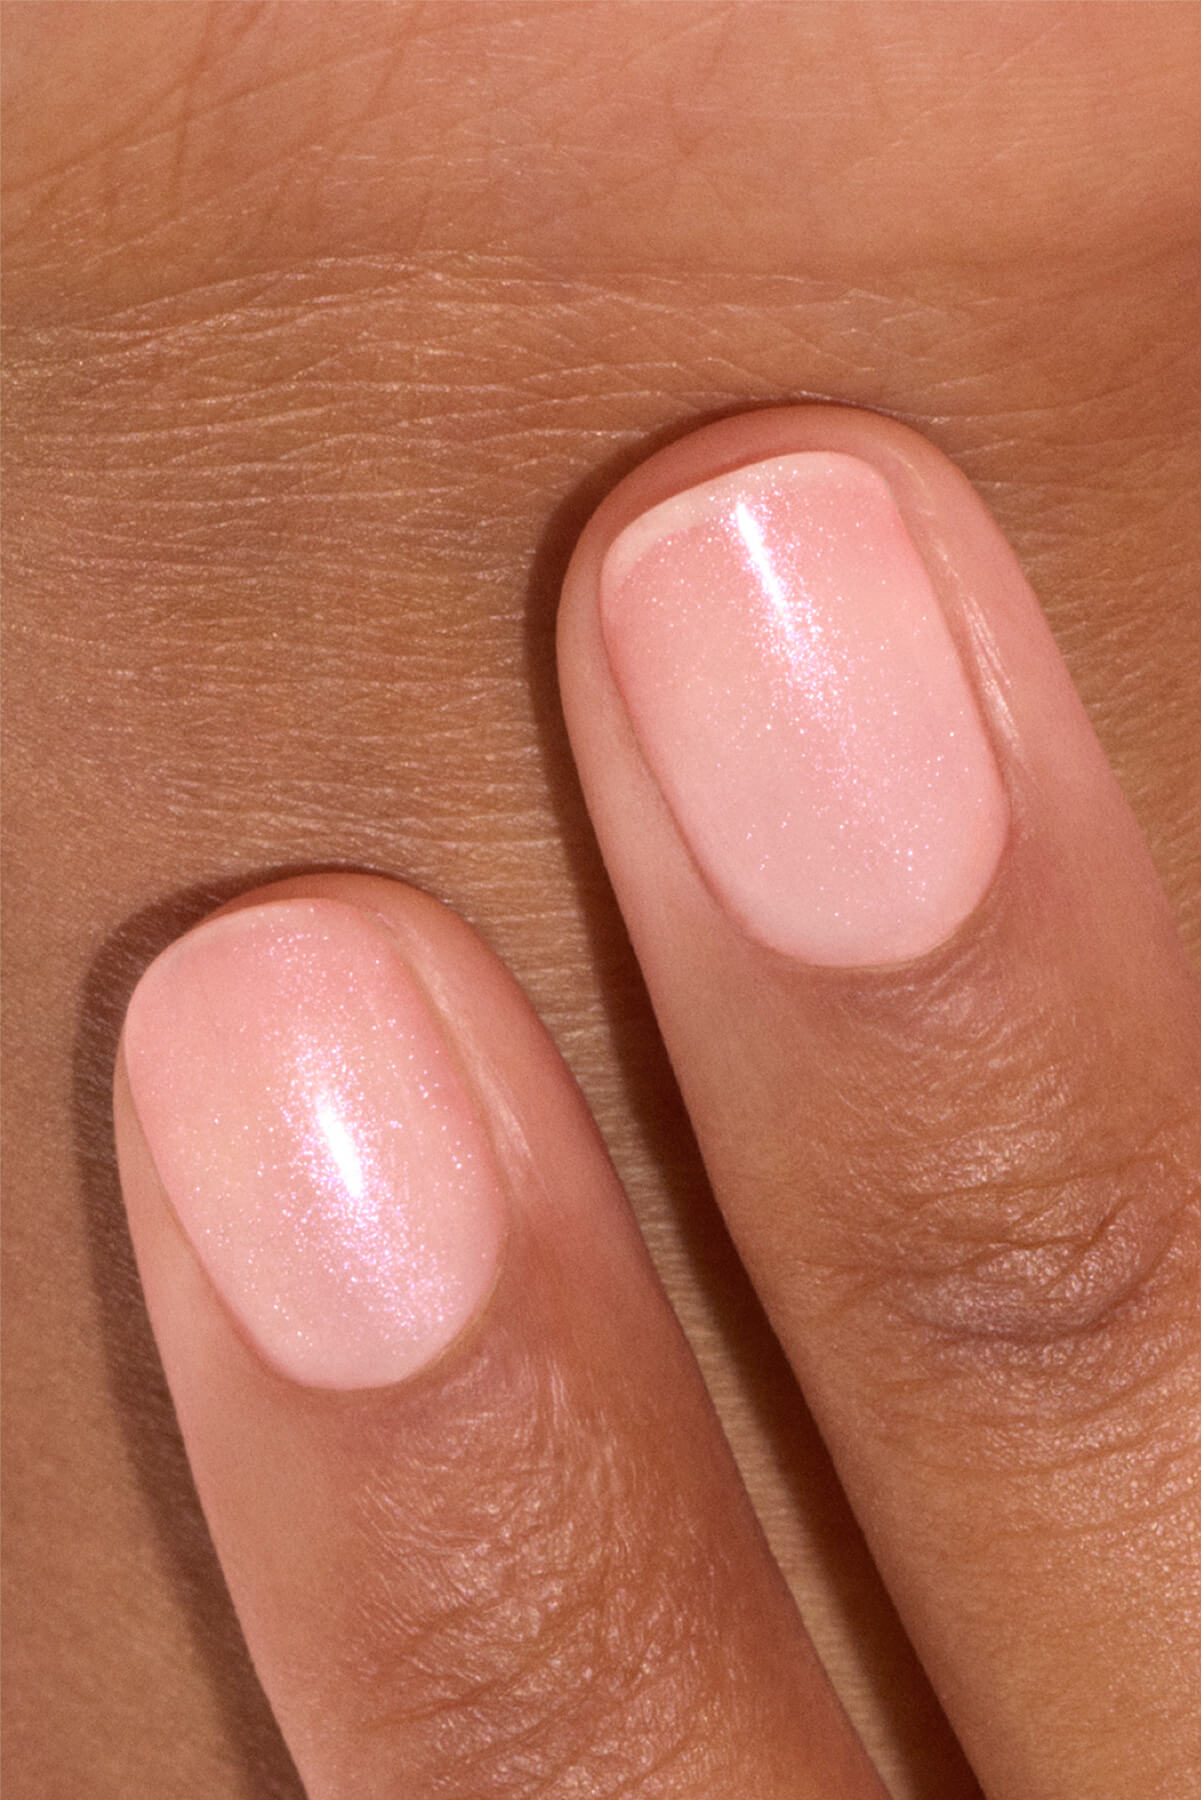
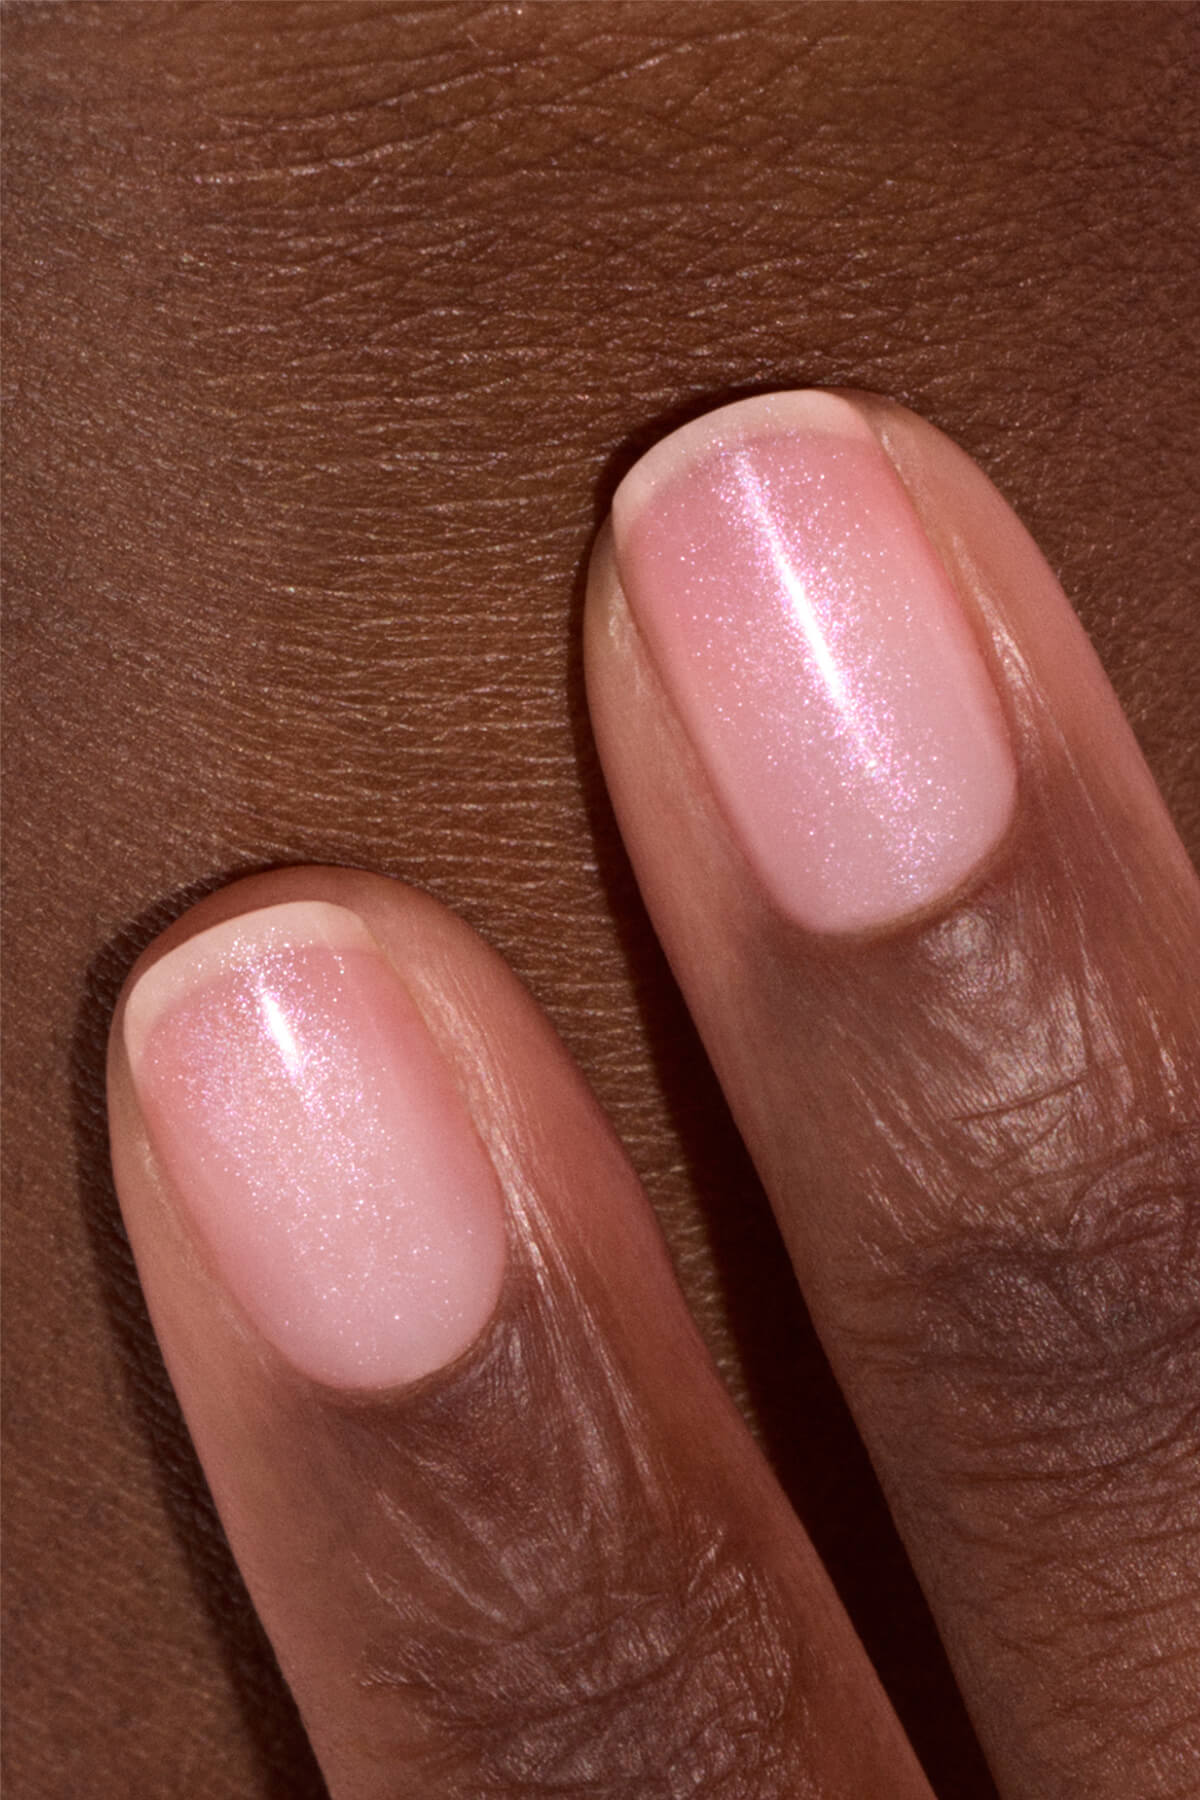
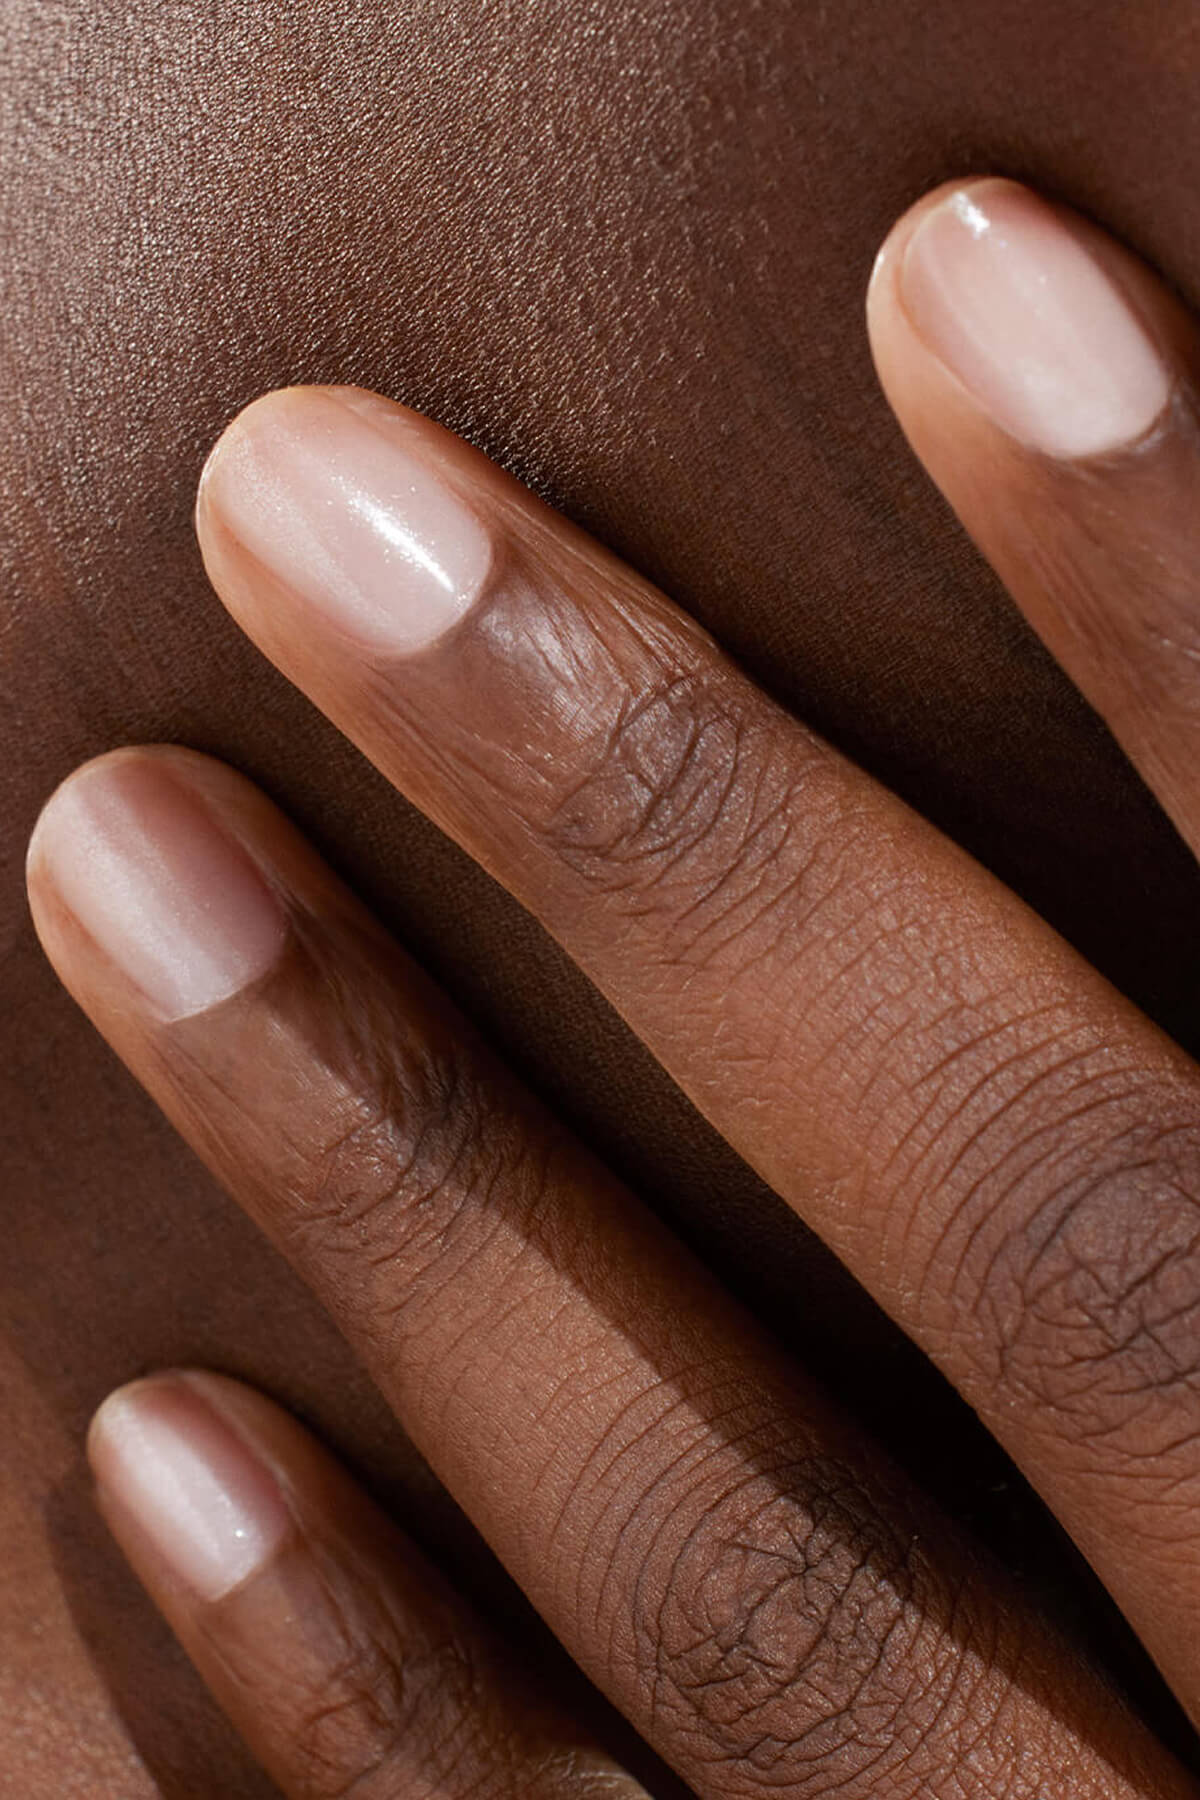
The shimmering, icy finish is fresh and light, resulting in smooth, shiny nails that make your hands look healthy and well cared for. Hmmm... does that remind you of anything? A clean manicure, no-makeup makeup... We're back to the natural look that has been causing a stir in the beauty world for a few years now. Following in the footsteps of soap nails, glazed nails are THE new nail trend that shows off the beauty of your hands and enhances your nails' natural shine.

How do you get the glazed nail effect?
After the theory, it's time for the practice! Here are our pro tips on how to create fabulous glazed nails quickly & easily at home.
What polish colours should you use for glazed nails?
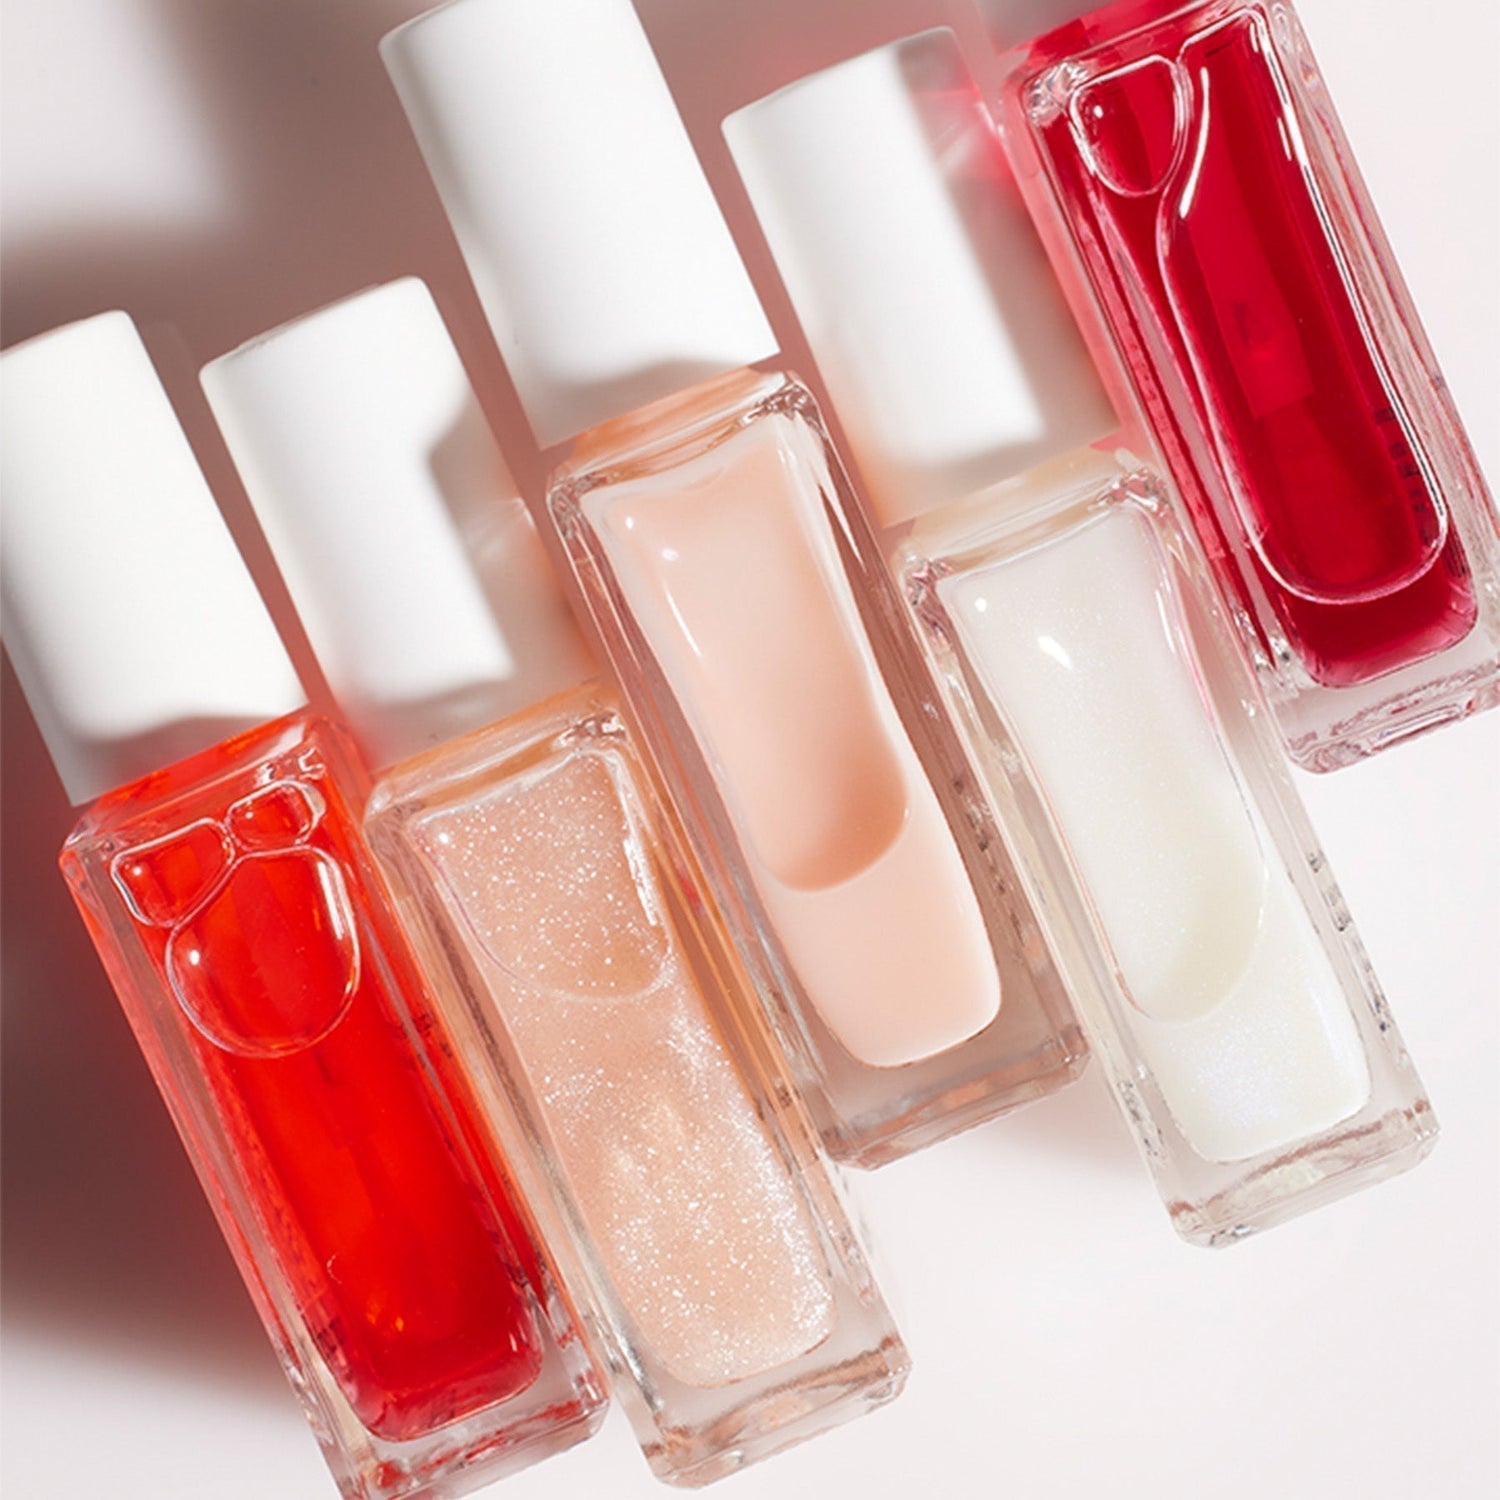
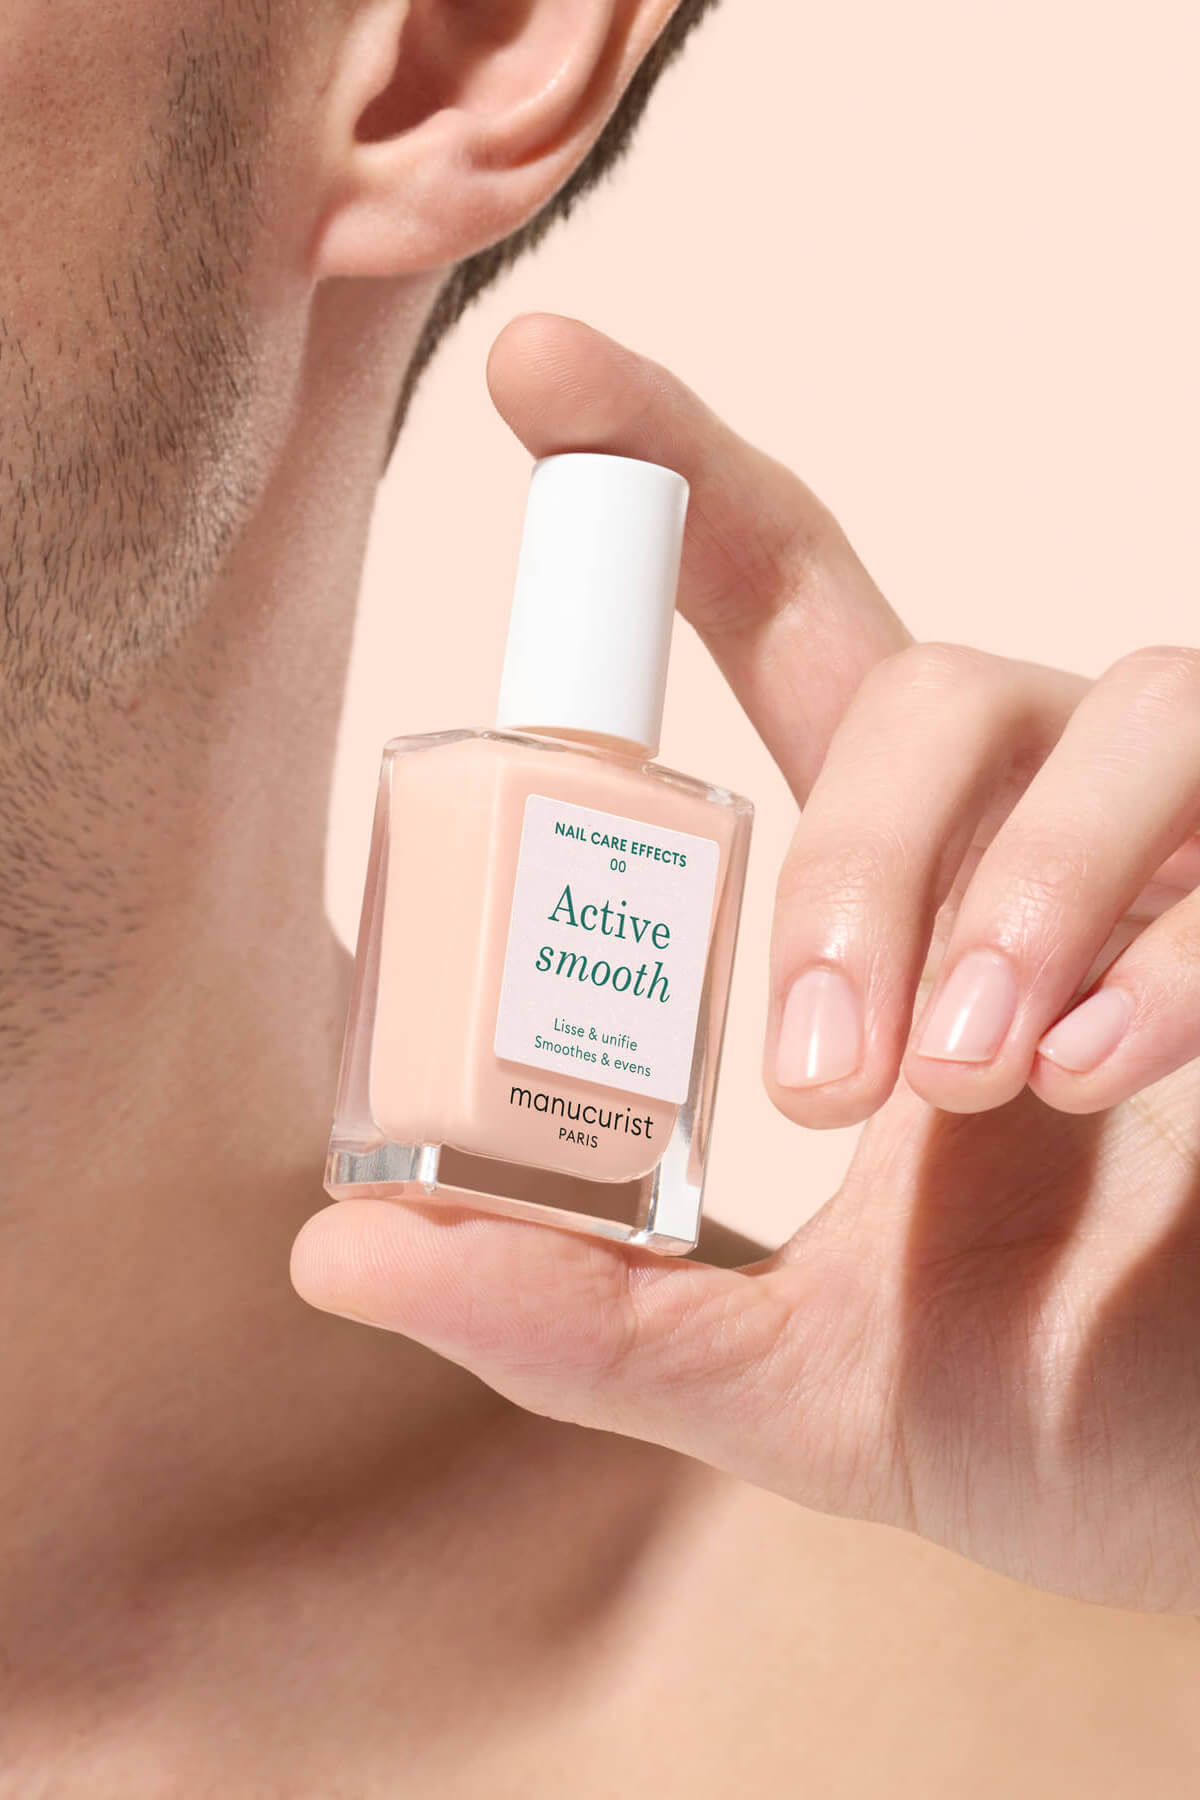
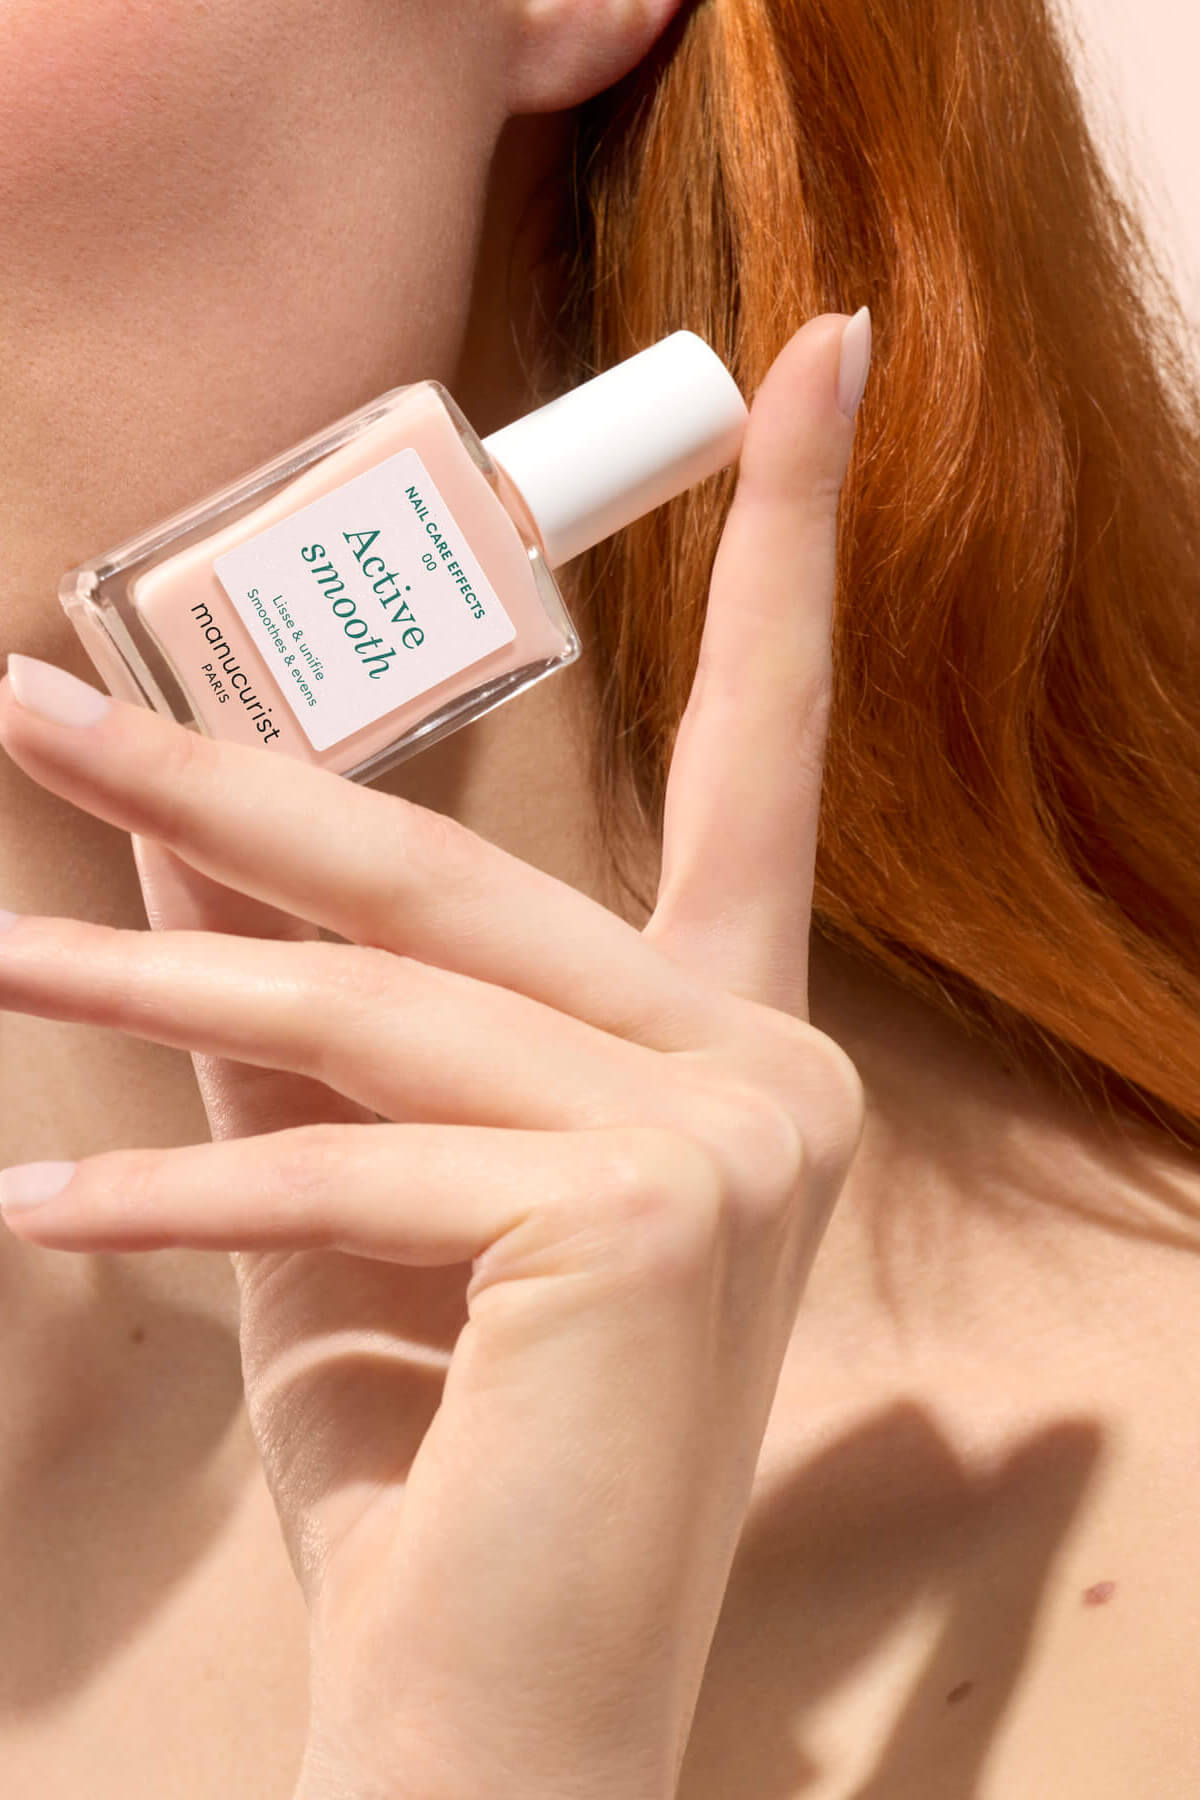
It all depends on what effect you're trying to create. If, like Hailey Bieber, you want stunning glazed doughnut nails, we suggest a sheer pink or nude polish like Beige, Hortencia, Pale Rose or Milky White. For an autumnal manicure, opt for beautiful glazed latte nails on an Orme polish base.

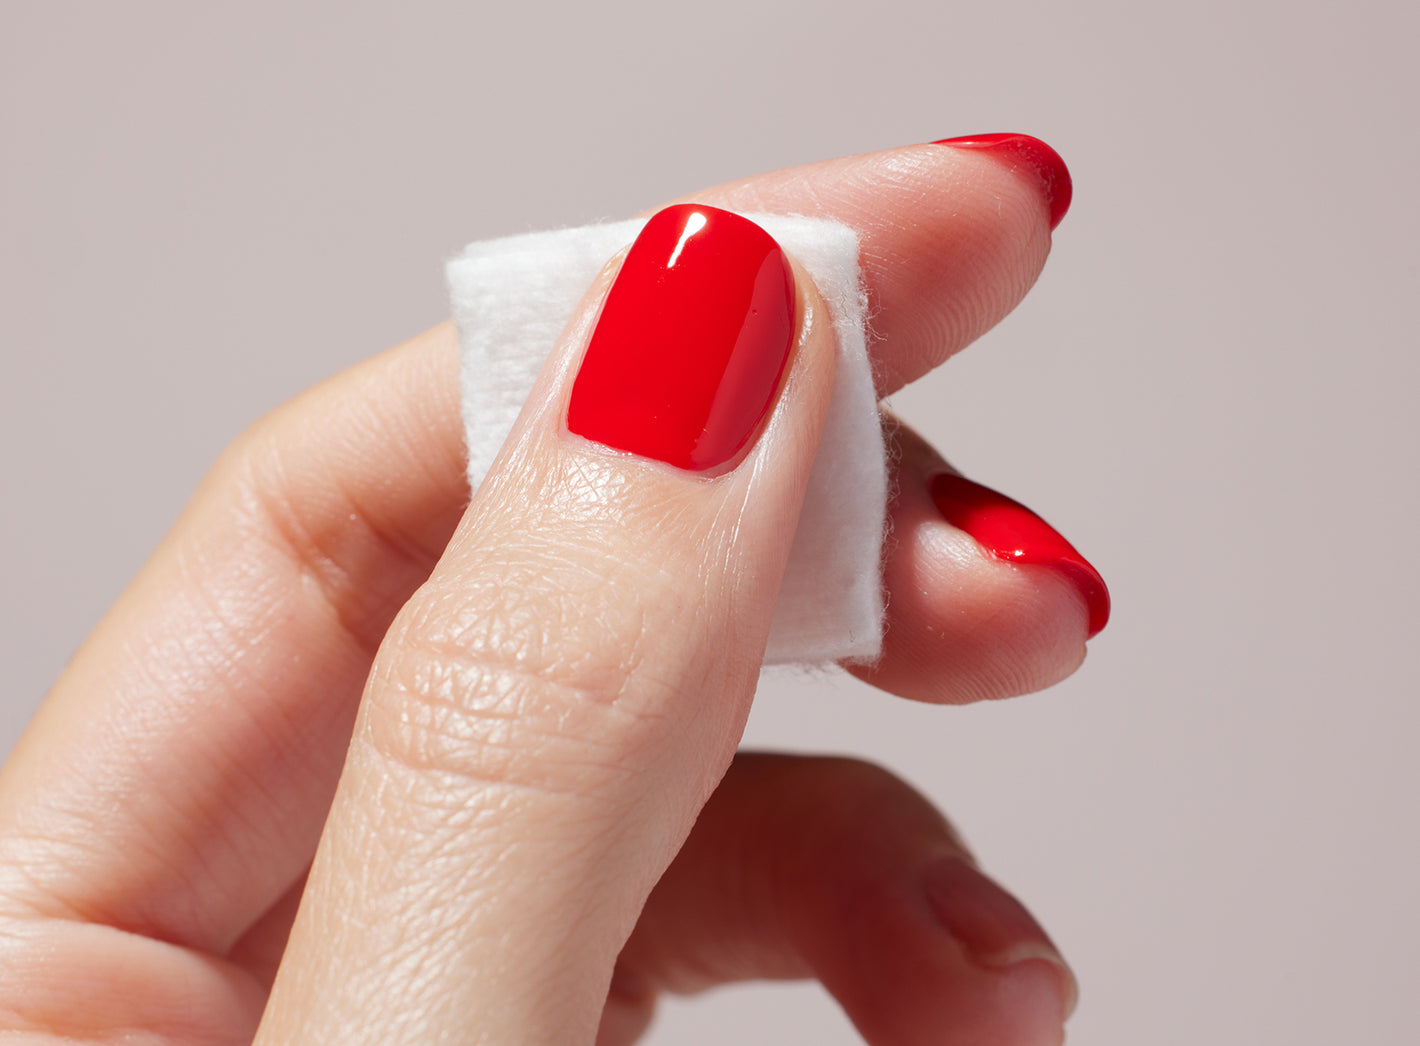
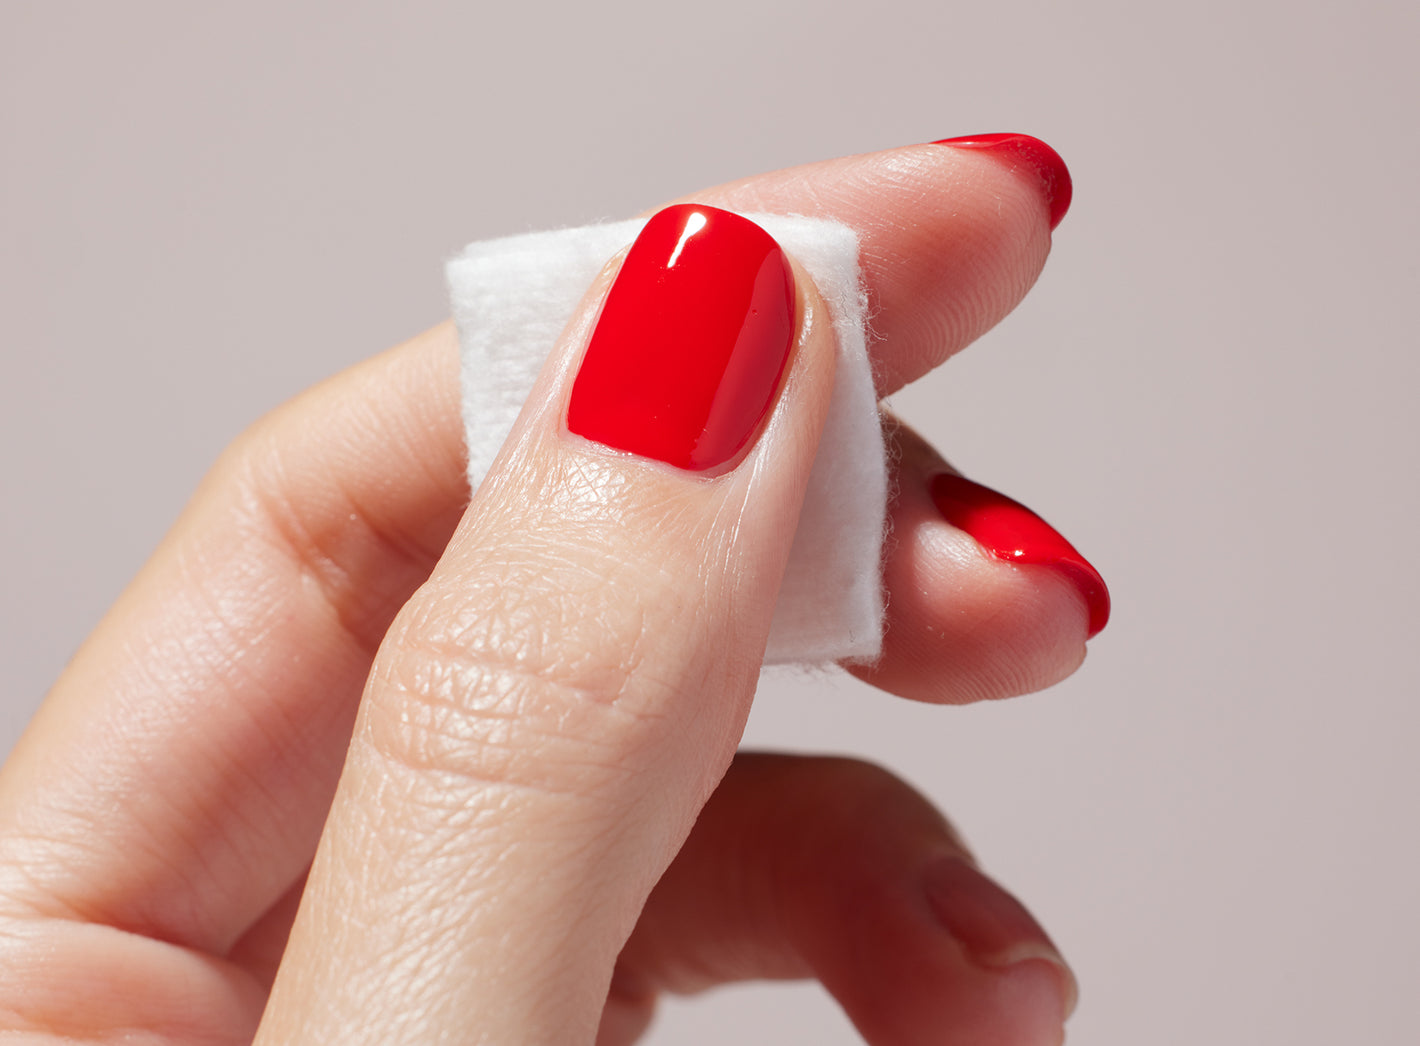
Fancy a gourmet manicure? Let yourself be tempted by delicious glazed cherry nails using Péonie or Red Cherry.

As you can see, the possibilities are endless and the glazed look can be tailored to suit your preferences. You can play around with different polish colours and effects to find the best combinations.
A step-by-step guide to glazed nails
It's not hard to do glazed nails – you just have to follow the 5 steps below:
Step 1. Prep your nails: this is essential to ensure your polish lasts and involves a few different elements (which you can read about in detail in our article here). These are:
- file your nails into your preferred shape,
- soften and push back your cuticles,
- buff the surface of your nails and remove any dust,
- remove the oil from your nails to help the polish adhere.

Step 2. Apply your base coat: one thin coat is enough to protect the nail surface and help the colour to set. Use a base coat from the same range as your Green™ or Green Flash™ polish, and if you use a Green Flash™ Base Coat, don't forget to cure it under an LED lamp.
Step 3. Apply your Green™ or Green Flash™ colour: in 2 thin coats, curing it under an LED lamp if you're using Green Flash™ polish (and following the drying times indicated, which differ for each type of lamp).
Step 4. Apply glazed powder: using the special applicator brush, apply our Pink Glazed Powder or White Glazed Powder to your nails, depending on your preference and the effect you want to create. Remove any excess powder with our dusting brush and clean the skin around your nails.

Step 5. Set with a top coat such as our Sunshine Top Coat or Green Flash™ Top Coat to help you get the glossy finish that makes glazed nails so stunning and durable. With a few drops of Green Oil applied regularly, your glazed nails will last even longer.
Can you get the glazed nail effect without Glazed Powder?
No Glazed Powder handy? No worries! Among its wide range of polish colours, Manucurist offers shimming Green™ and Green Flash™ polish with a similar glazed effect. Satin, Carnation, Pamplemousse, Moon and Gold Sand will all give your nails a subtly iridescent, coloured finish, ideal for anyone who loves this manicure trend but prefers a quicker, easier alternative.

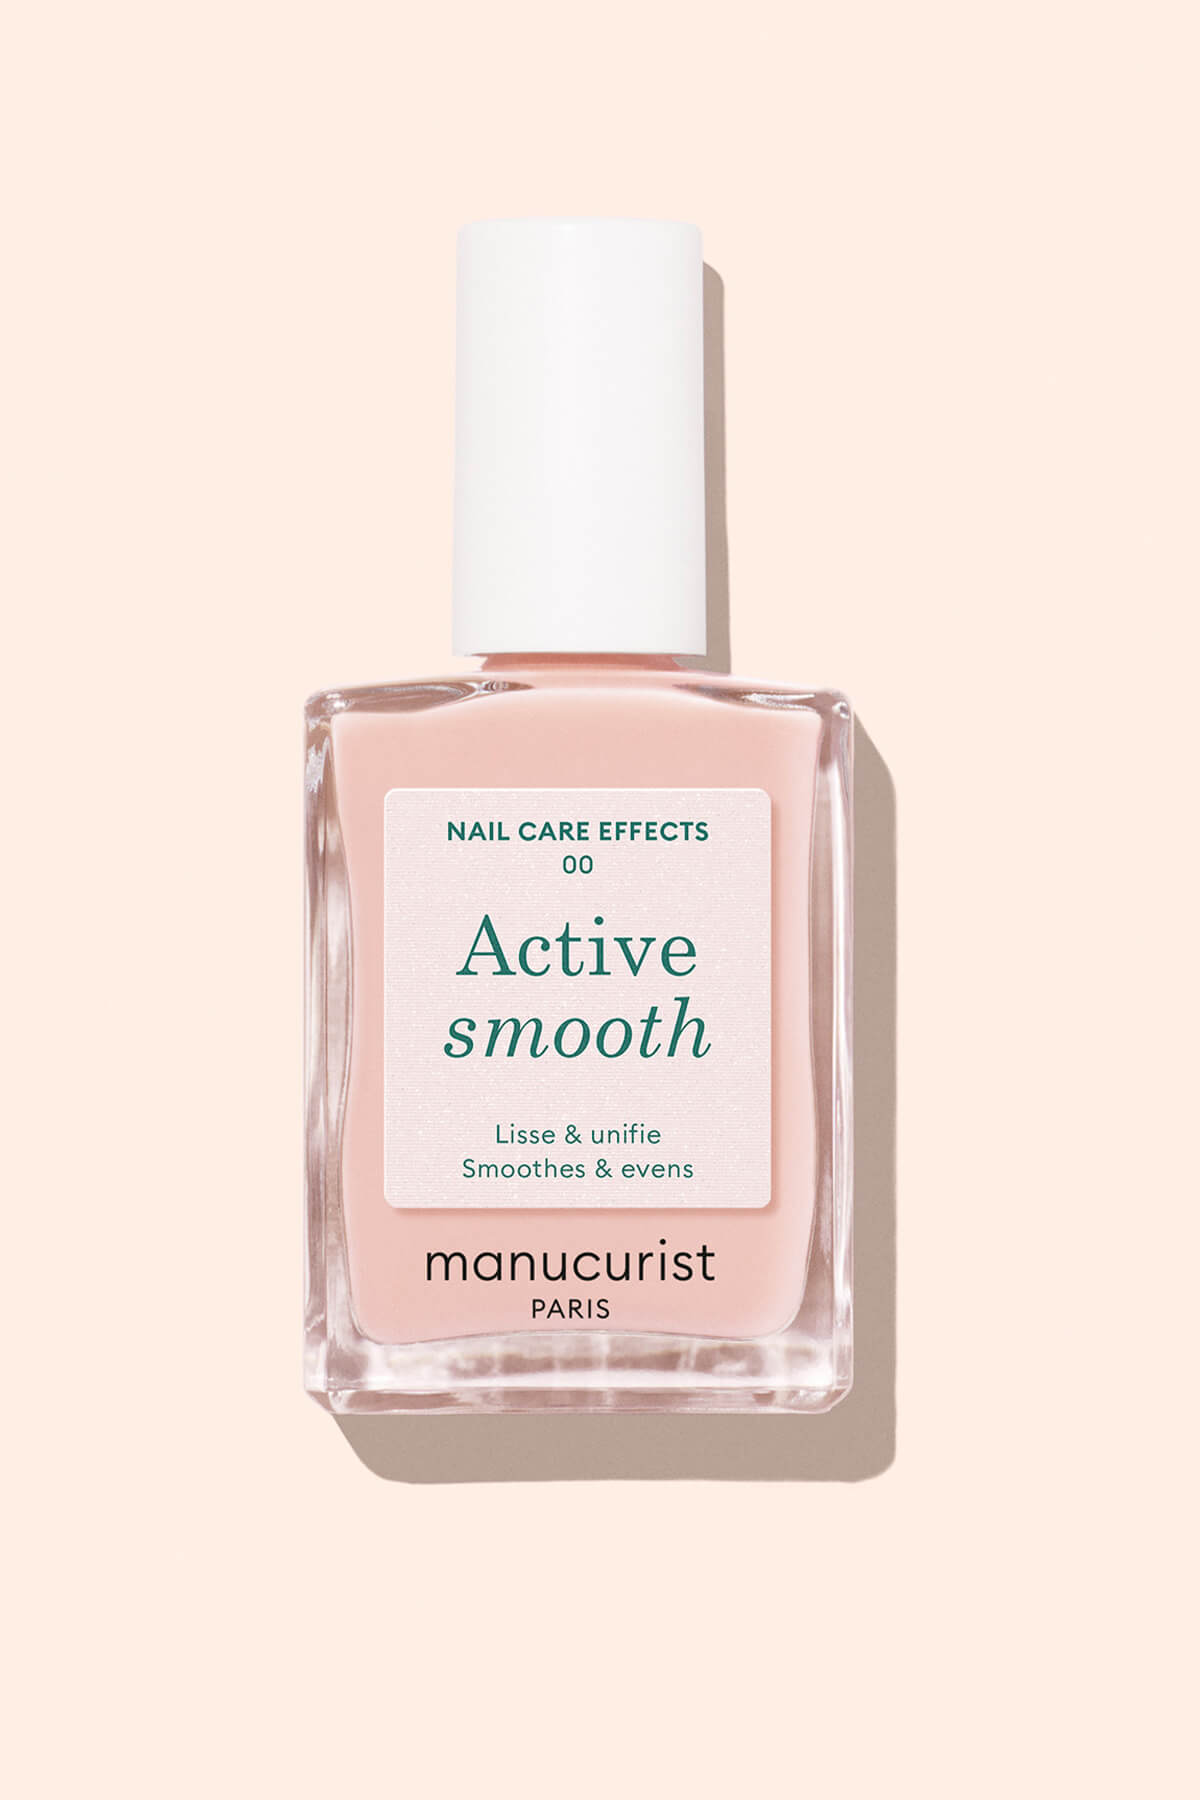
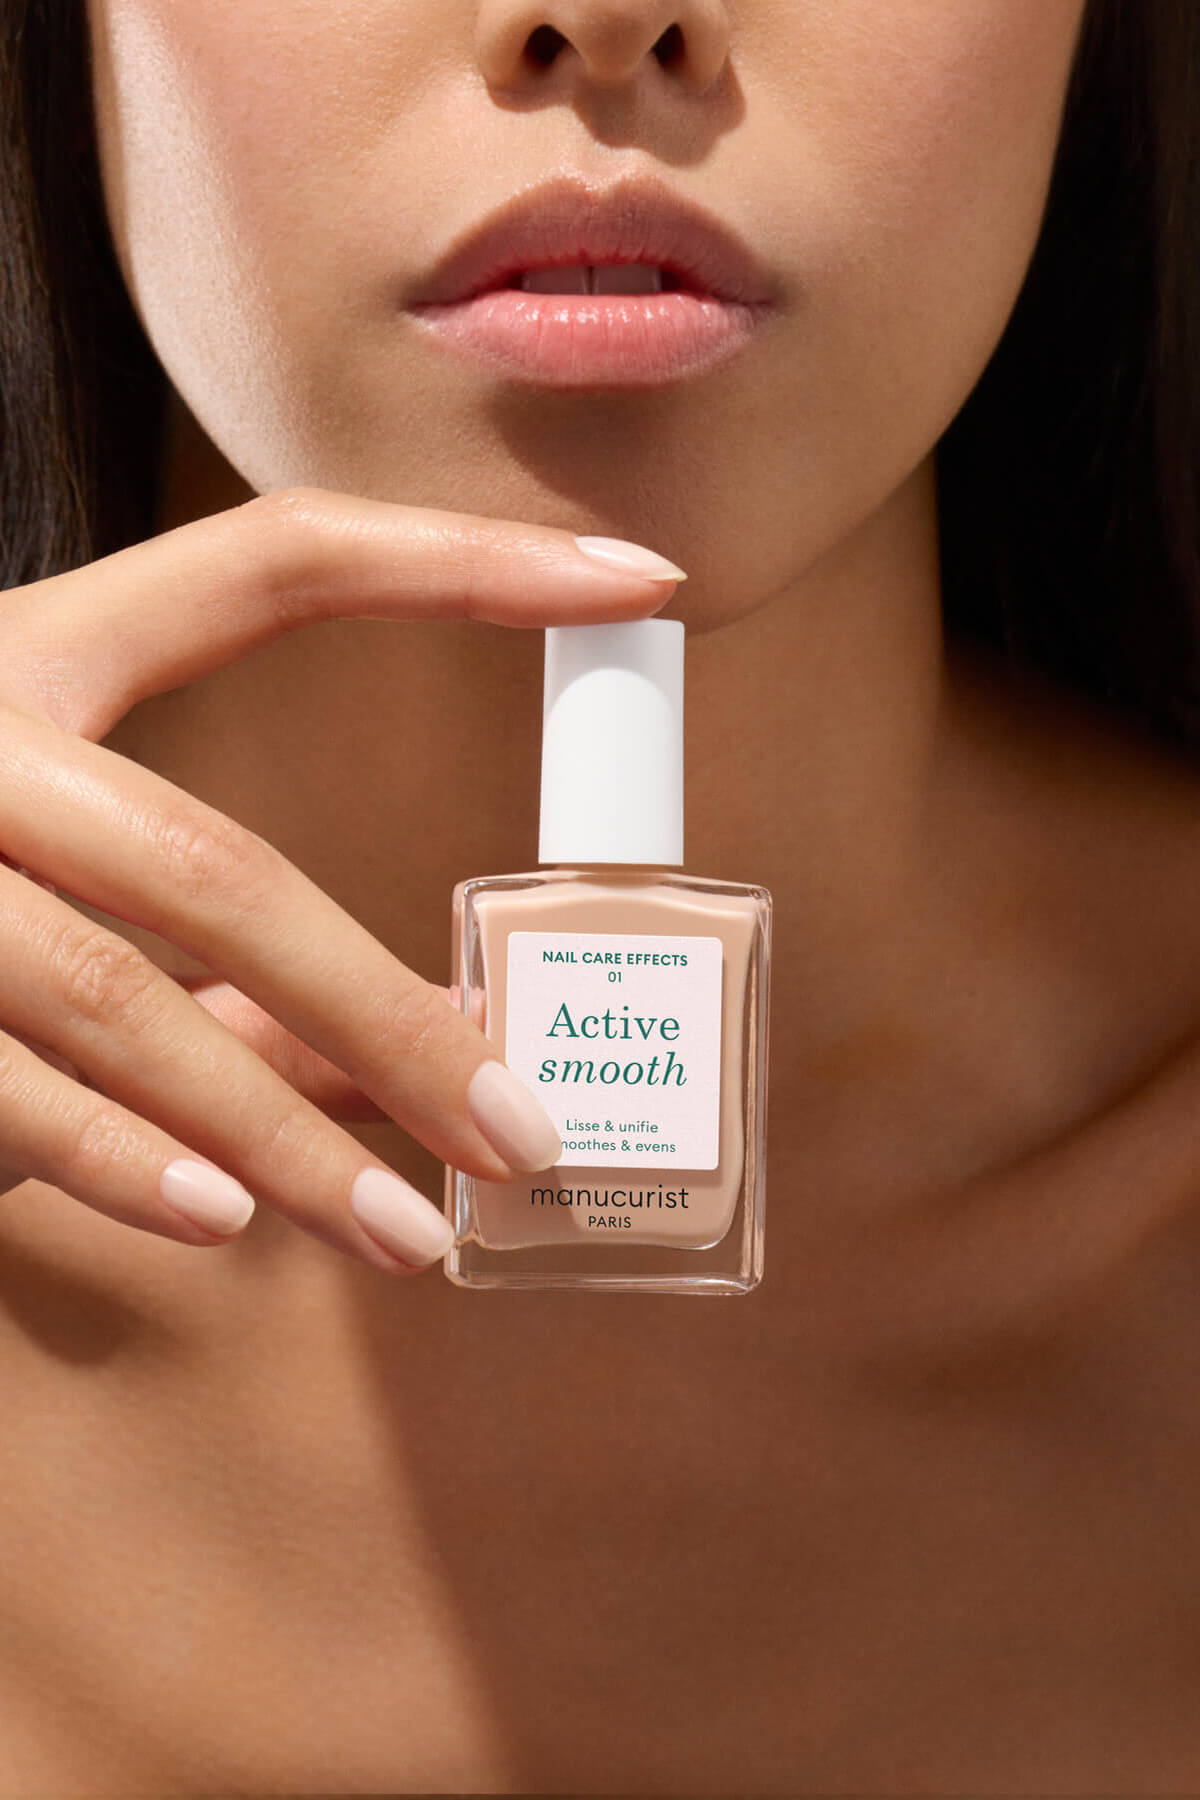
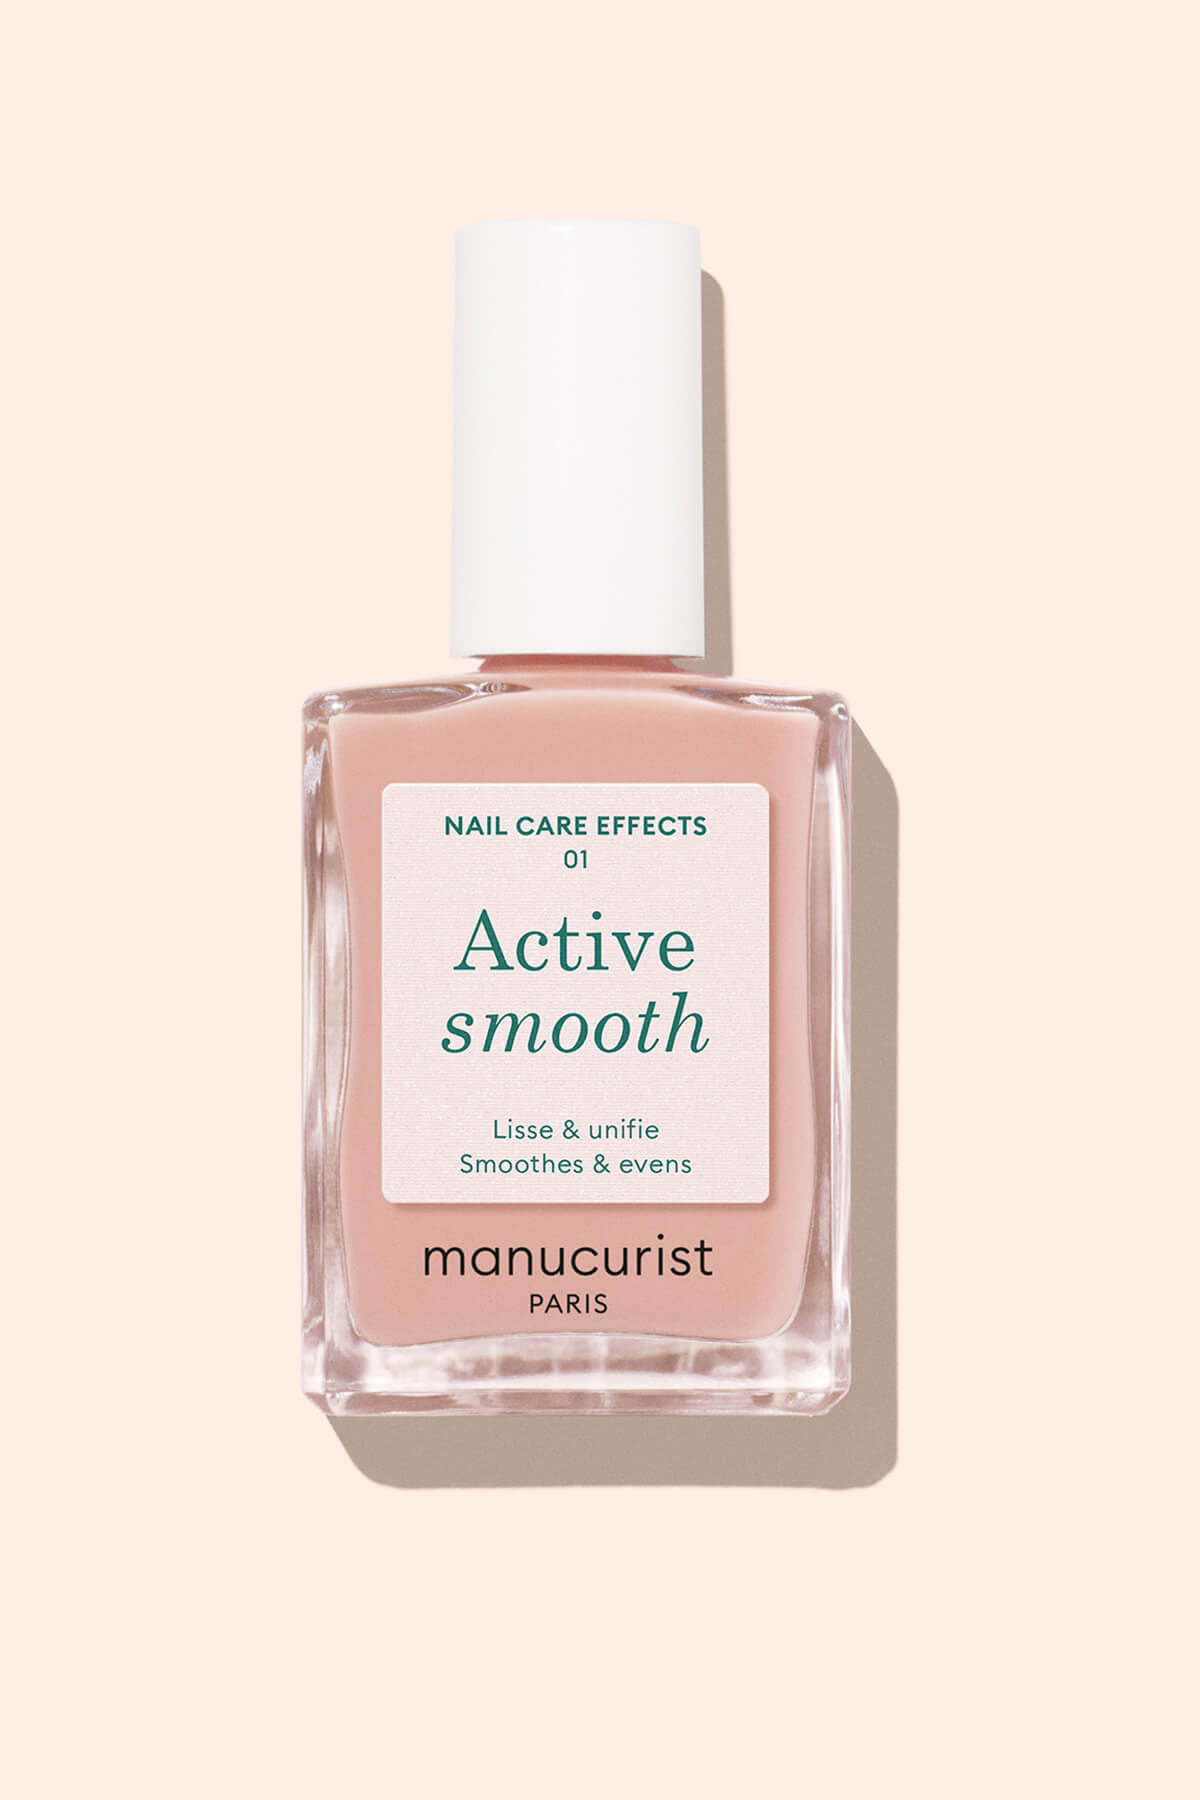
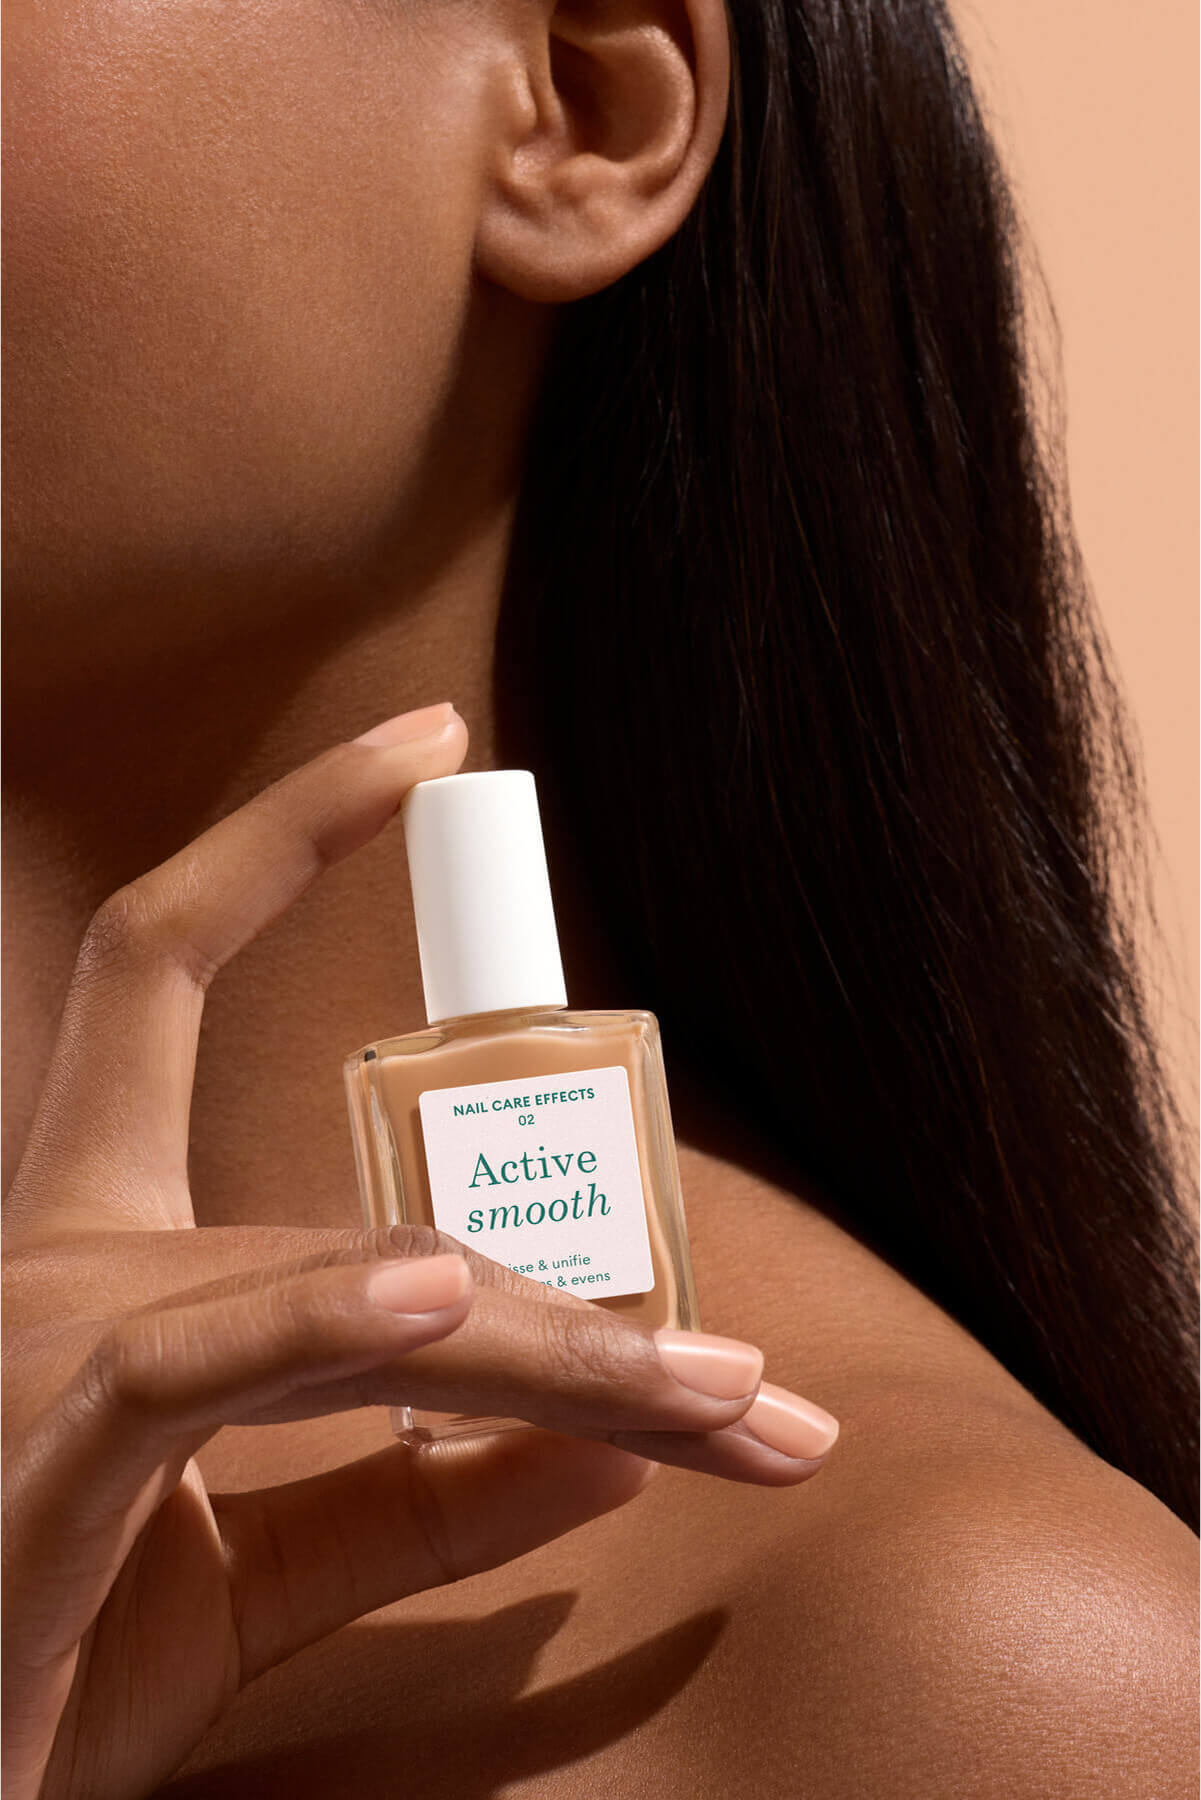
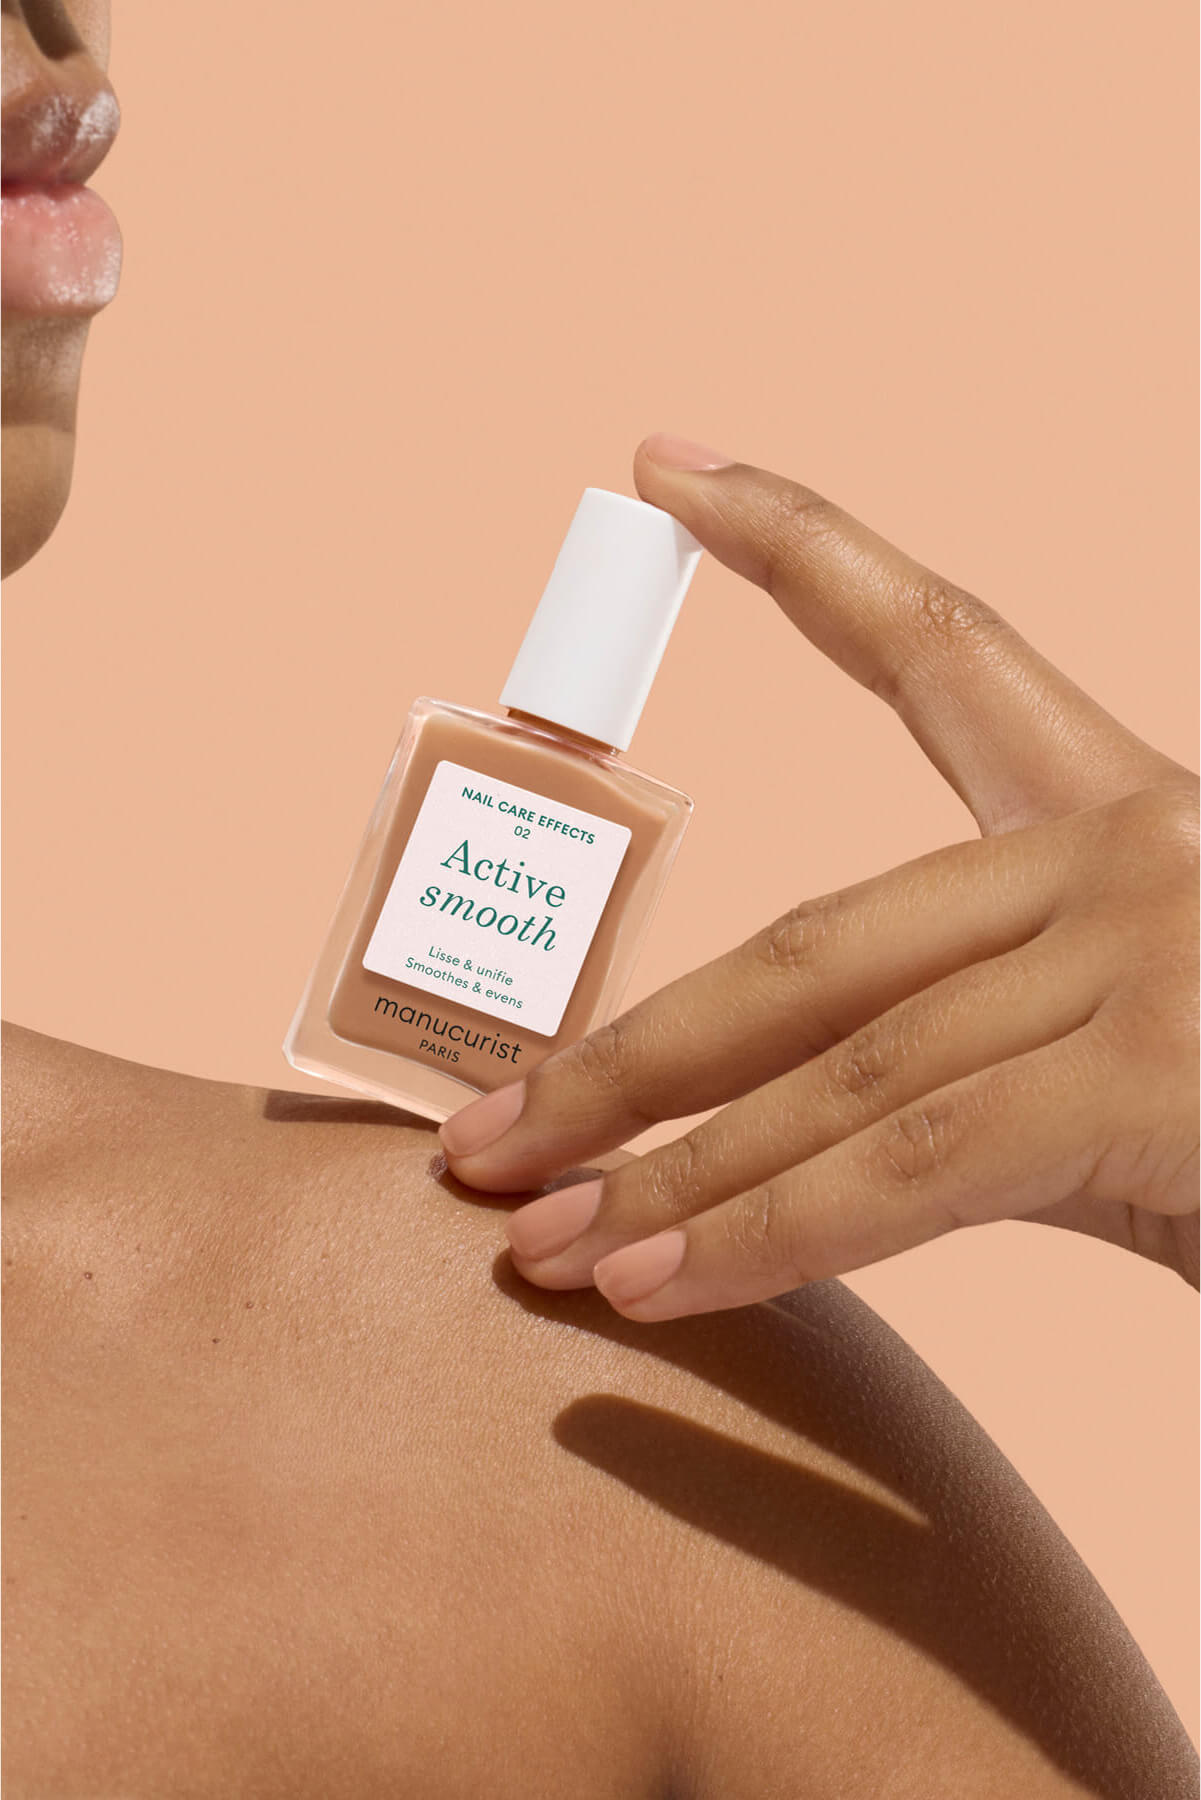
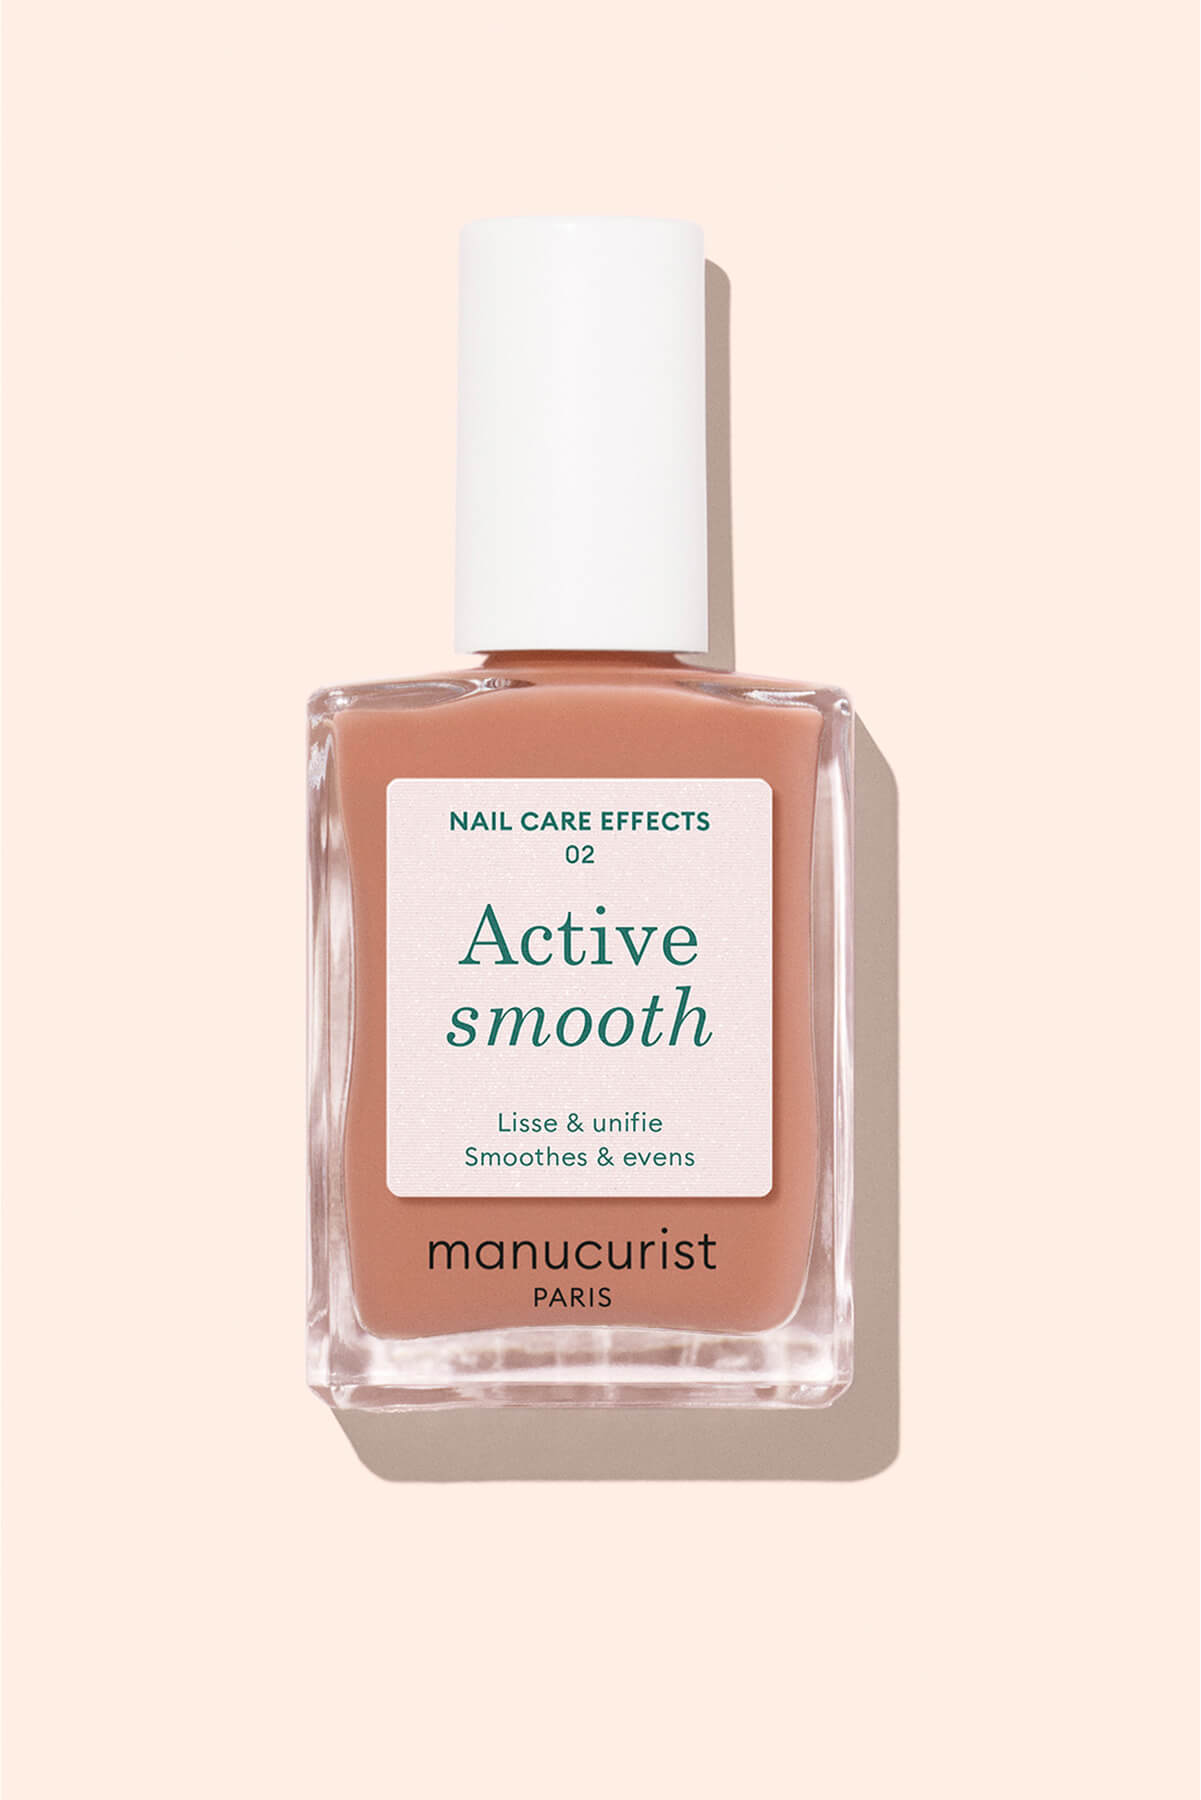
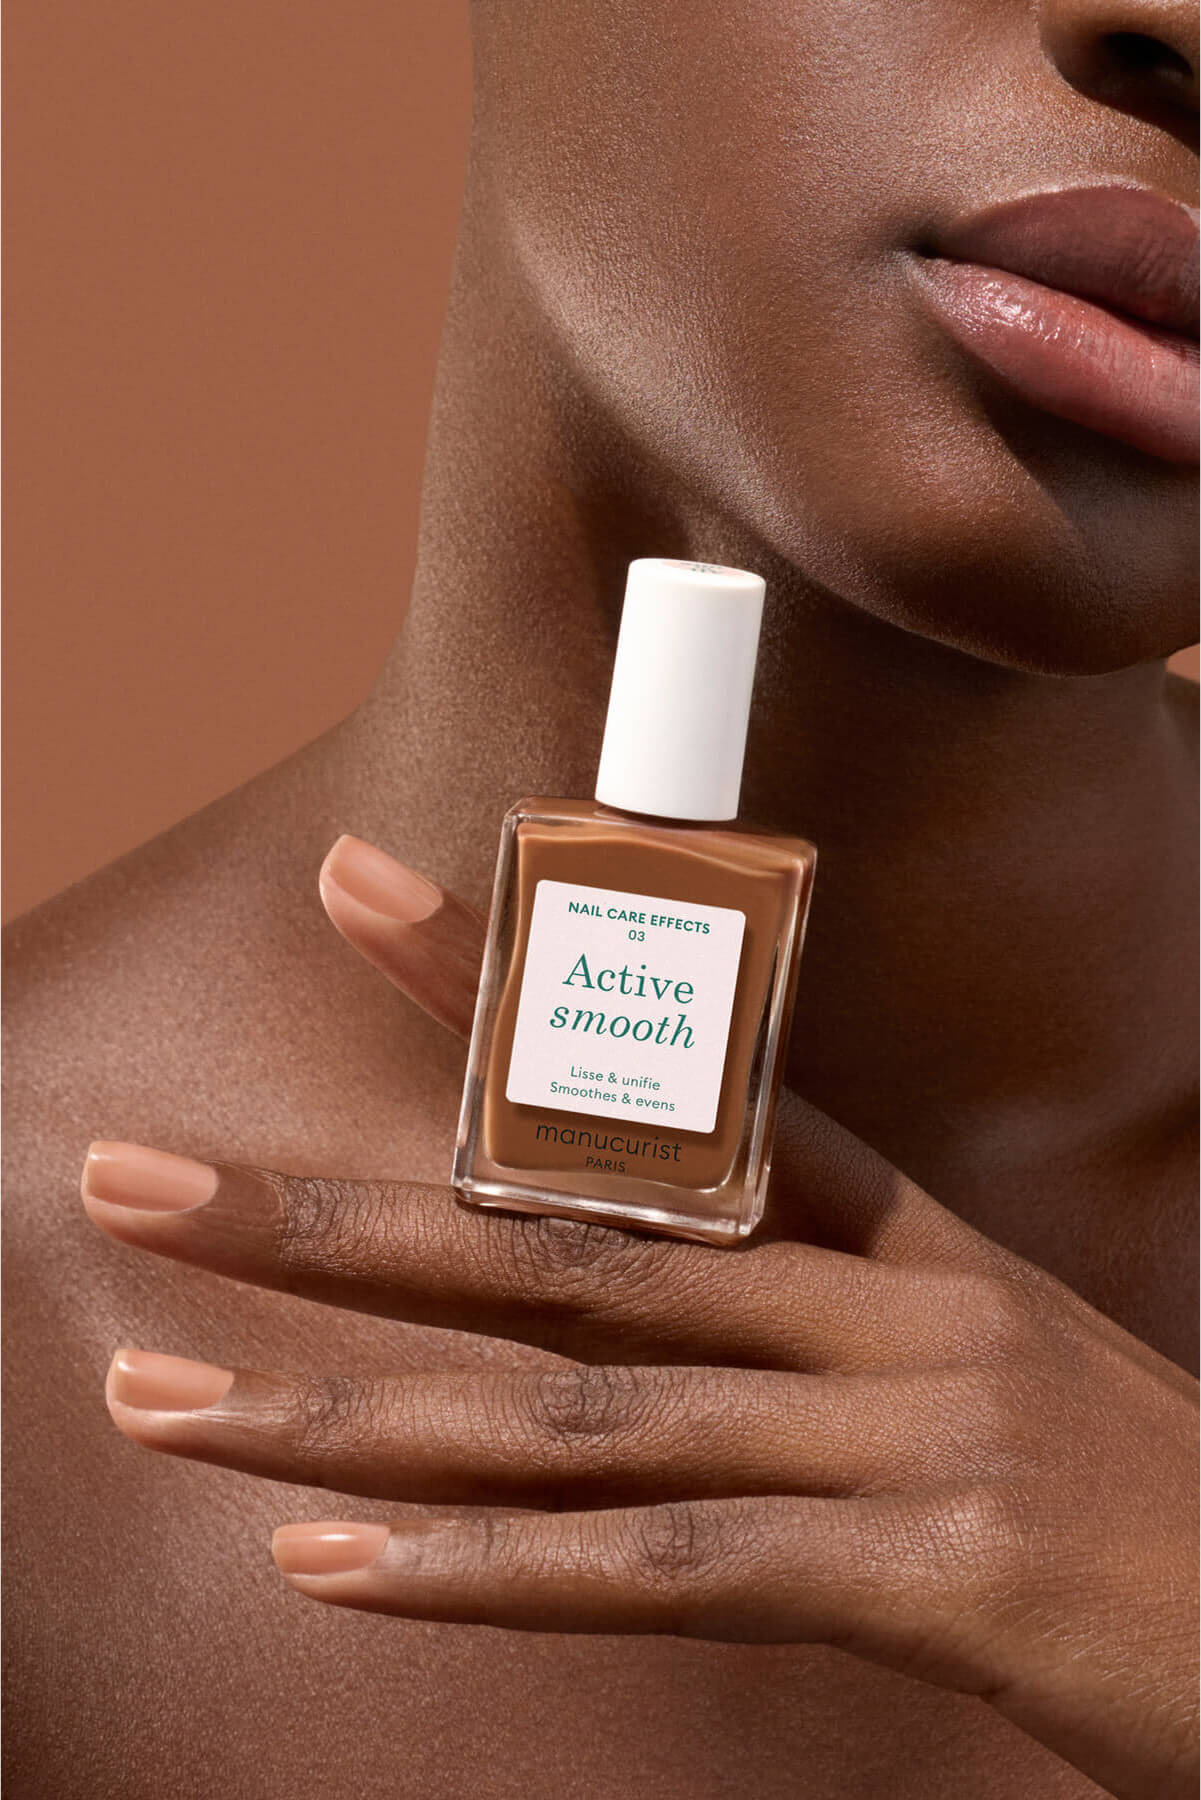
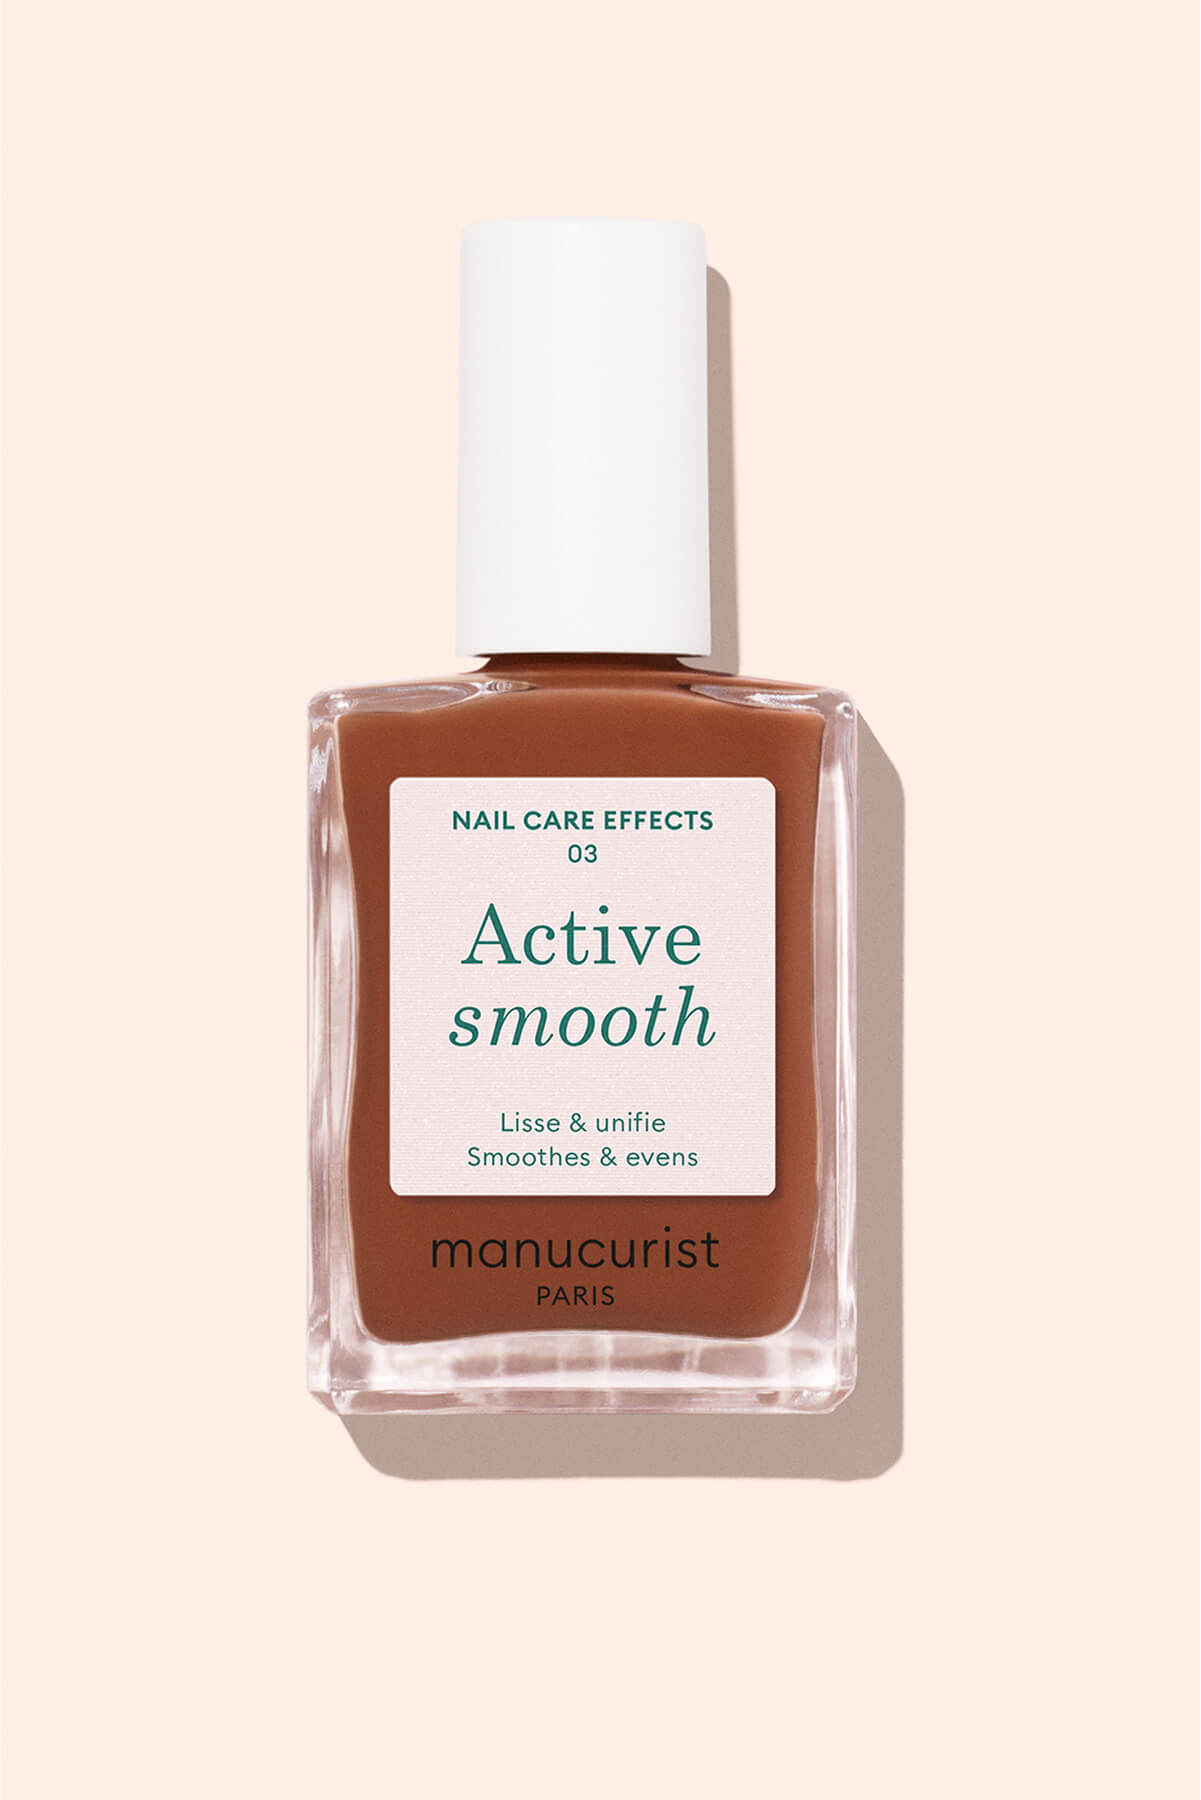
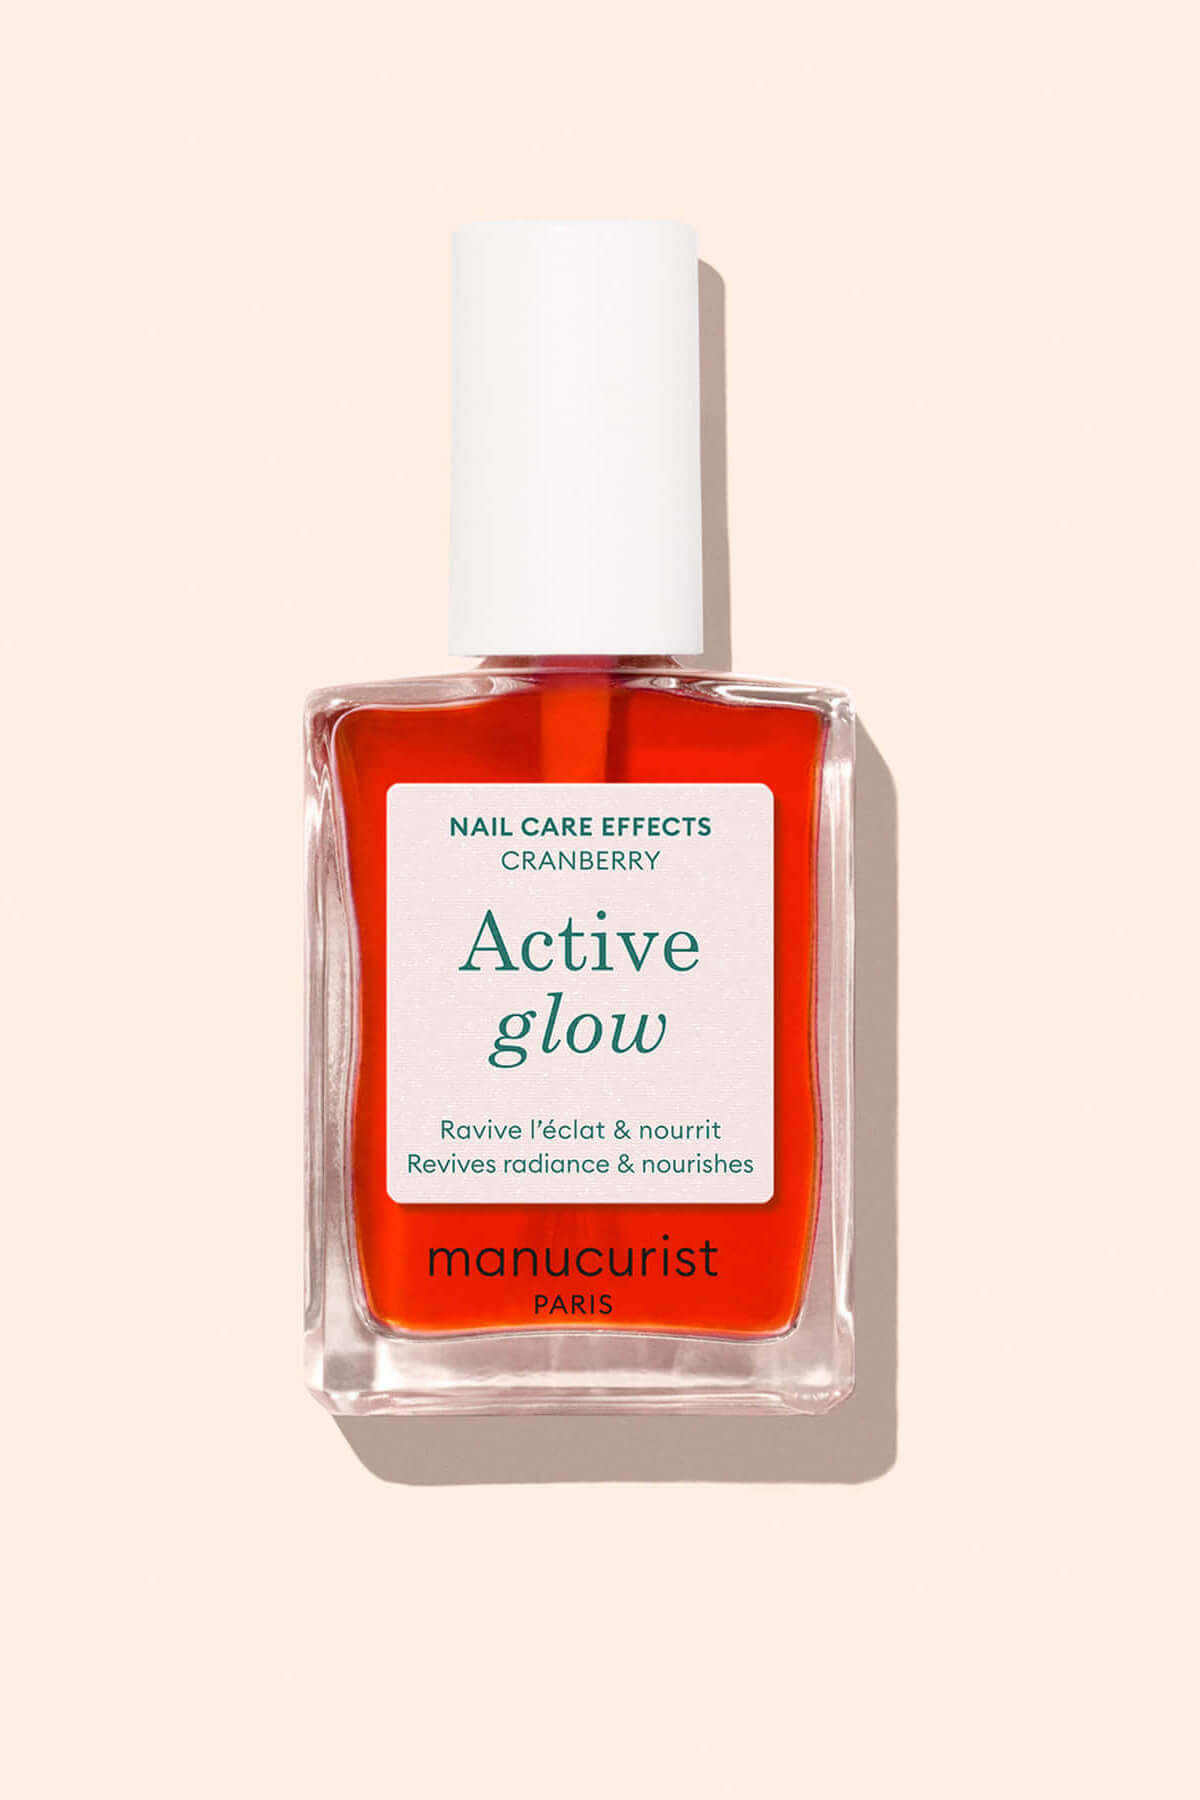
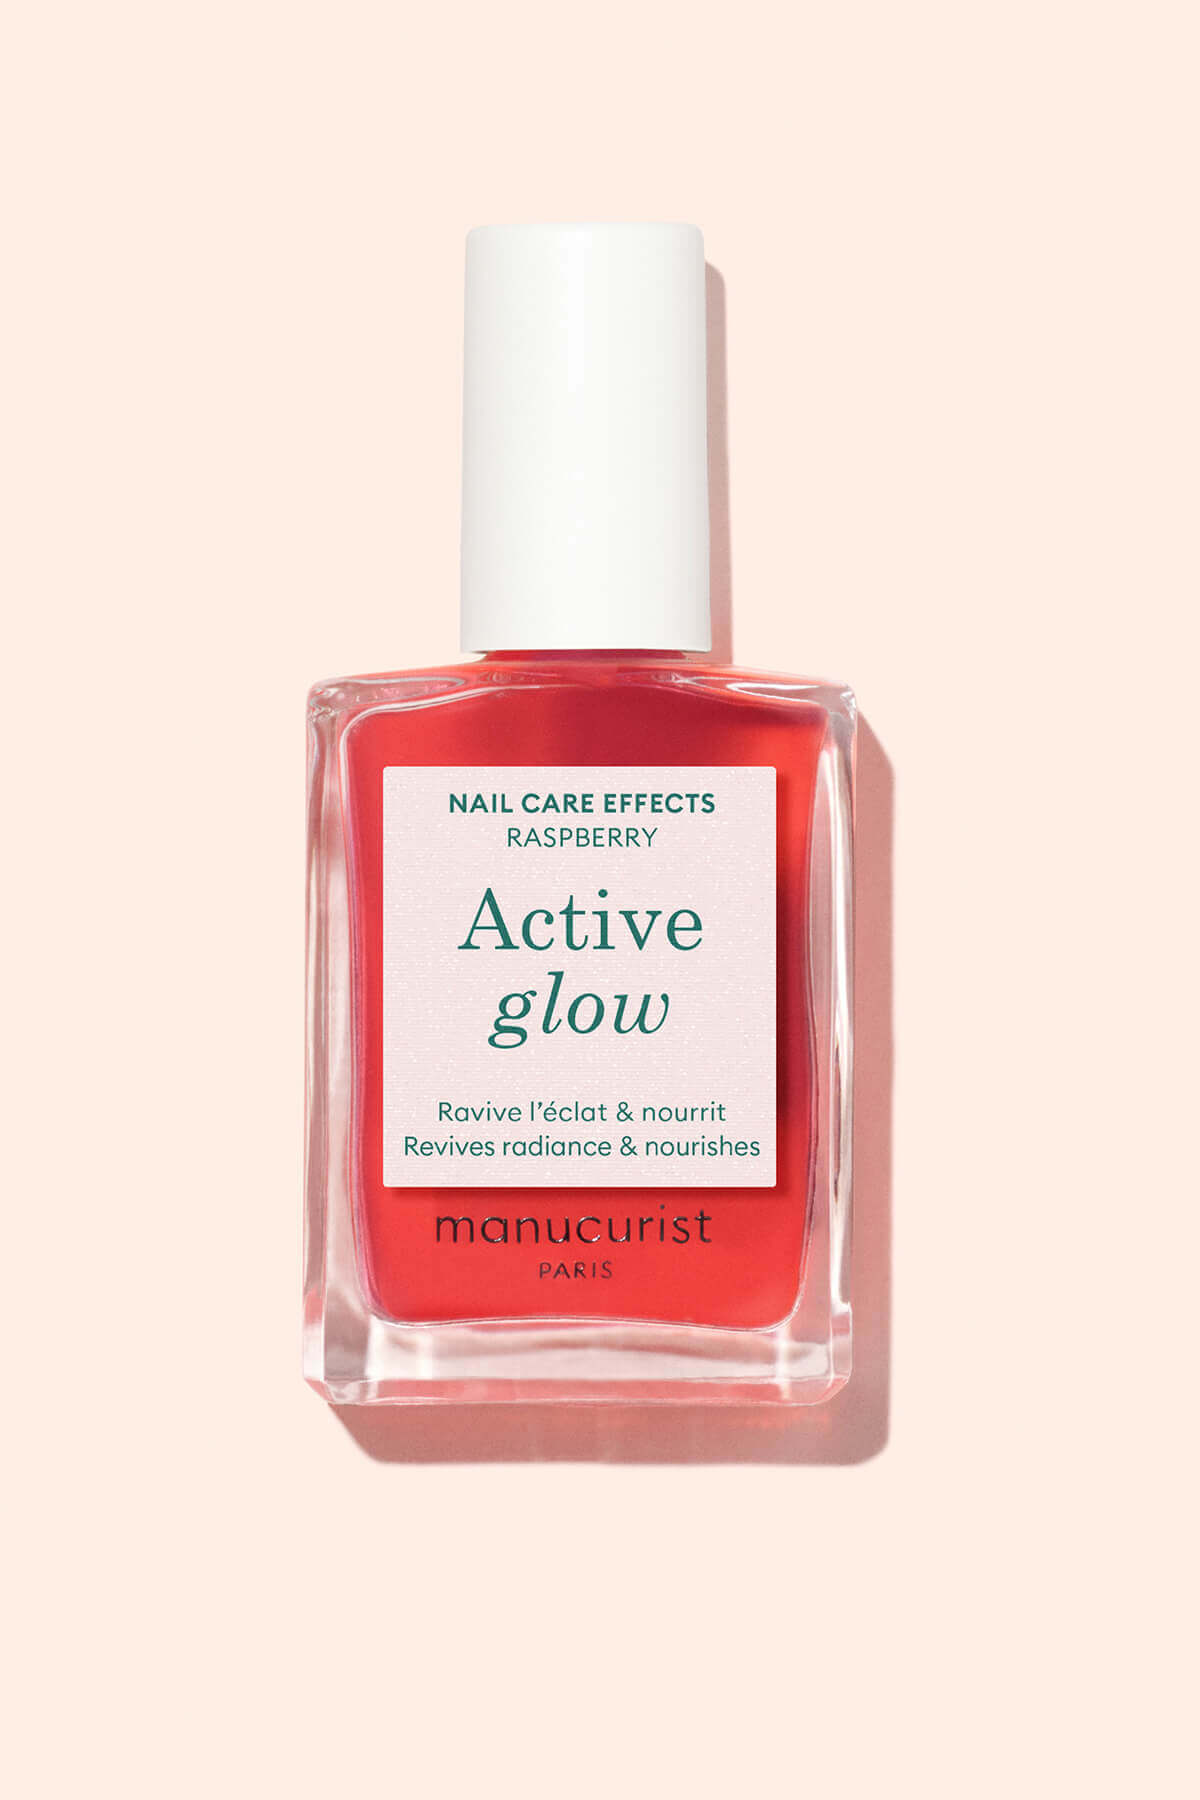
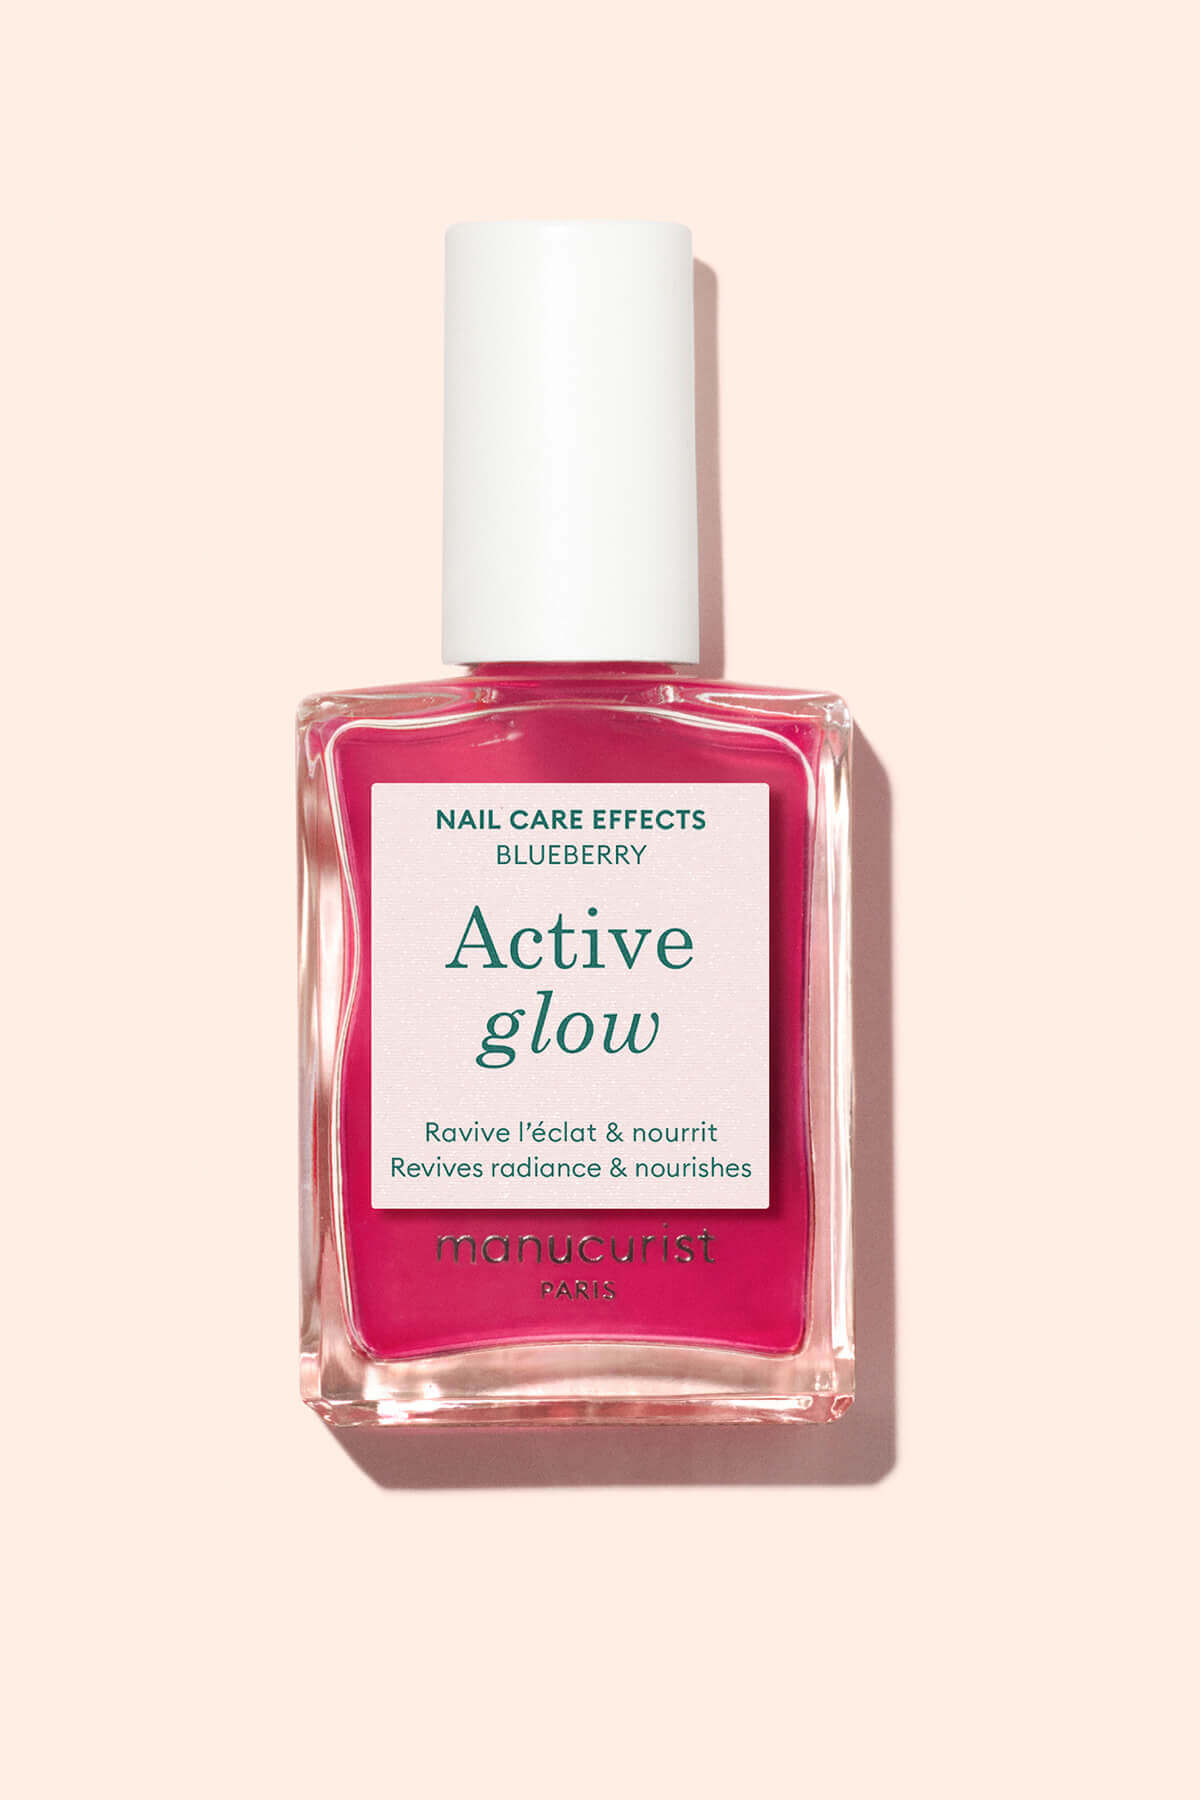
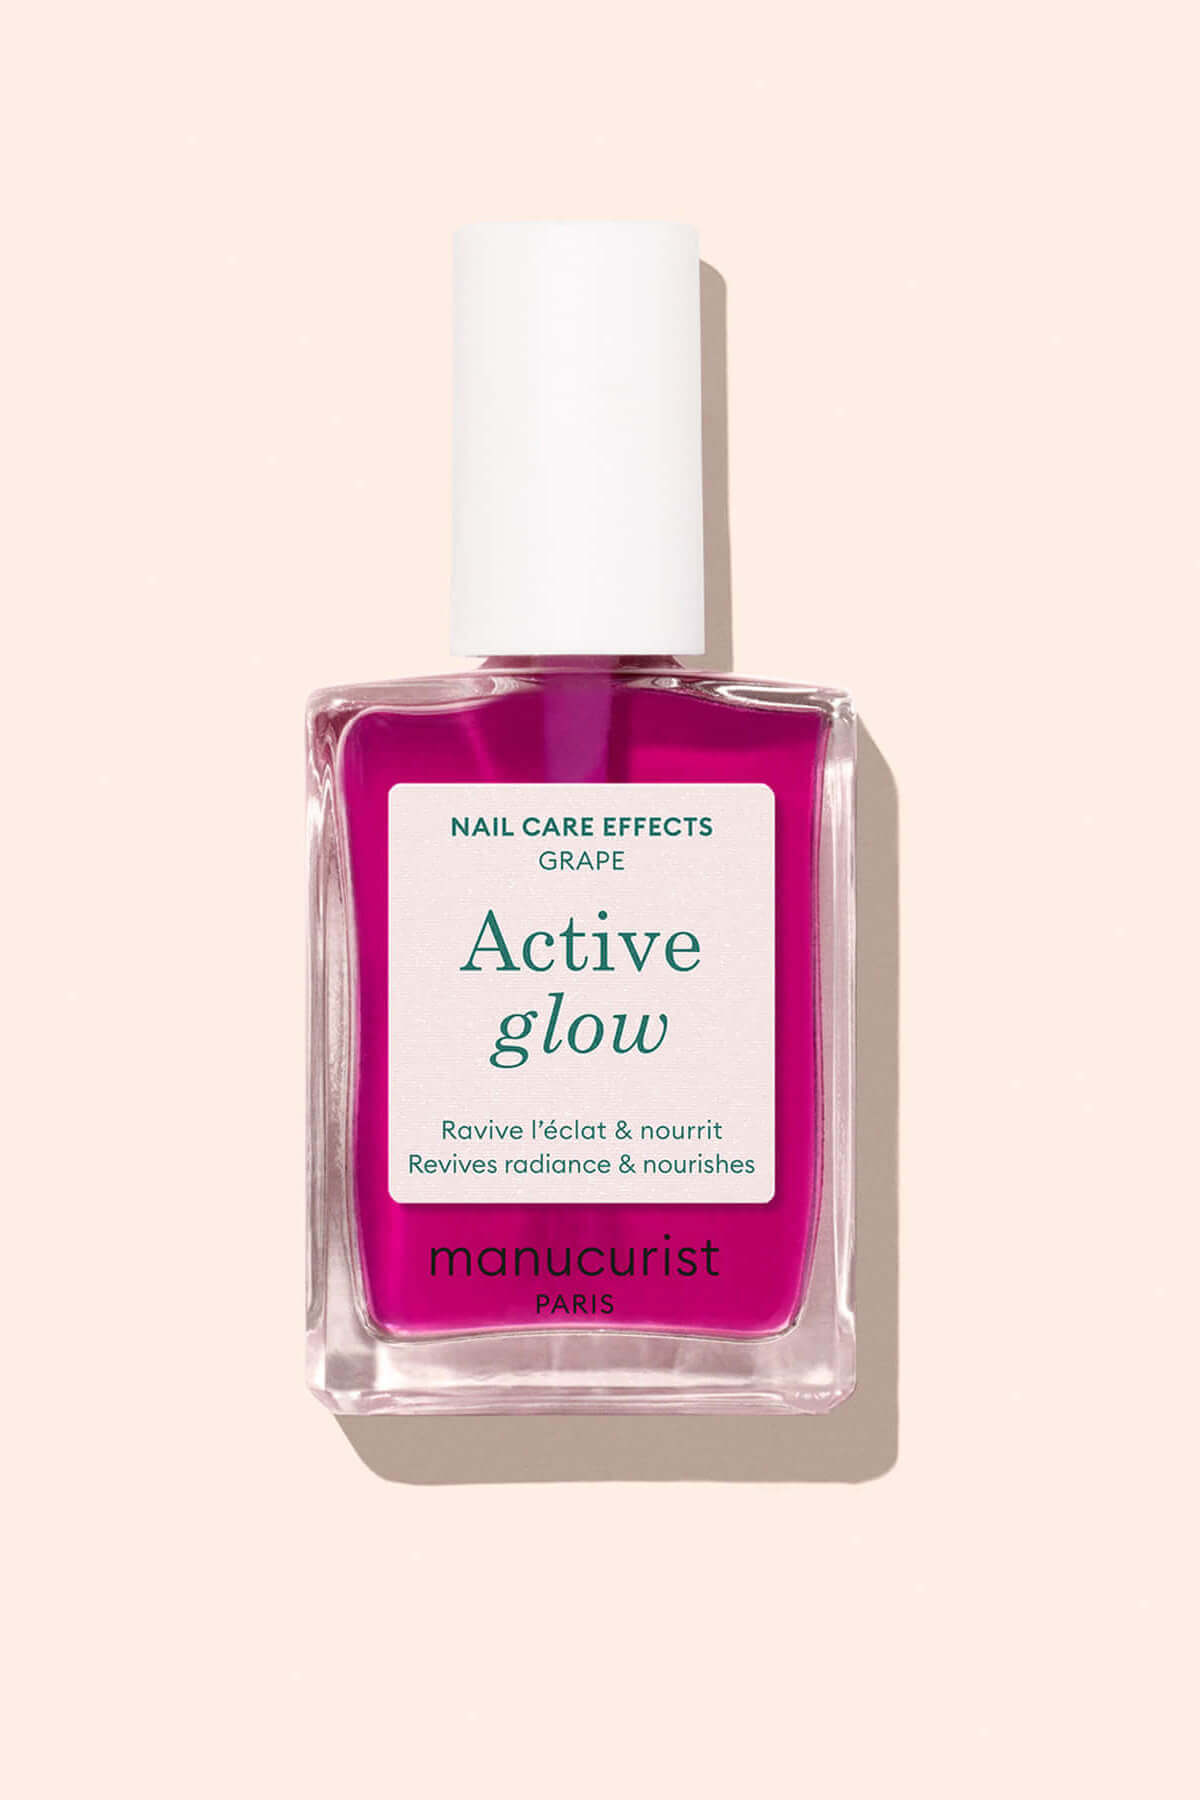
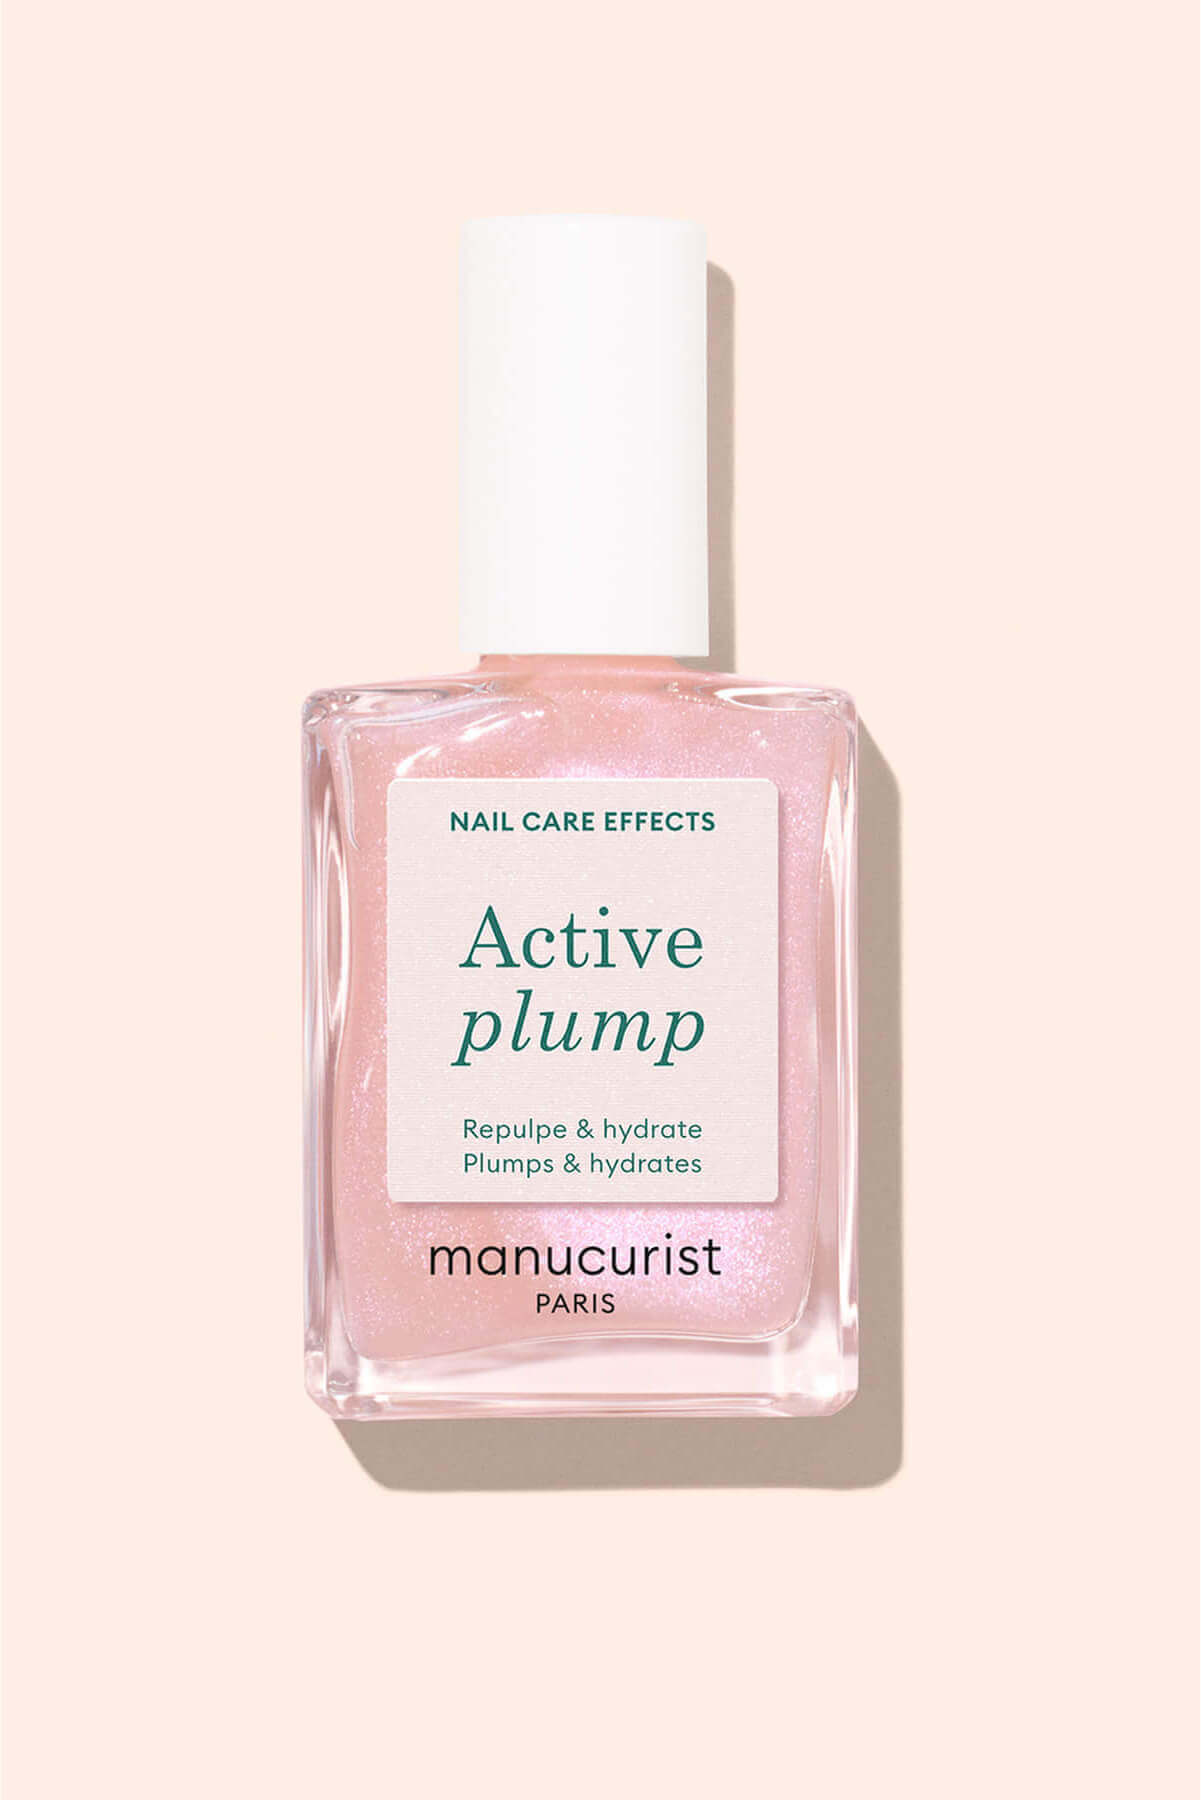
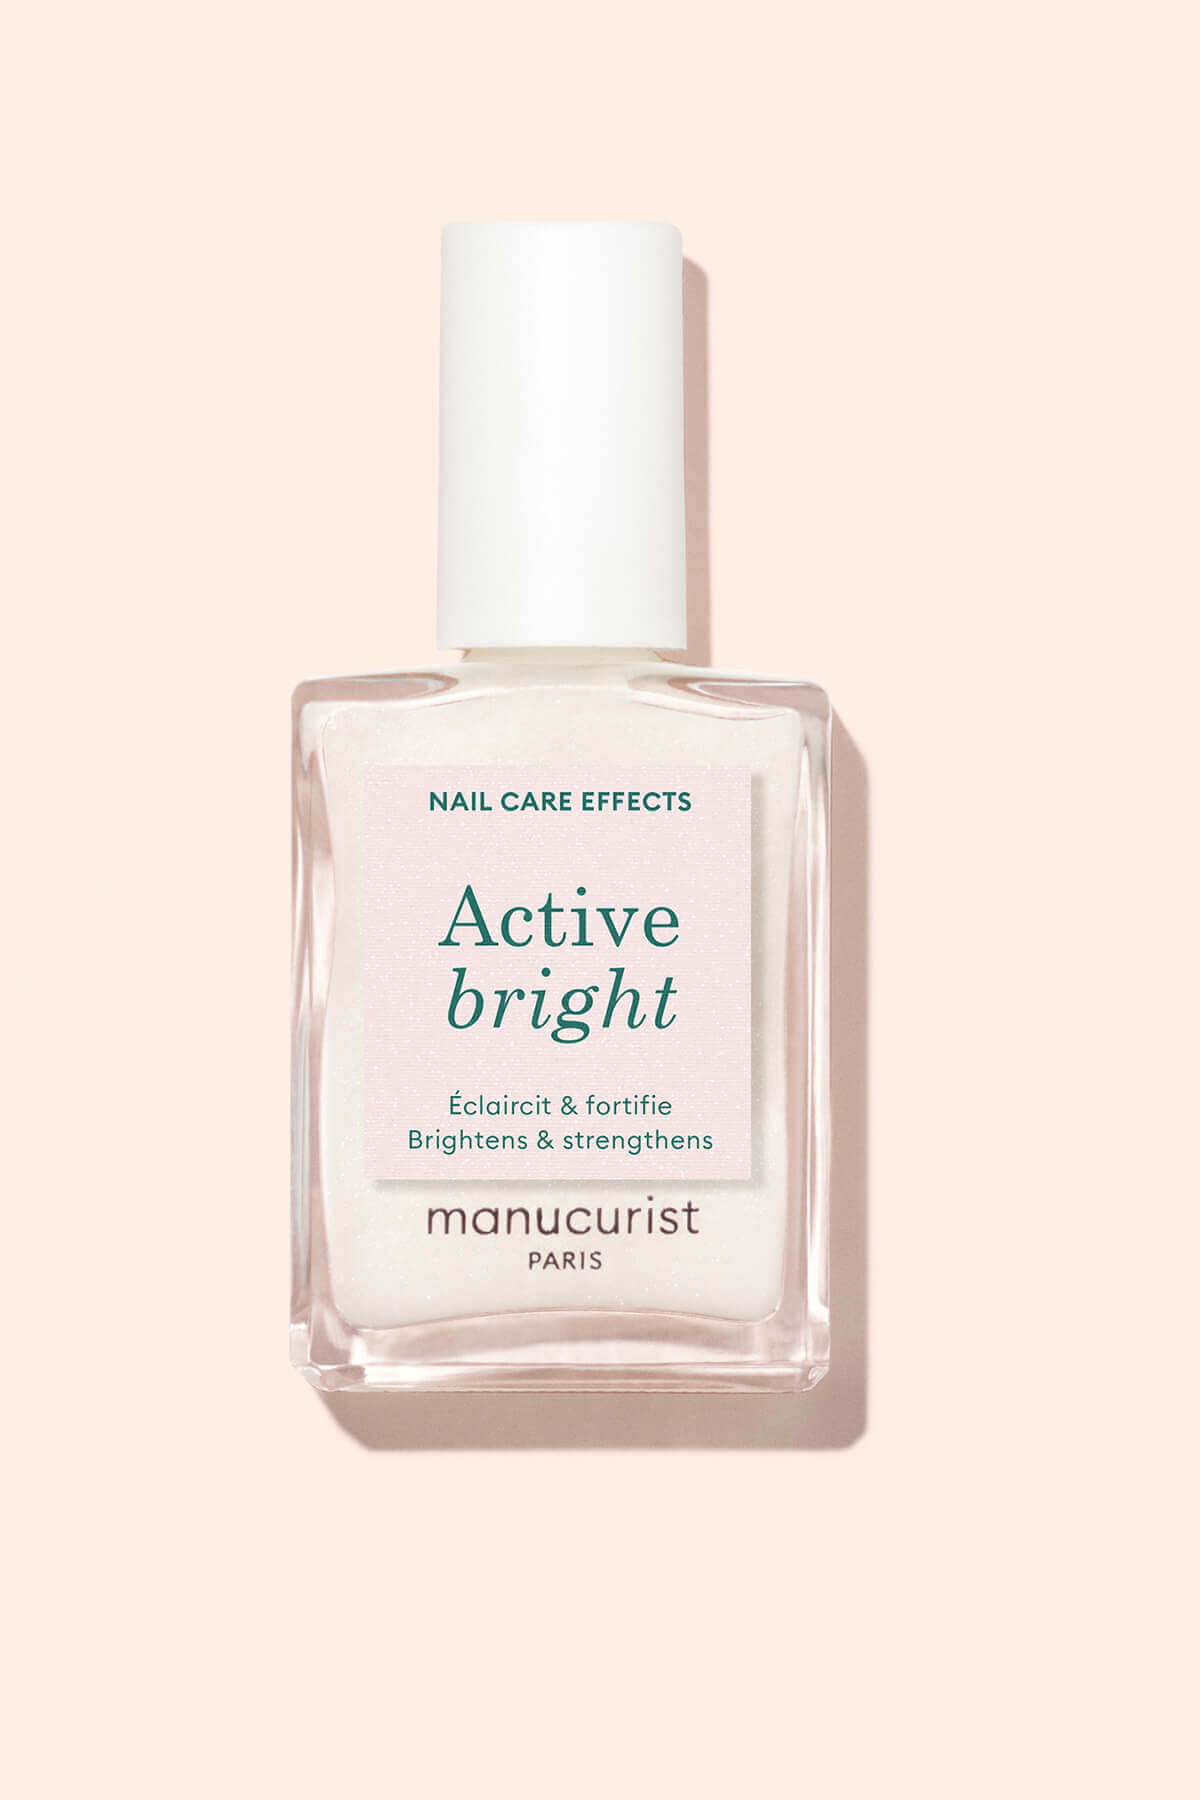
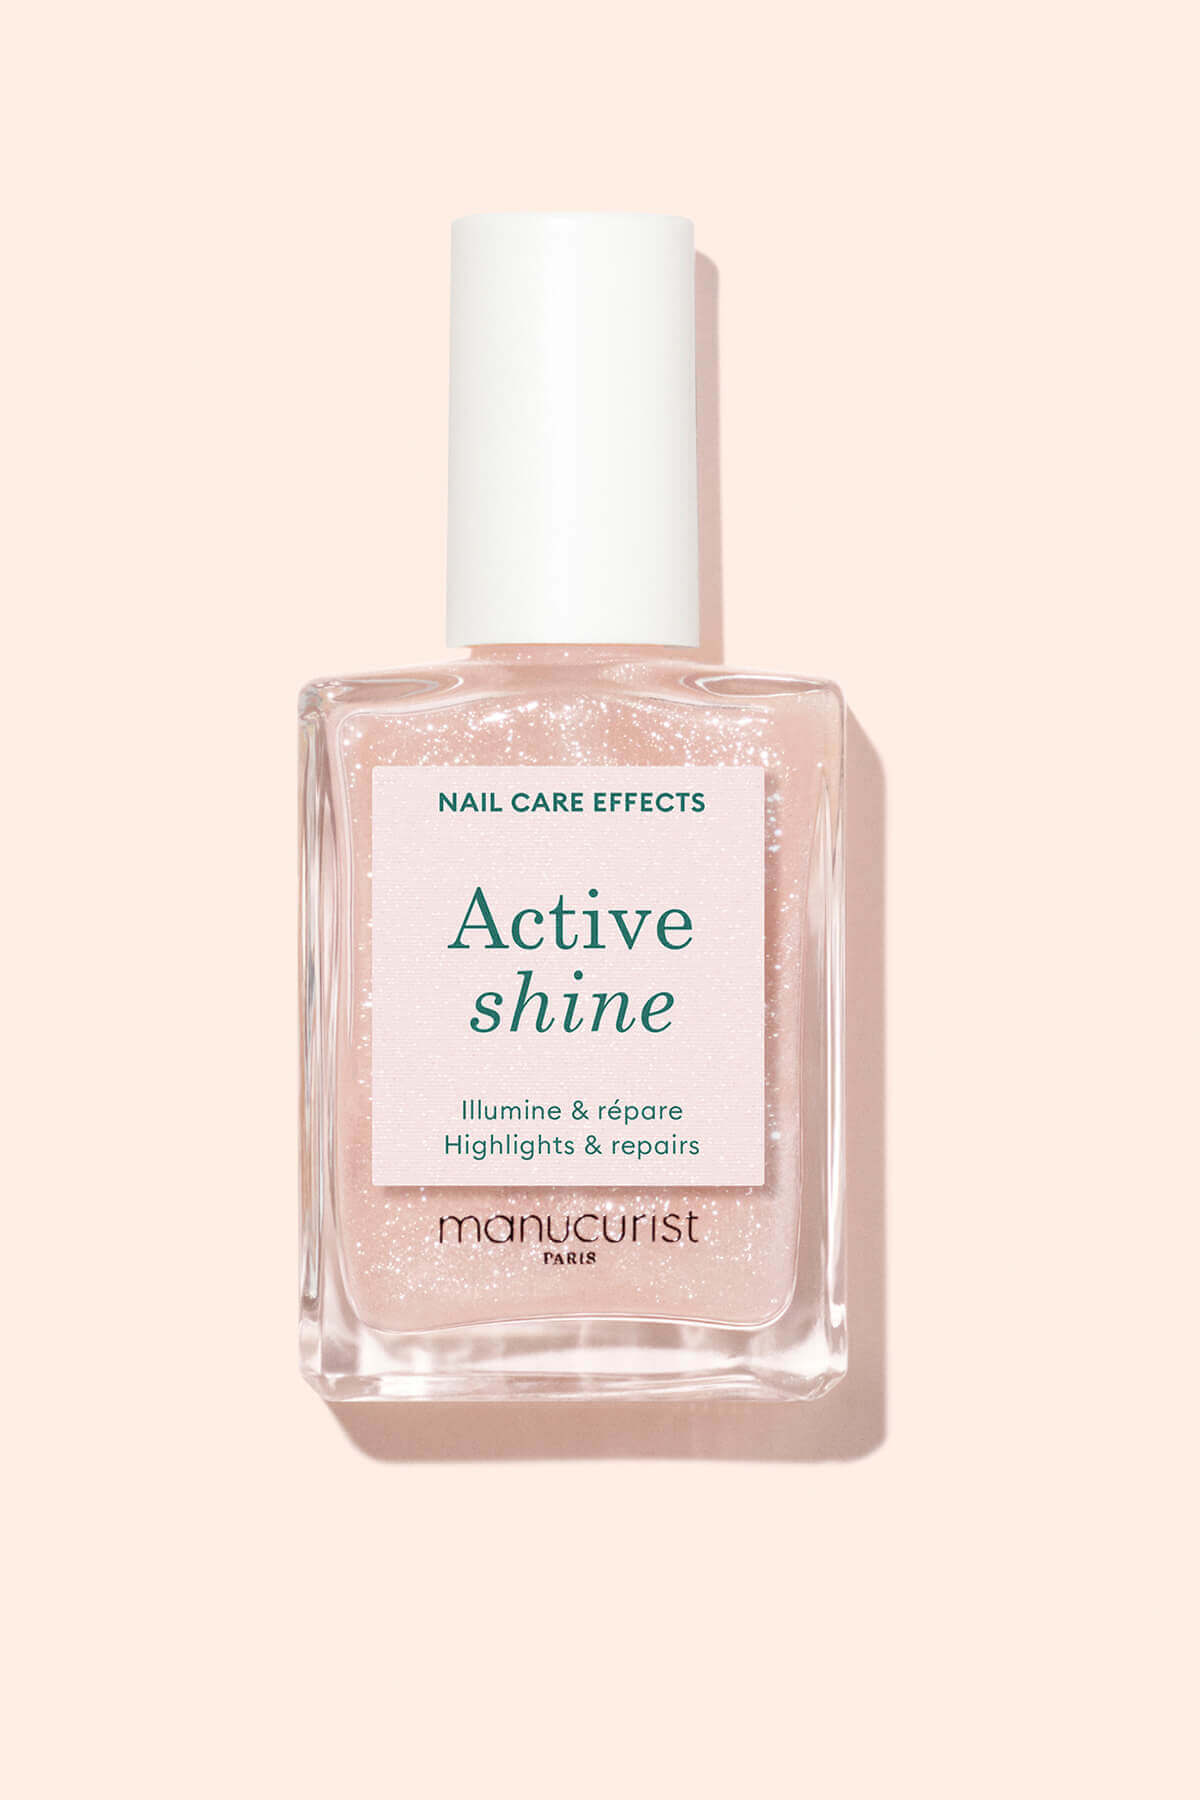
You can also use our highlighter treatment polish Active Shine, which will give your nails the pearly beige shimmer you're looking for while strengthening them with its hydrating antioxidant formula. A green & shiny cocktail that works a treat on fragile nails!

Glazed nail art alternatives
Glazed nails are ultra-versatile and lend themselves to any look, from the simplest to the boldest. The same goes for glazed nail art.
For a minimalist manicure with maximum elegance, it's easy to turn glazed nails into glazed French tips. Apply a veil of Glazed Pink or White Powder to a Hortencia or Milky White base, and finish off with a thin line of white polish in Crème. And that's all there is to it!

If you're big on the maximalist look, you can turn your glazed nails into incredible, marine-inspired oyster nails. Layer your coats of colour, create texture with a dotting tool and play around with pearl and chrome effects to your heart's content. It's up to you to create your own little underwater world with nail art!
When glazed nails show you their true colours, the possibilities are endless! Stay tuned to discover new glazed effects in 2025 📣


